Signs You Need to Repair or Replace Your Refrigeration Unit
Commercial Refrigeration Repair Services: Key Signs to Repair or Replace Your Unit
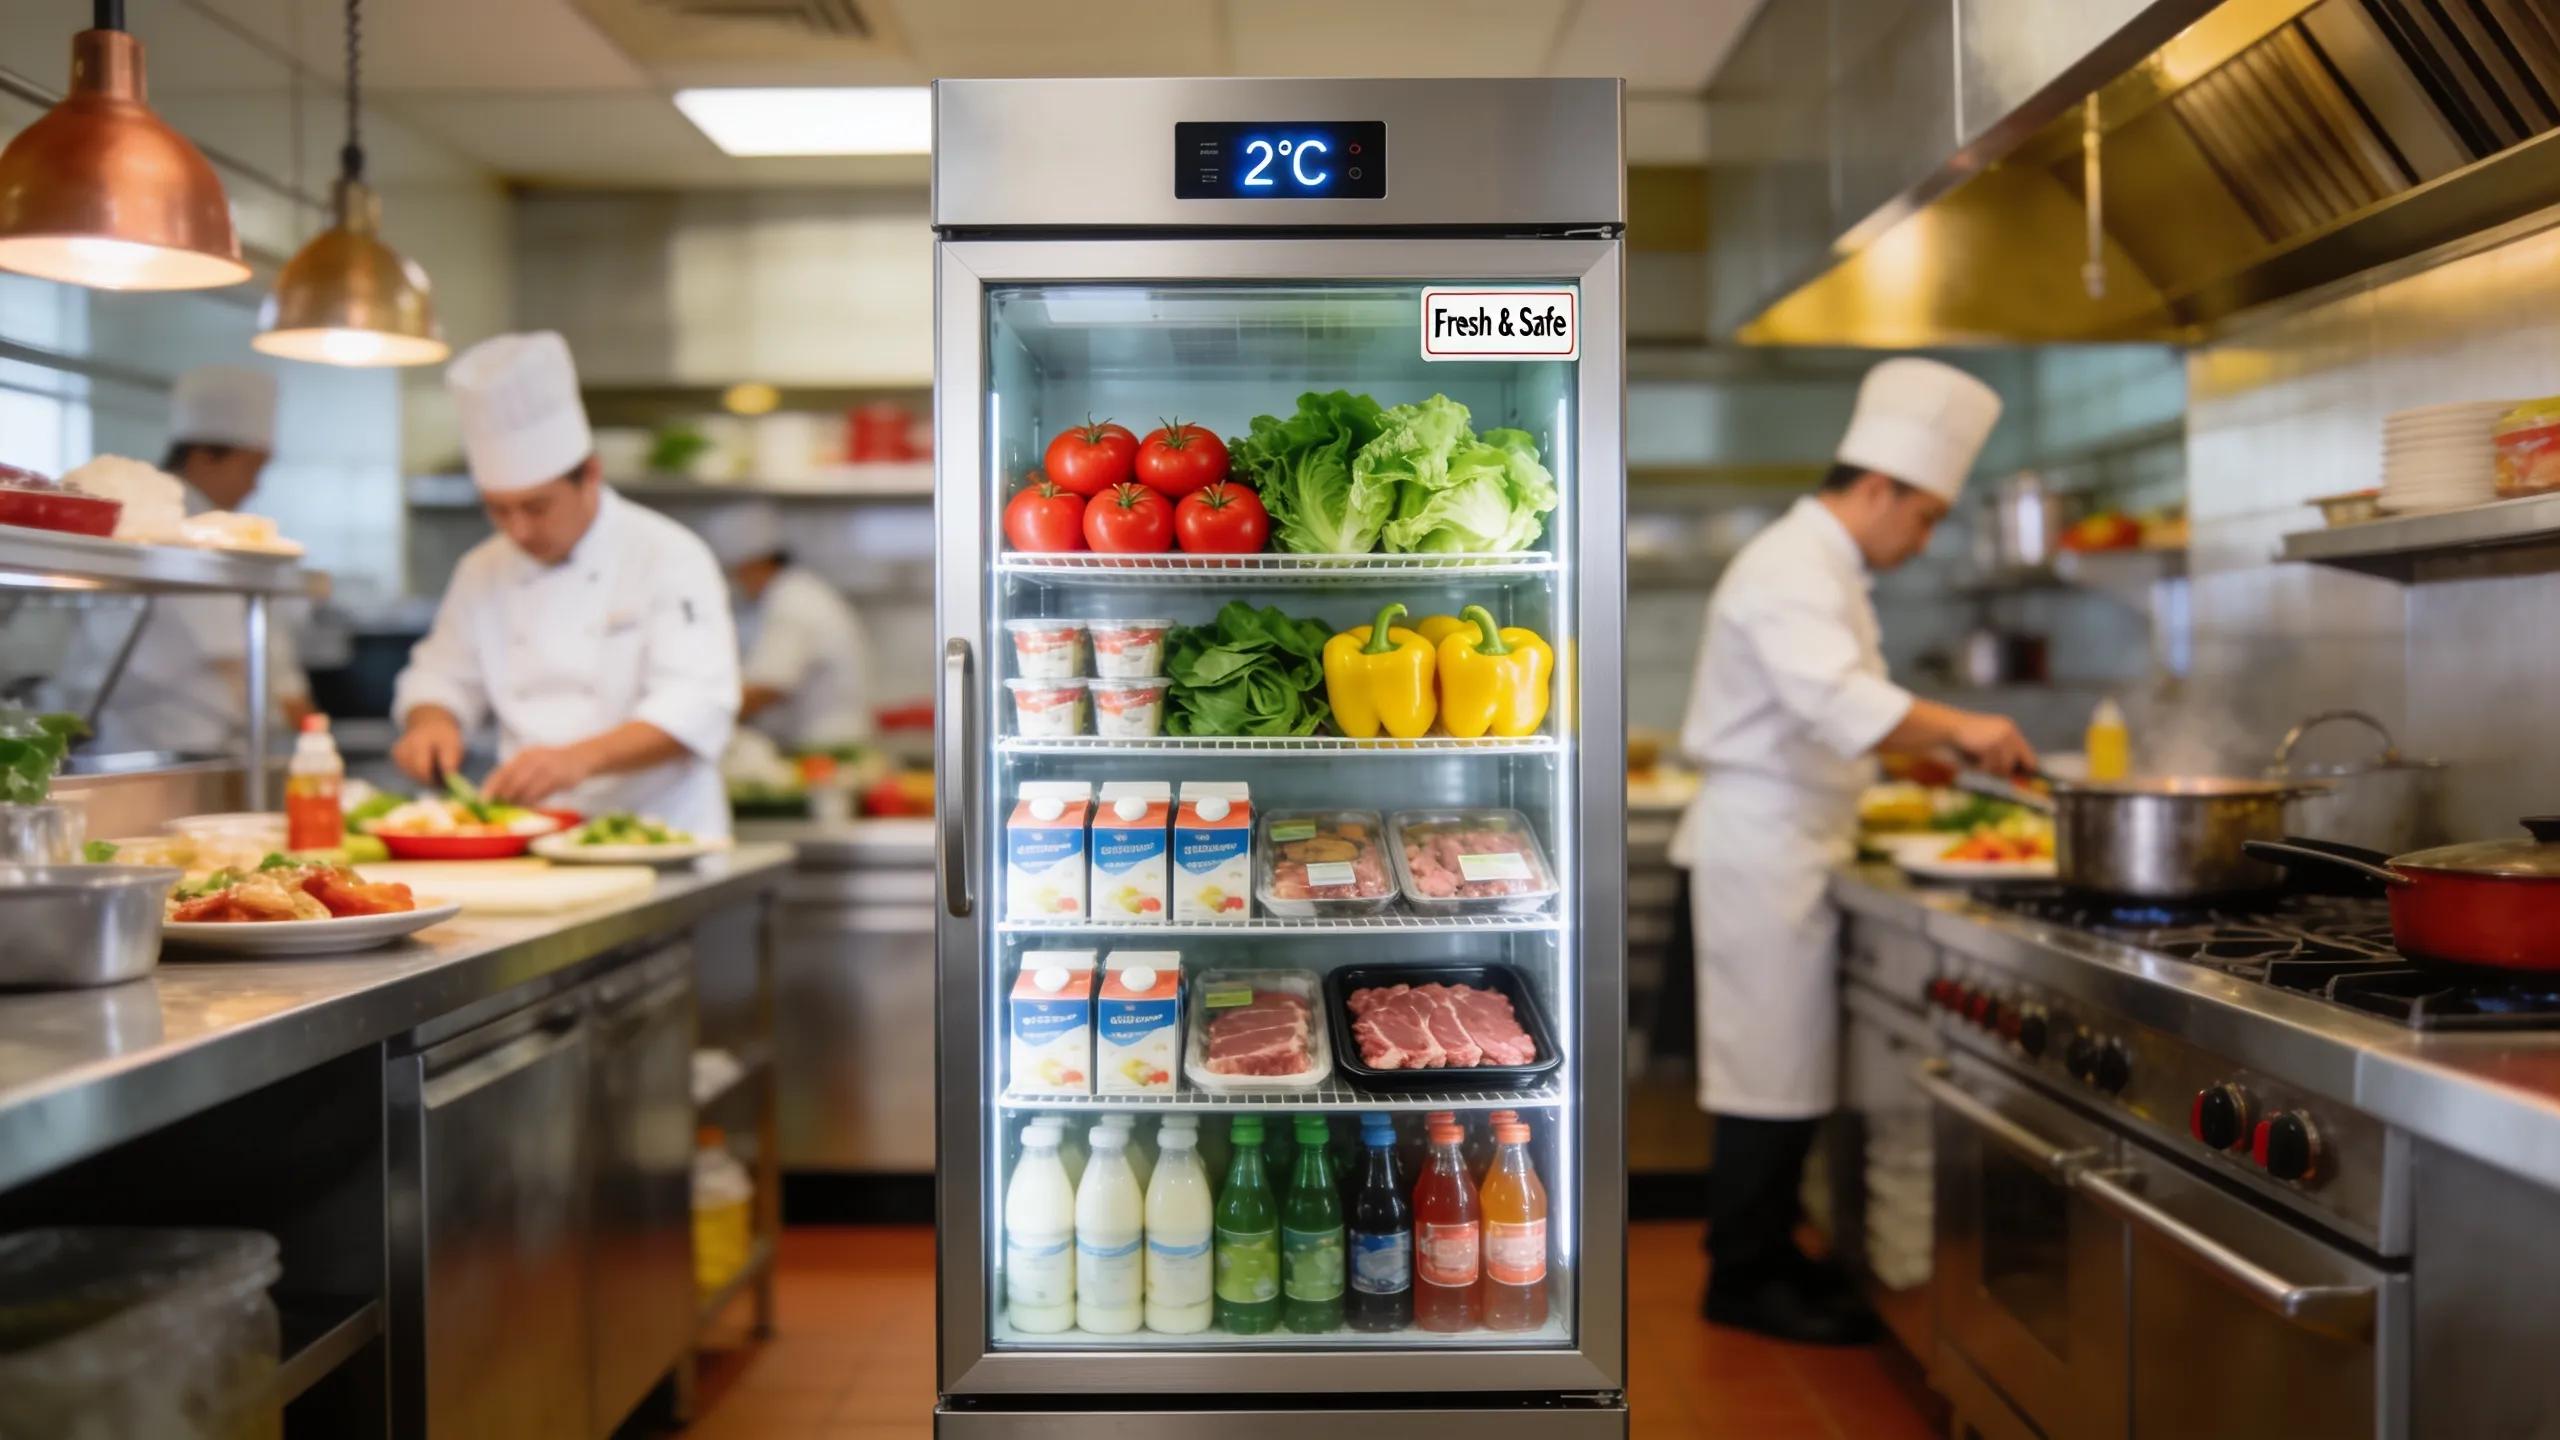
Deciding whether to repair or replace a commercial refrigeration unit is a critical choice for any business that depends on reliable cooling. Malfunctions can cause spoiled stock and lost revenue. This article outlines the key signs that indicate repair, how to assess if replacement is more cost-effective, and why regular maintenance extends equipment life. It also explains how to schedule service with Youngs Heating and Cooling in Walla Walla, WA.
What Are the Top Signs Your Commercial Refrigeration Unit Needs Repair?
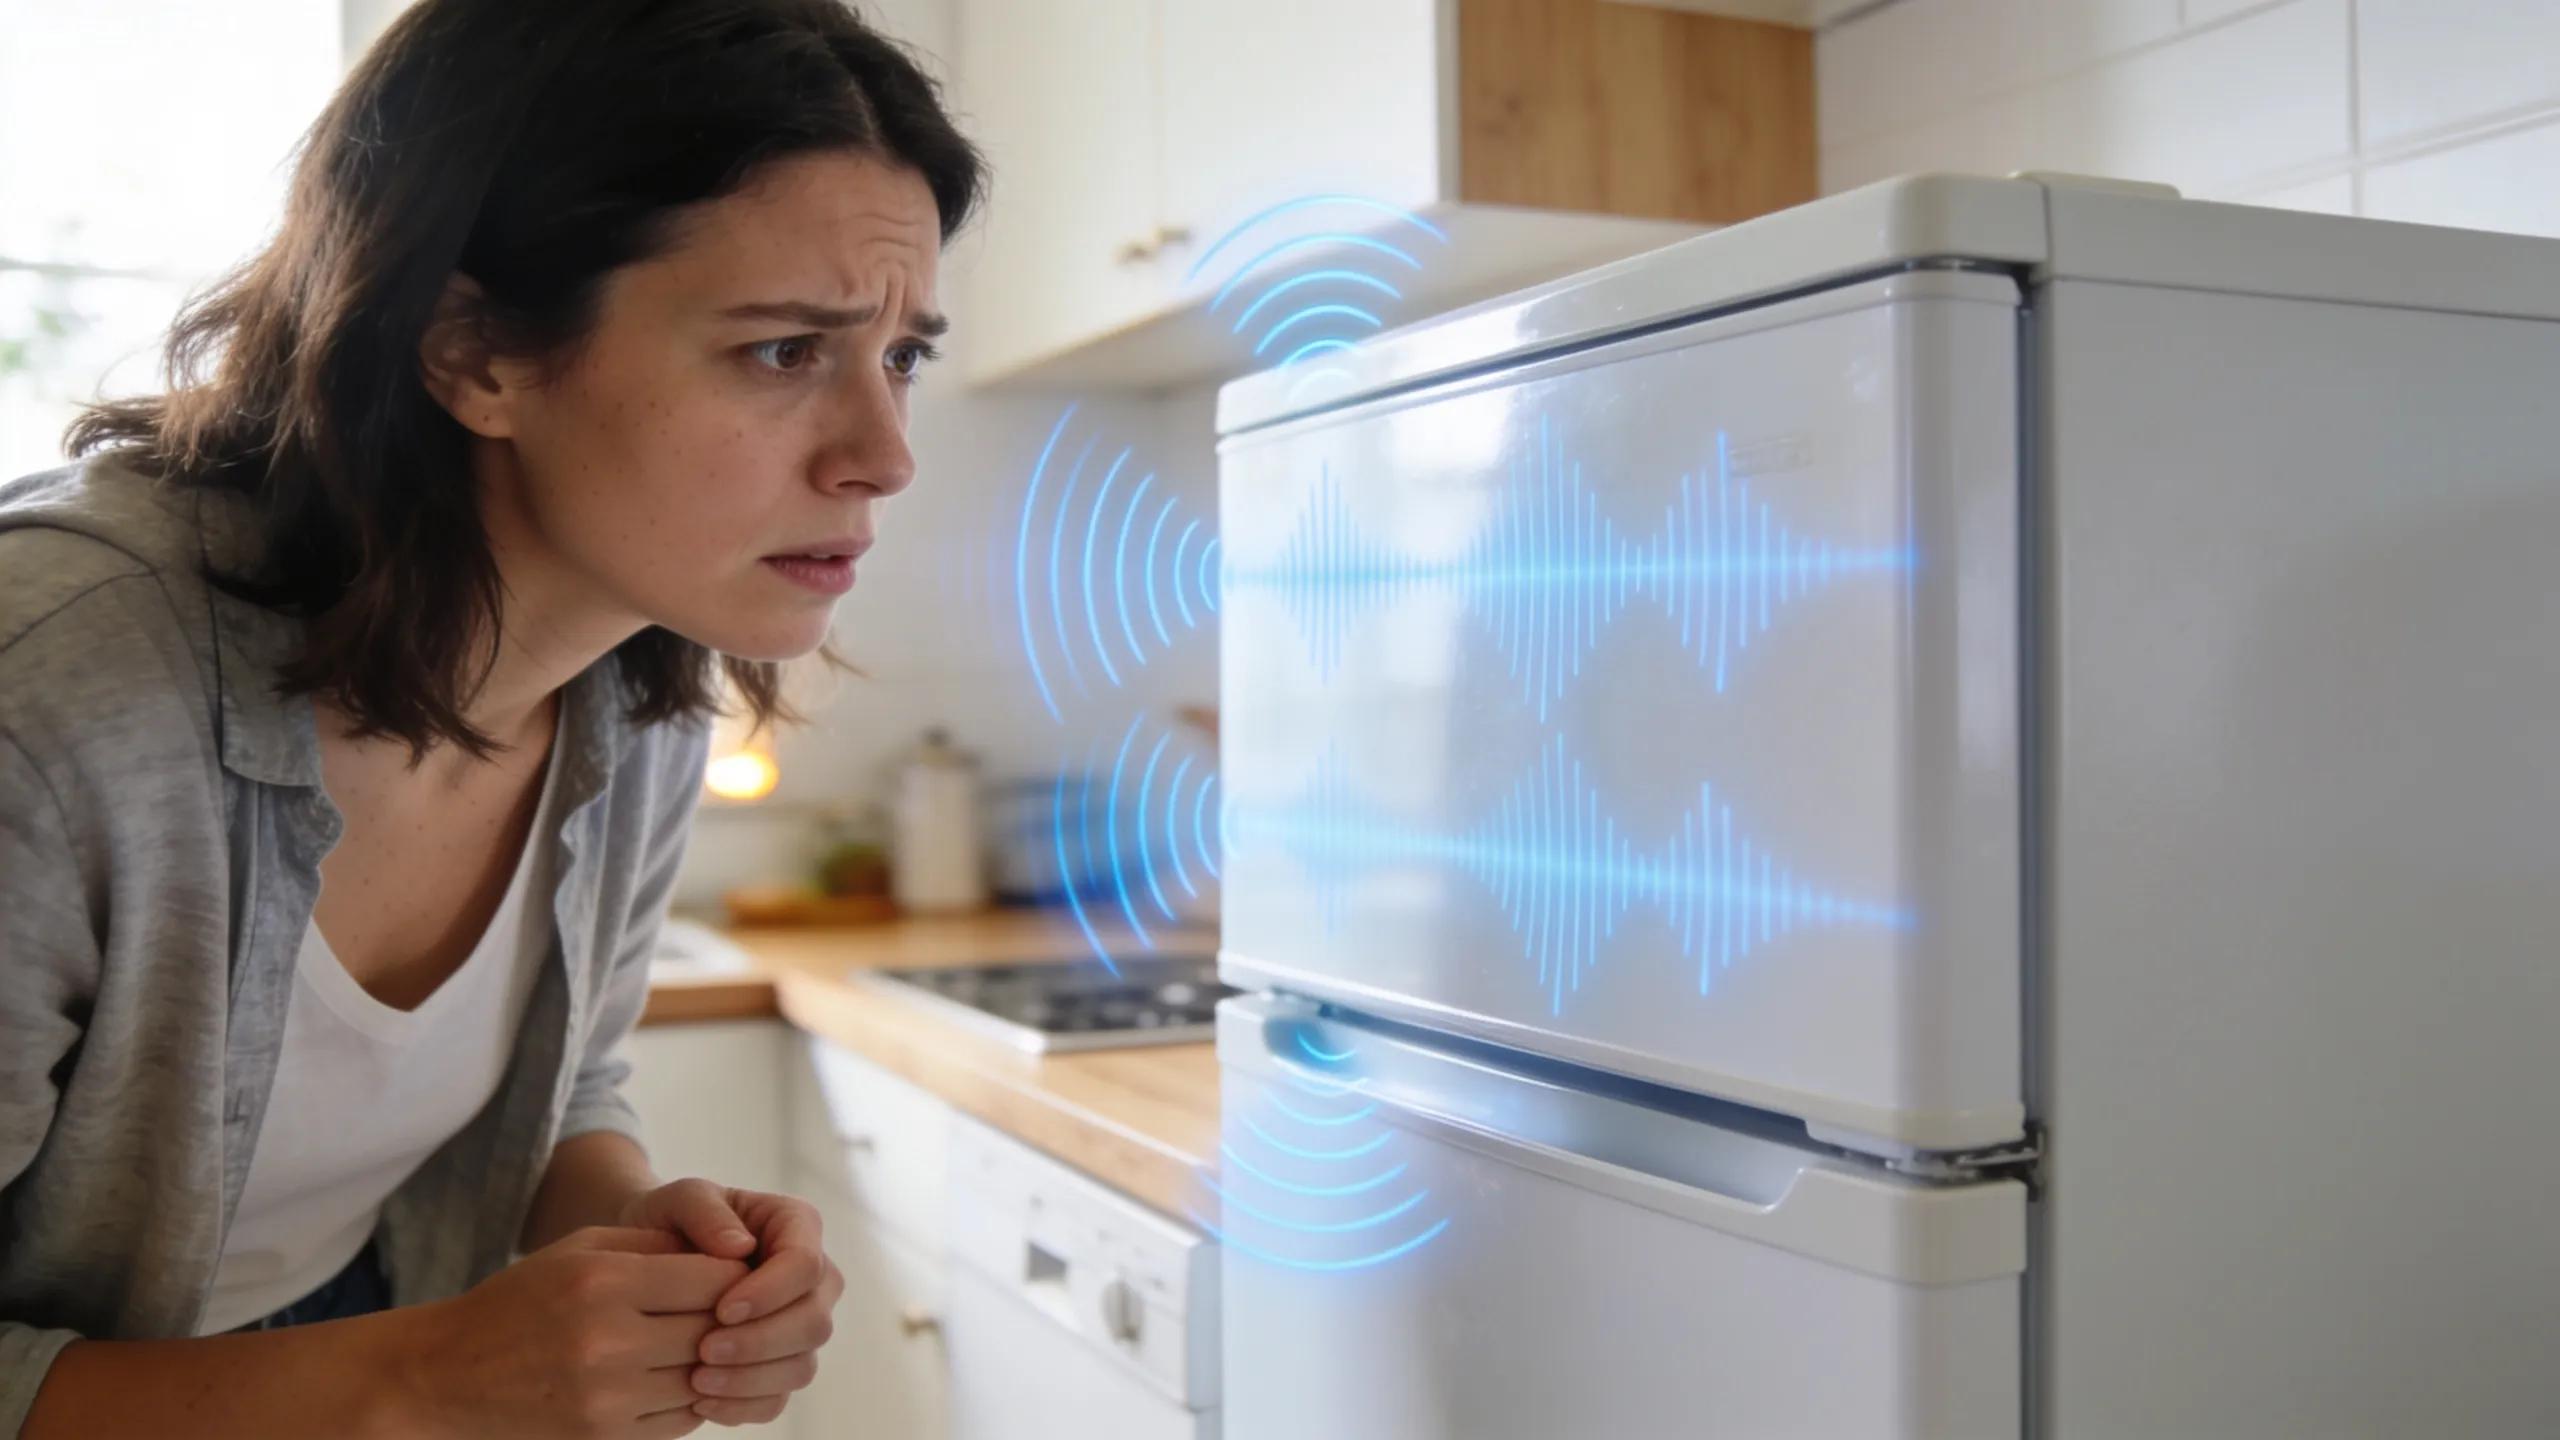
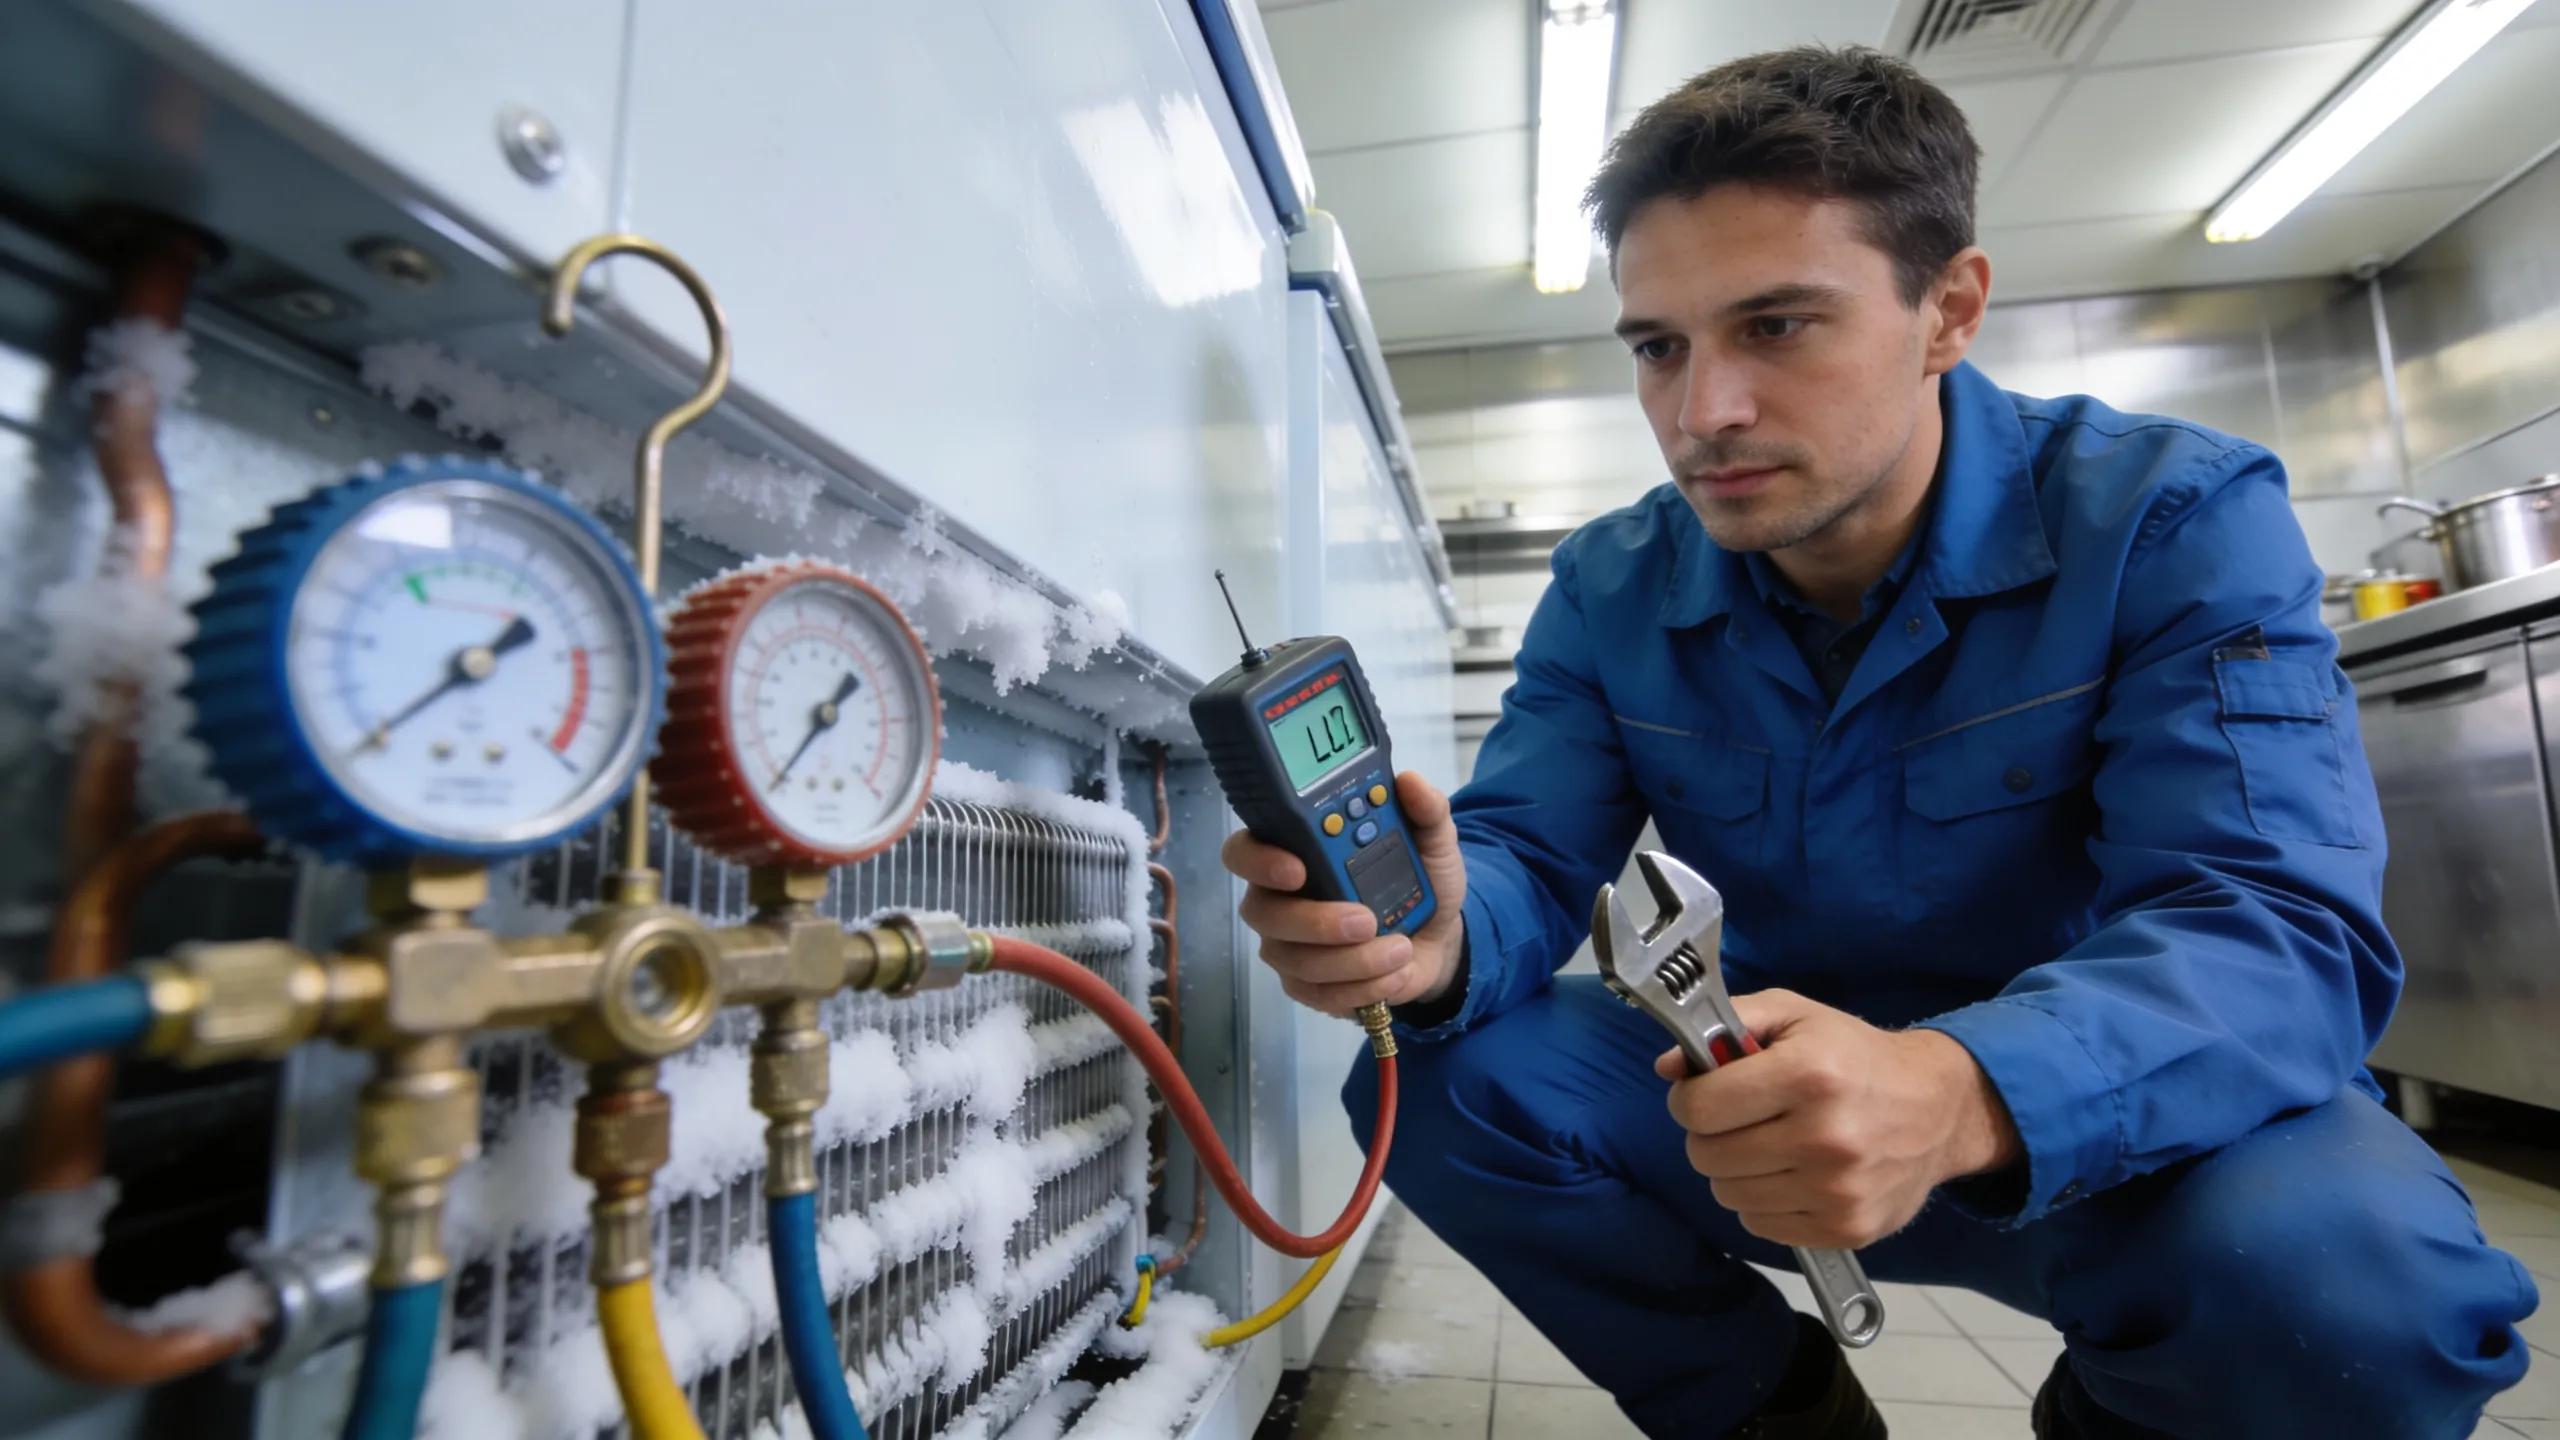
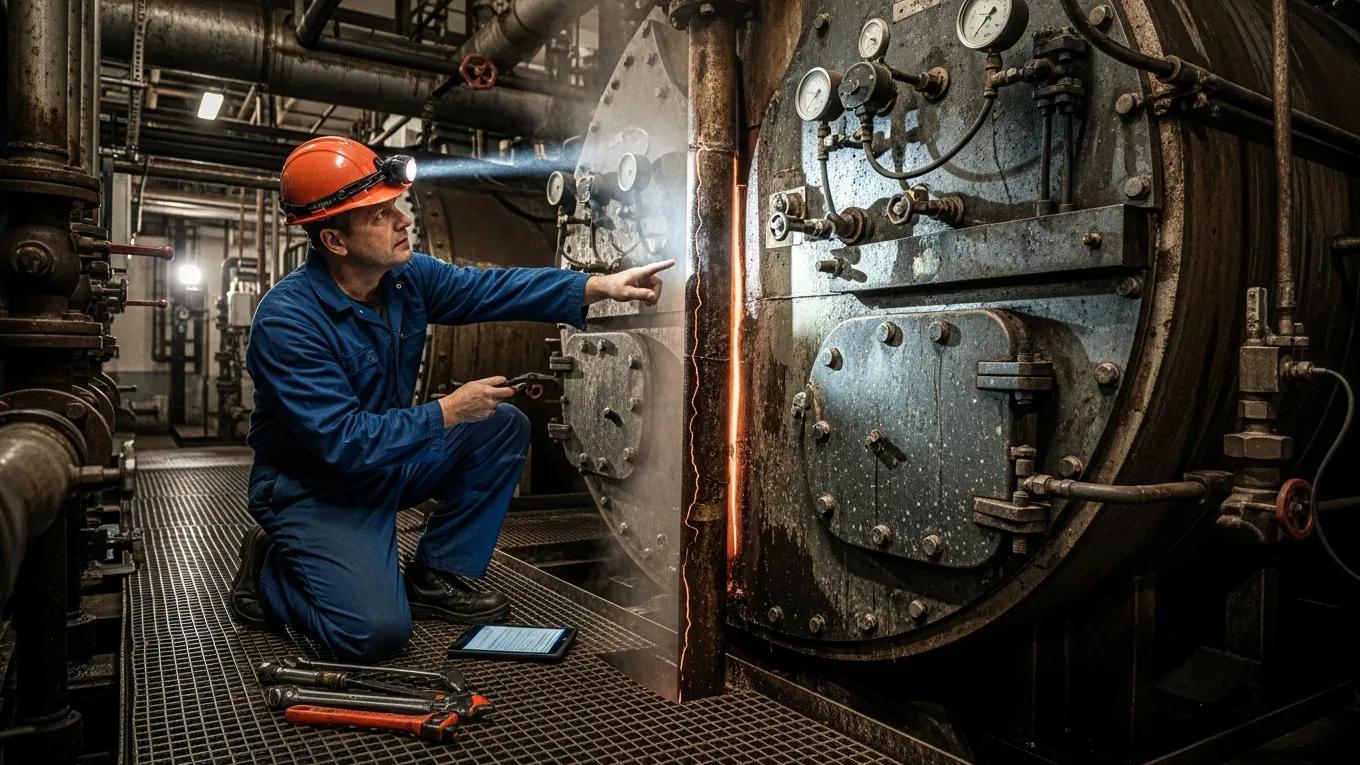
Spotting early warning signs prevents bigger failures. Watch for temperature swings, loud or unusual noises, and repeated breakdowns. Addressing problems quickly reduces downtime and product loss.
What Common Faults Signal Refrigeration Repair Is Needed?
Common faults in refrigeration units often manifest as:
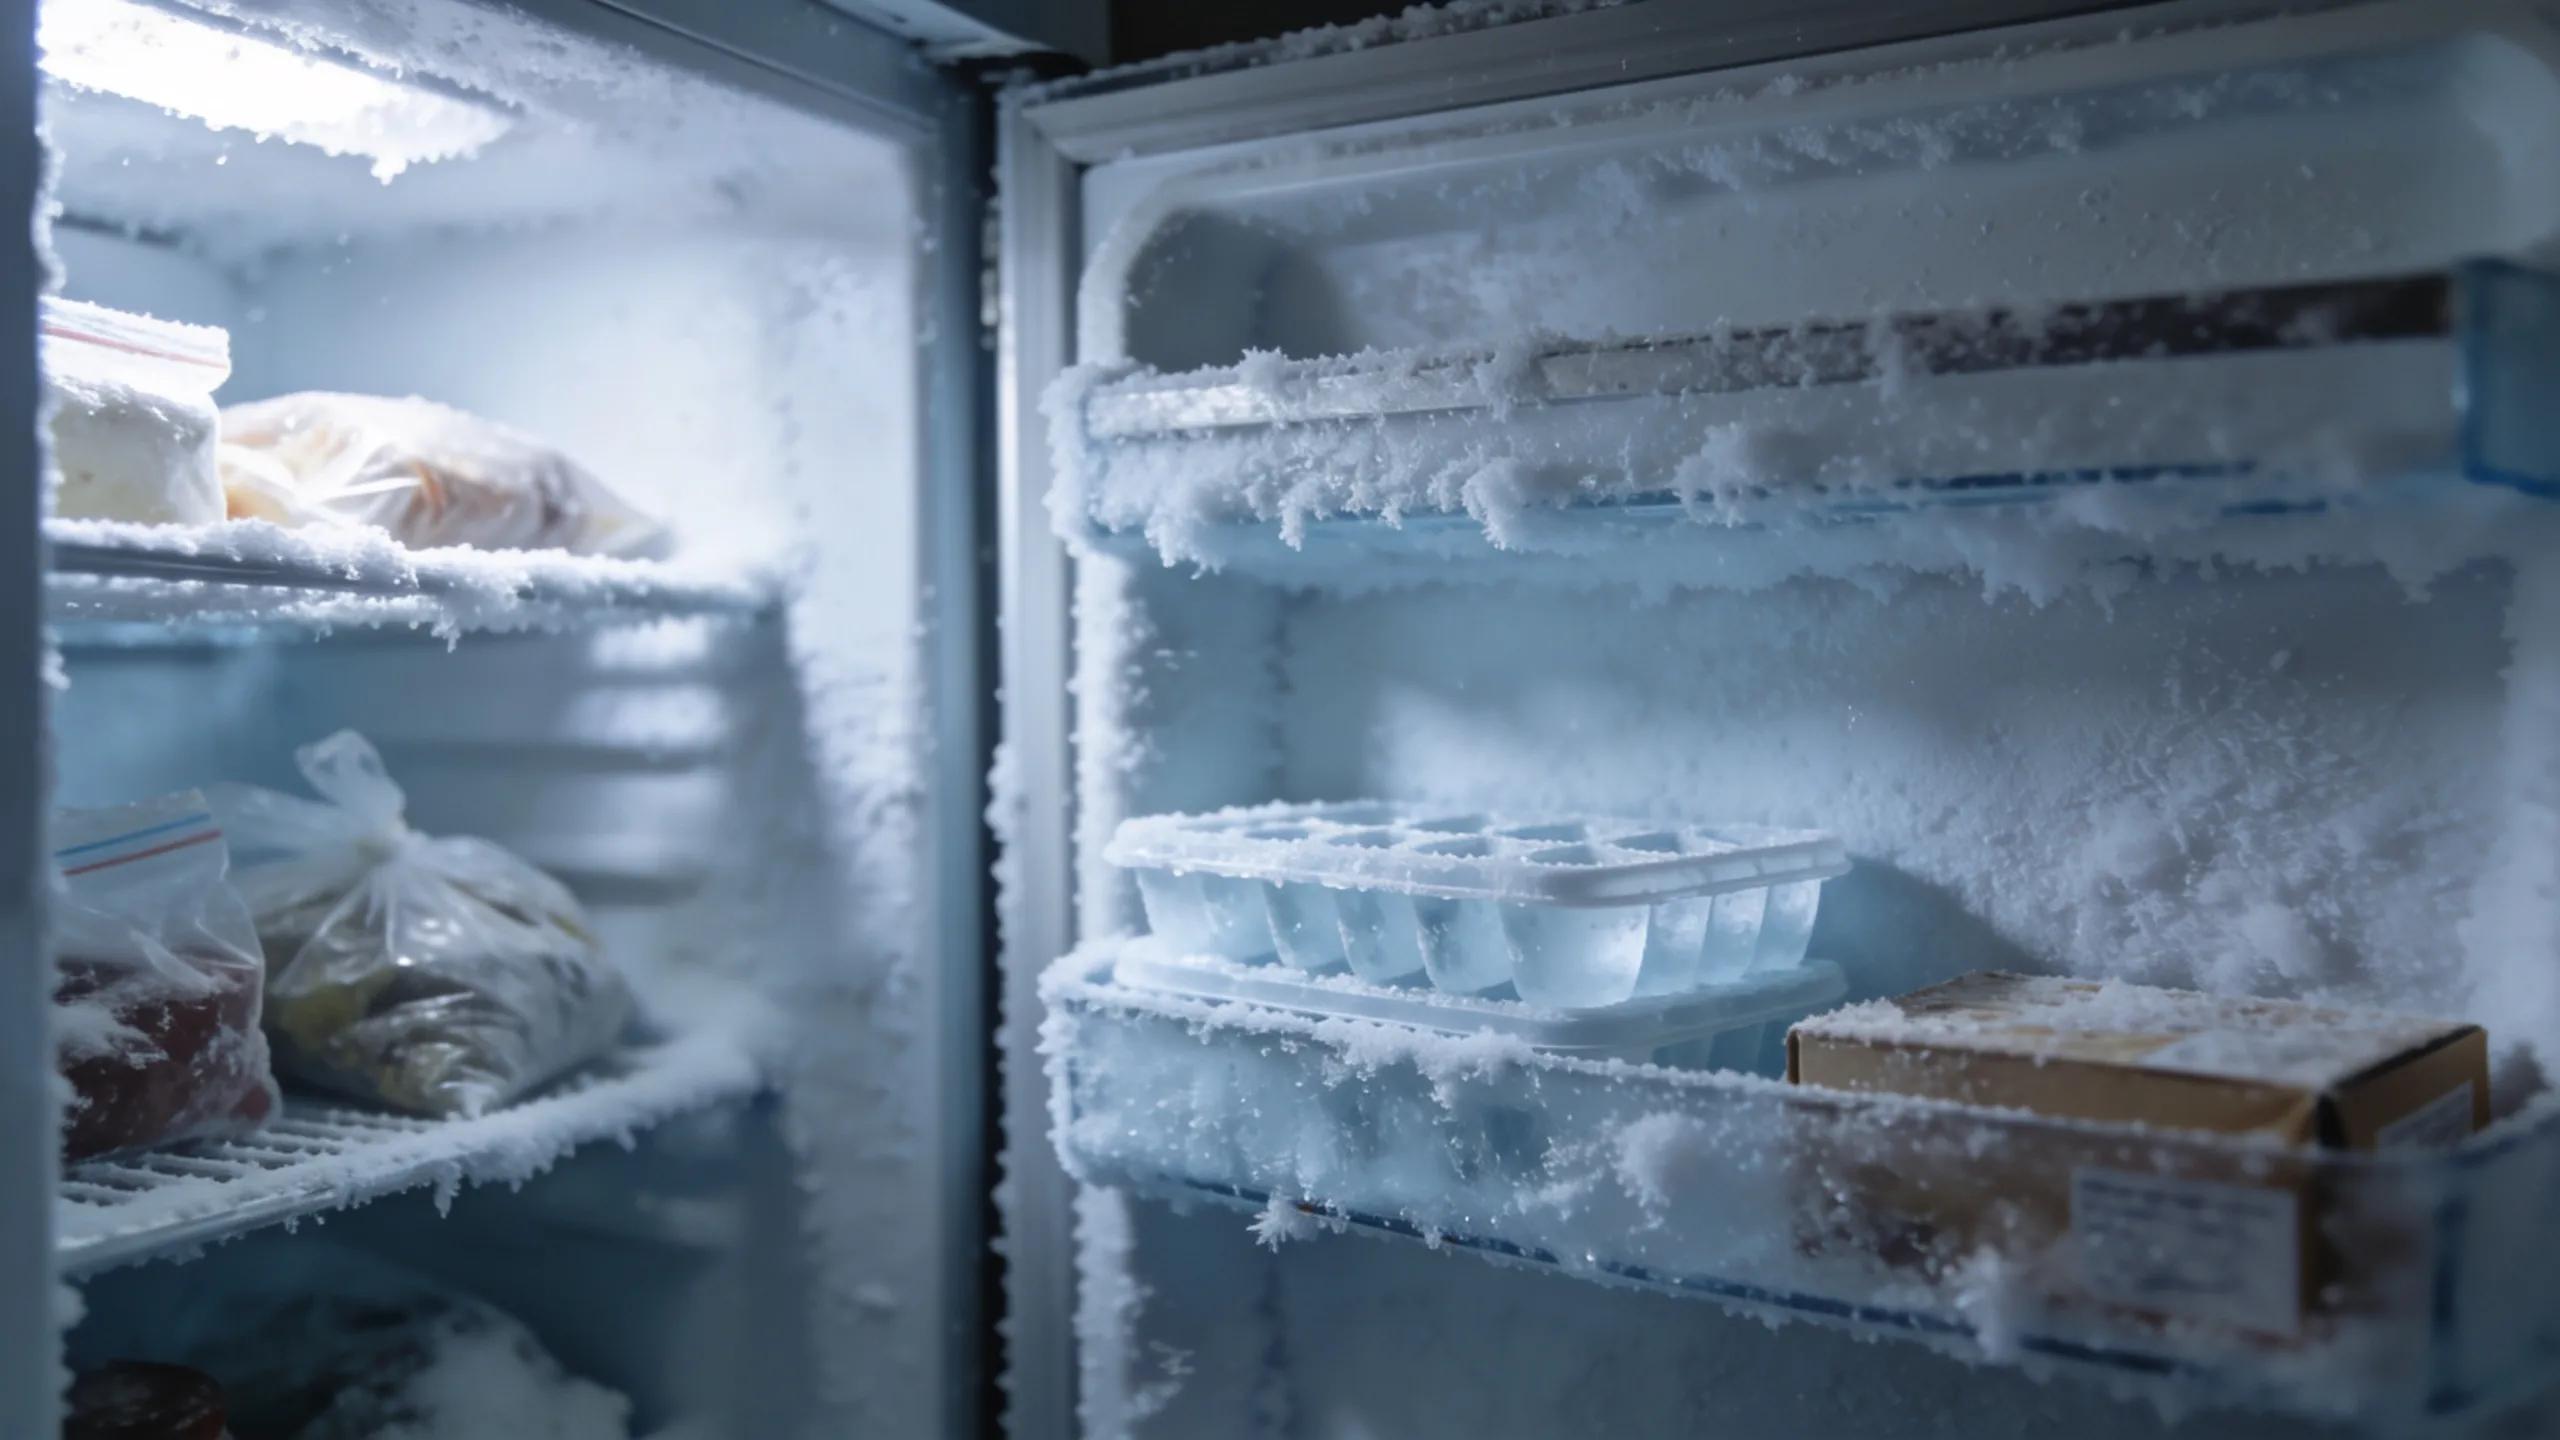
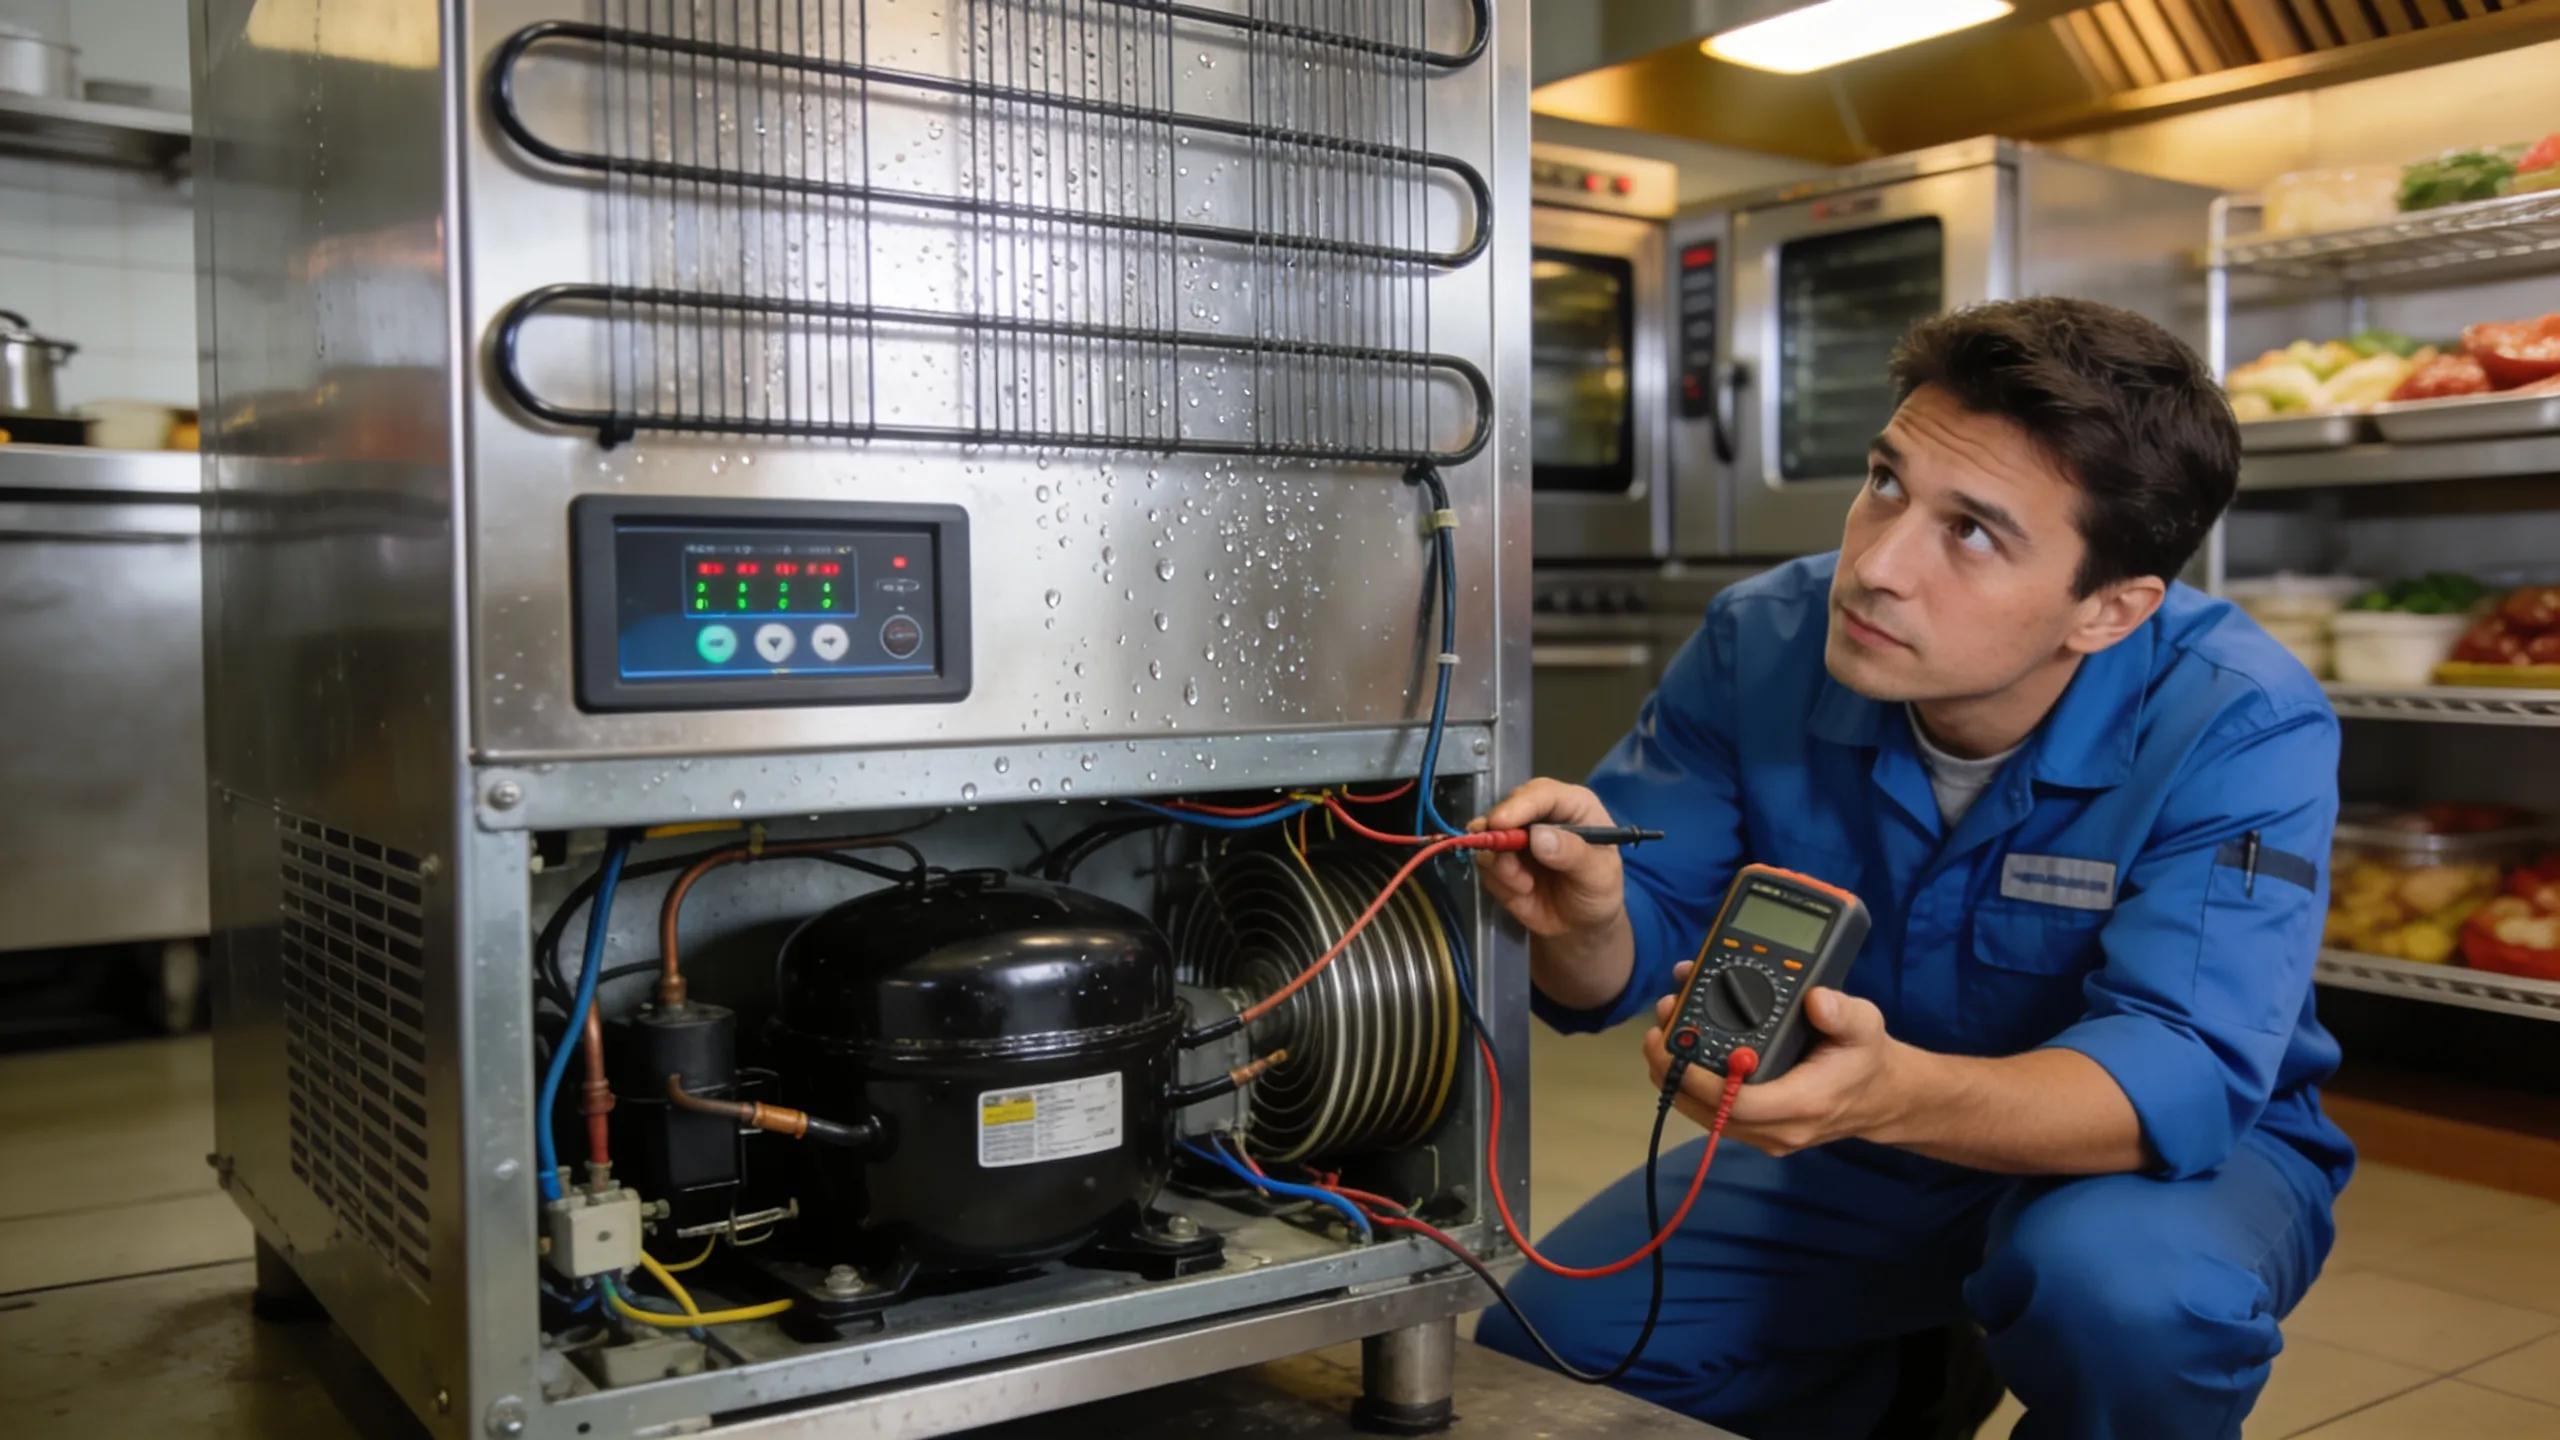
- Temperature Inconsistencies: Sudden temperature fluctuations can indicate failures in thermostats or compressors, disrupting the cooling process.
- Unusual Noises: Loud or unusual sounds during operation may signal issues with mechanical components like the fan or compressor.
- Frequent Breakdowns: Regular malfunctions point toward underlying issues that need immediate attention to maintain operational efficiency.
Those faults reduce reliability, push up energy costs, and increase the risk of spoilage. Prompt repairs restore efficiency and help extend the unit’s service life.
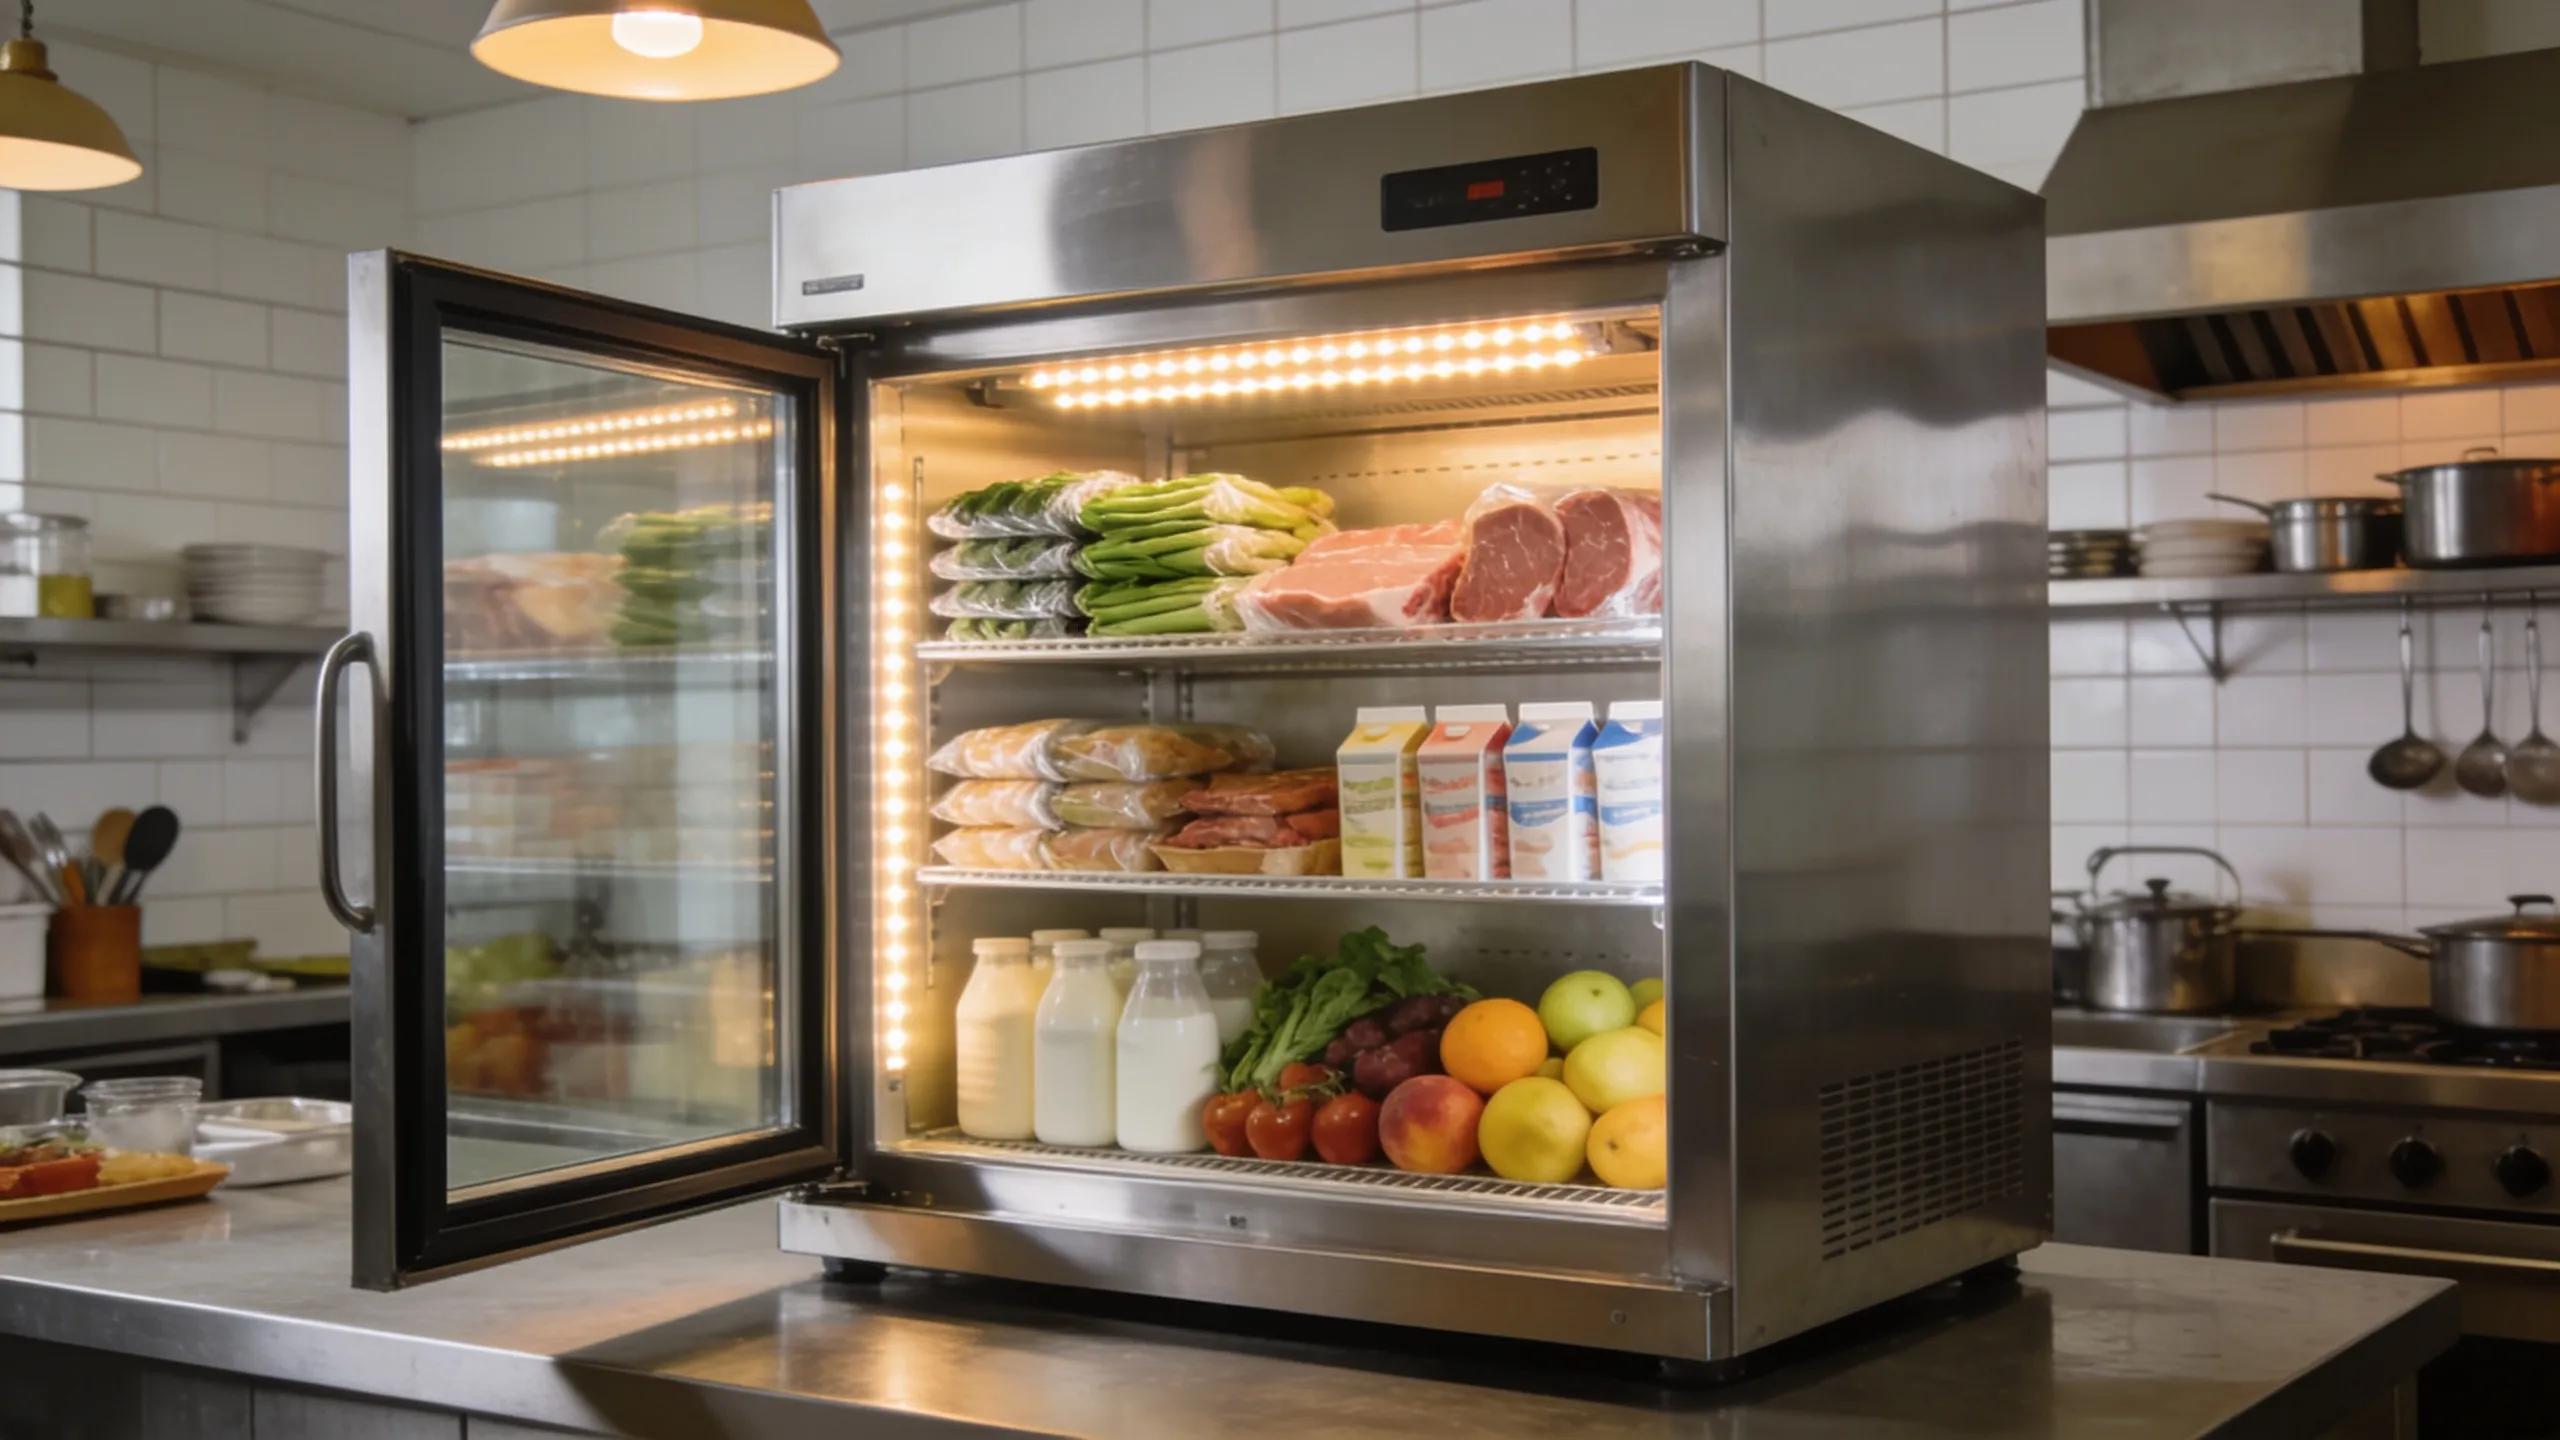
When Is Replacement More Cost-Effective Than Repair?
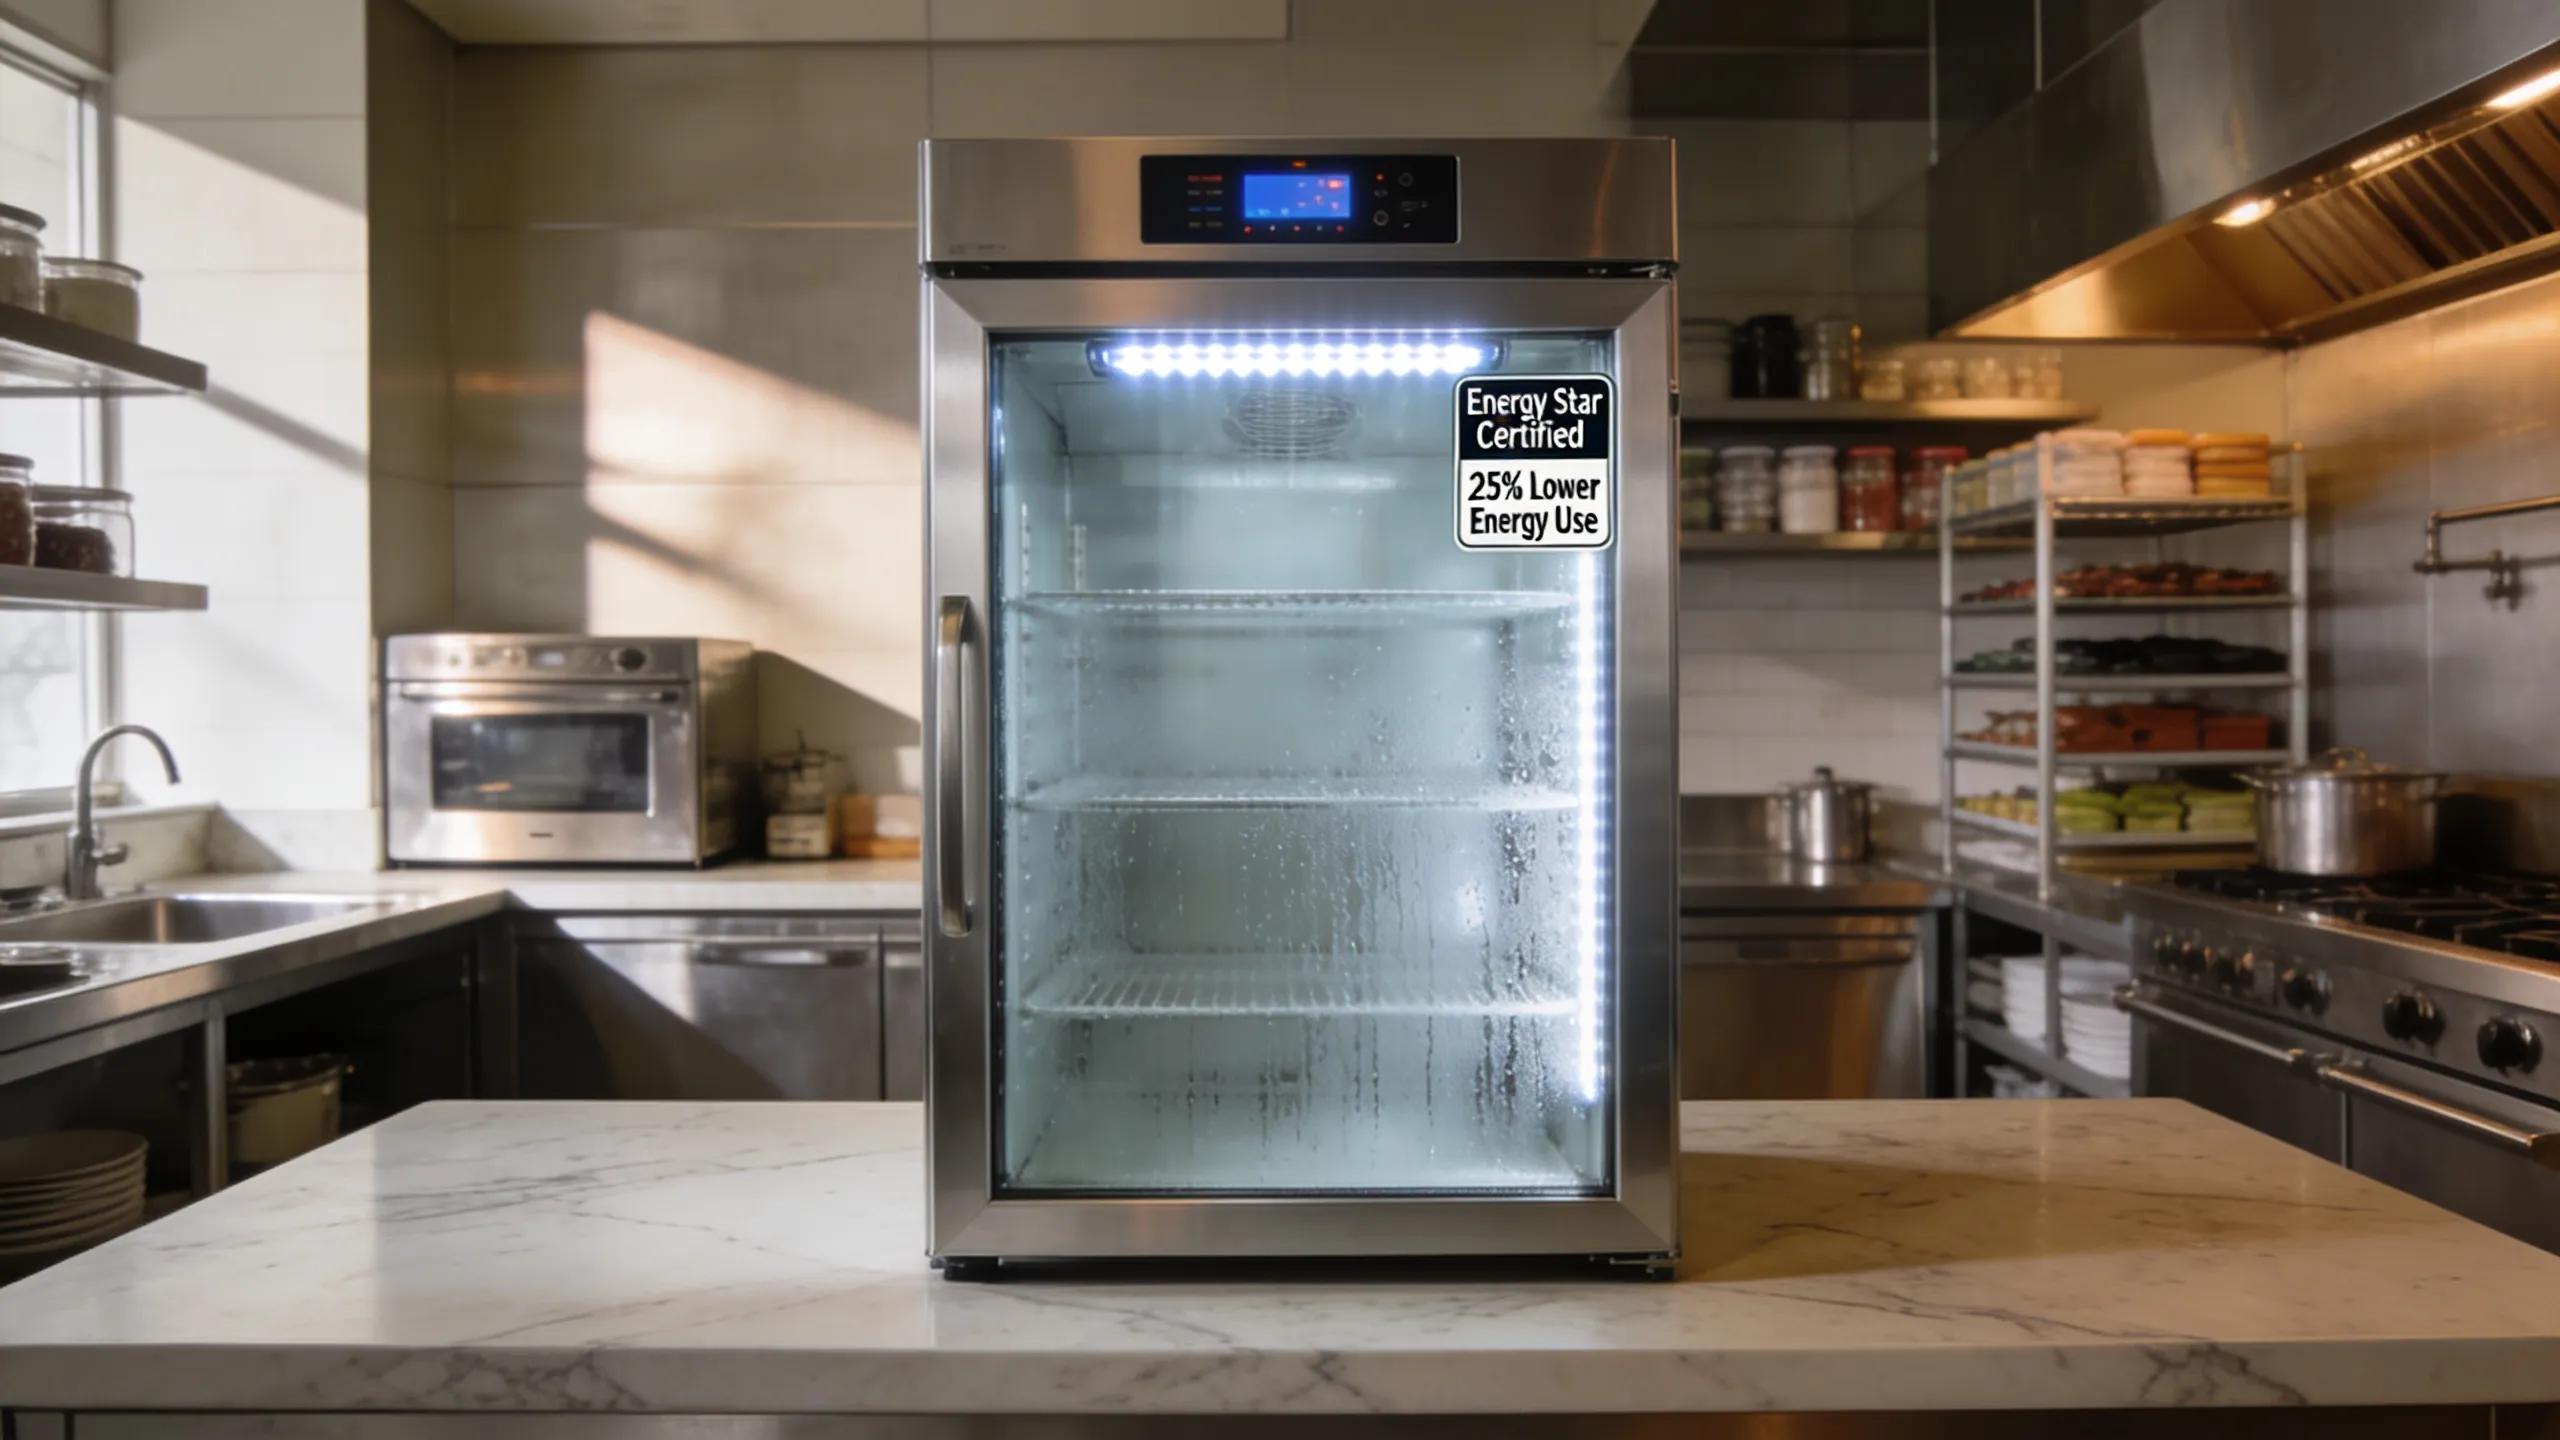
Sometimes repair costs outweigh replacement. When evaluating a new unit, compare long-term savings to the immediate expense. Newer models typically offer better energy efficiency and improved performance.
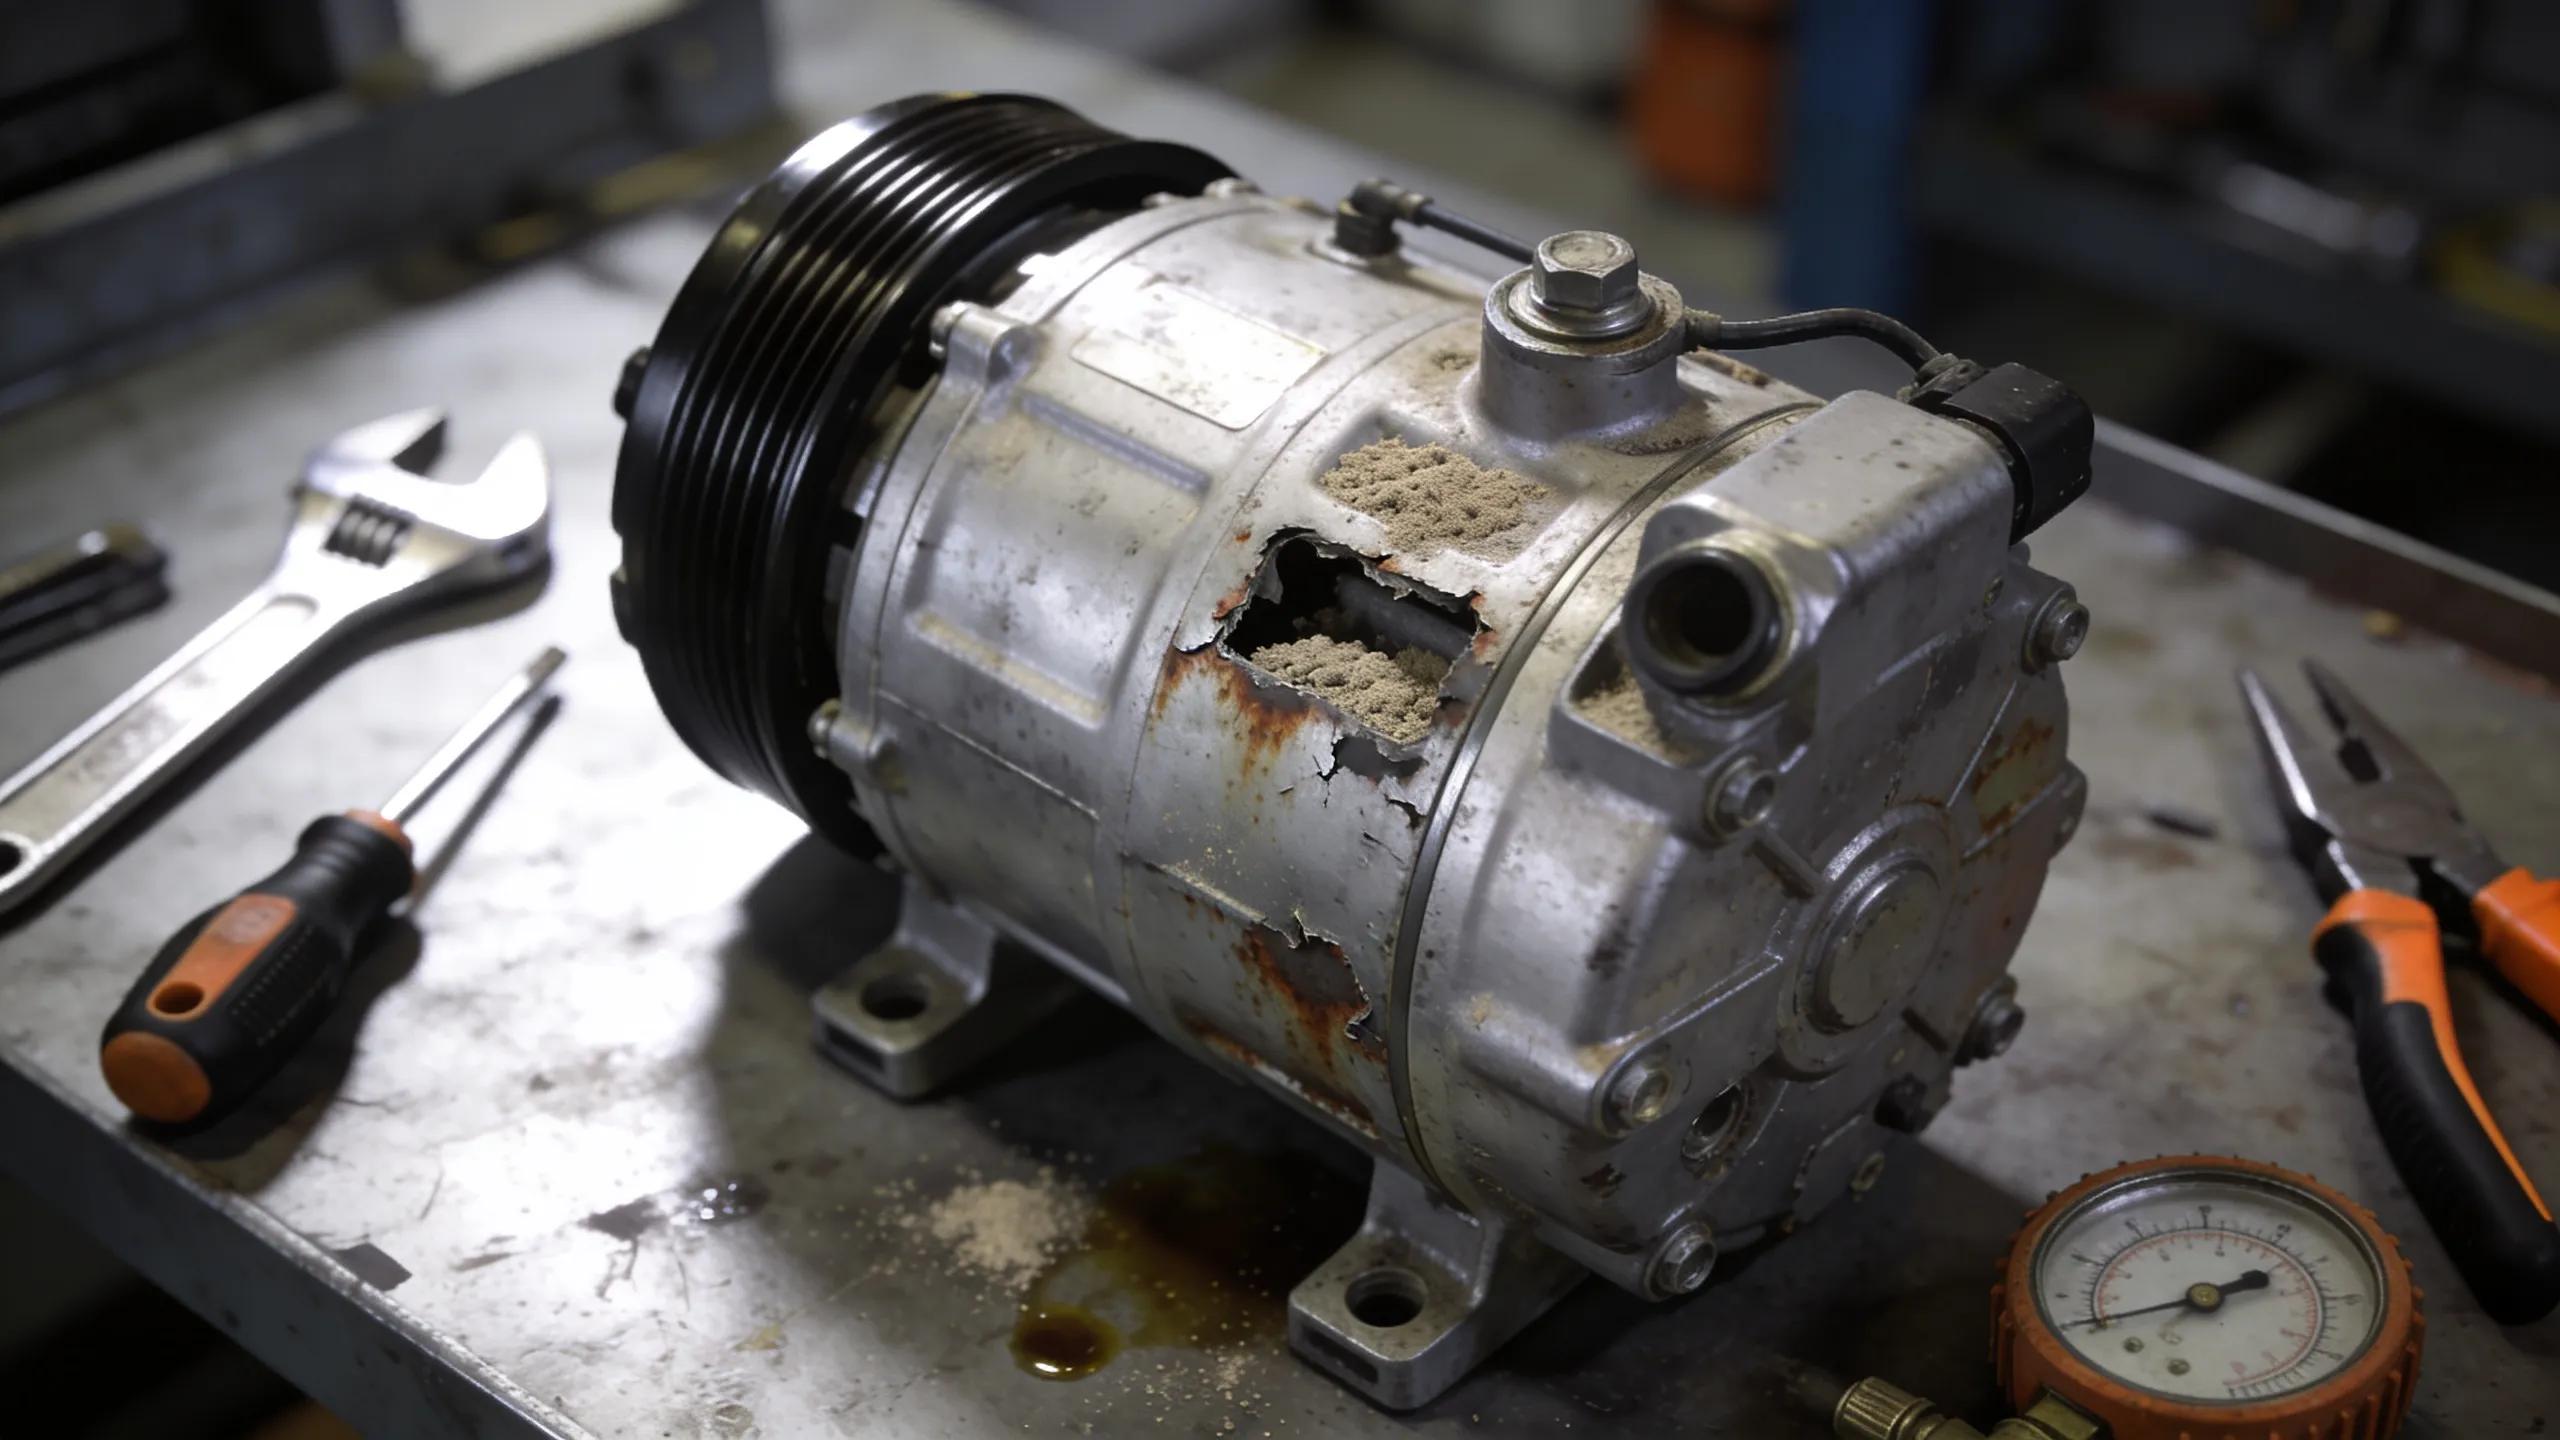
How Much Does It Cost to Repair Vs. Replace Commercial Refrigeration?
Compare repair and replacement costs to understand the trade-offs. Typical ranges are:
Repairs may seem cheaper up front, but older, inefficient units can cost more to operate over time.
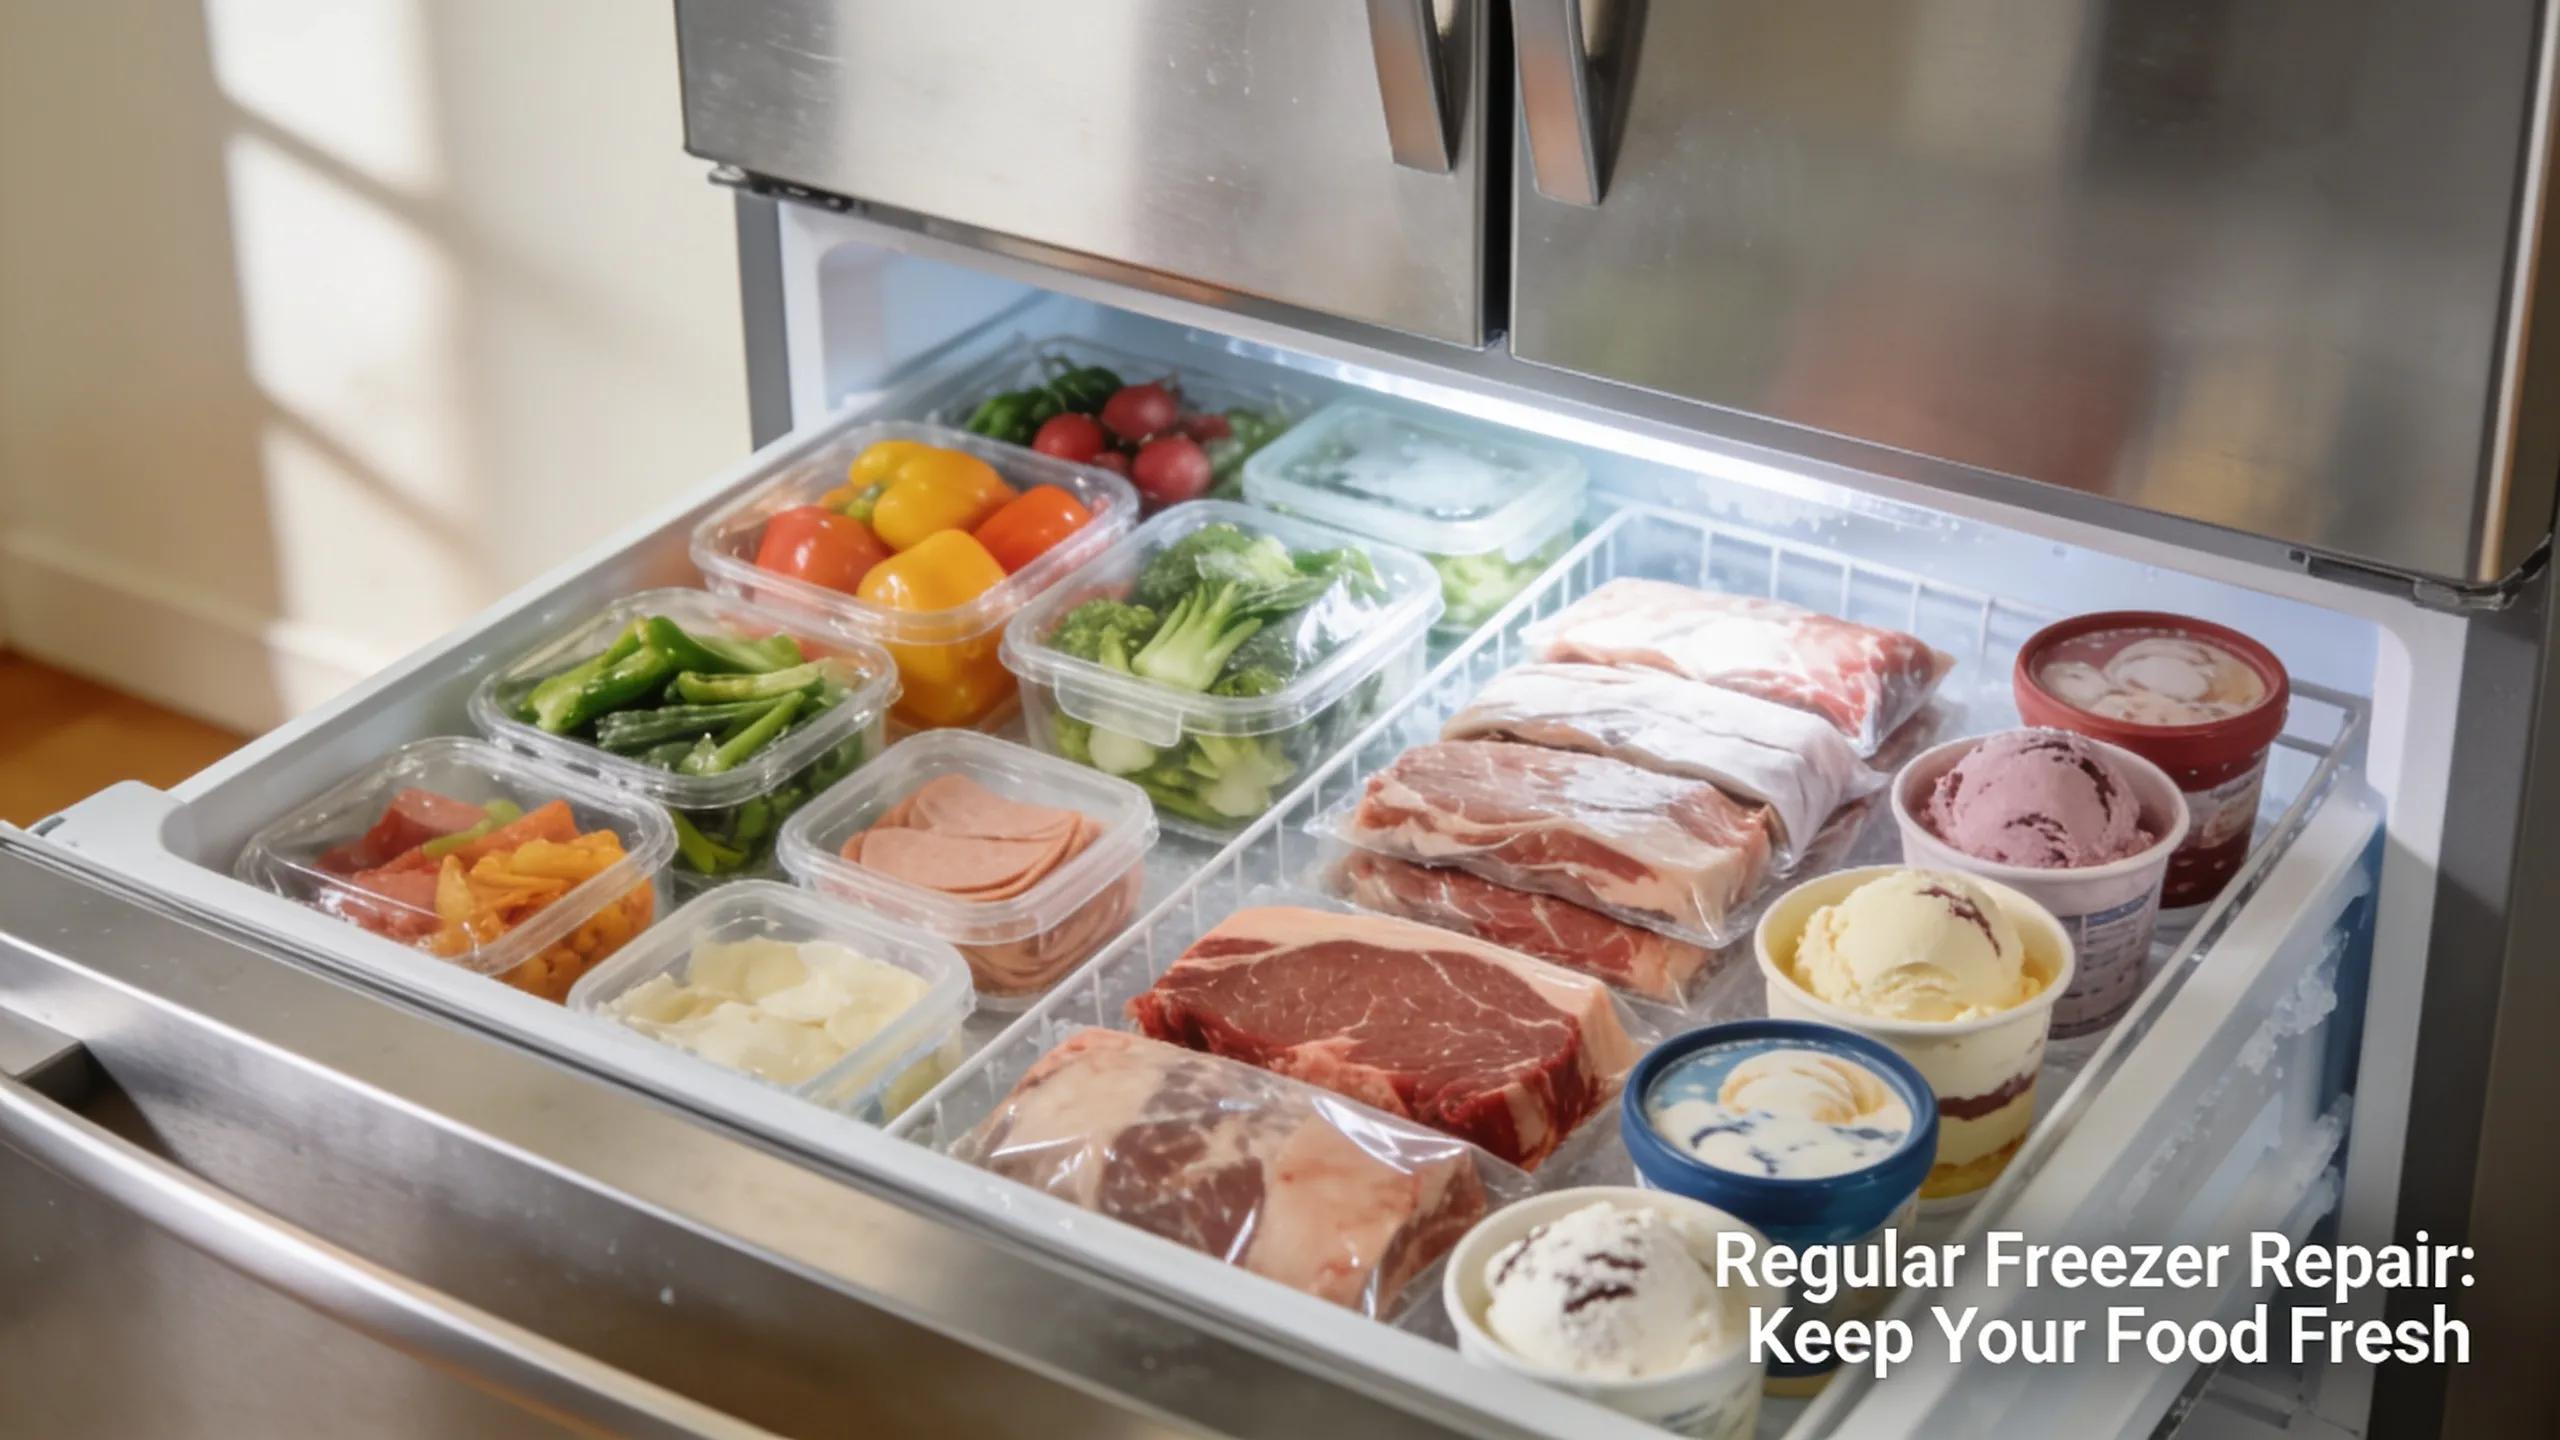
How Often Should Commercial Refrigeration Units Be Maintained to Extend Life?
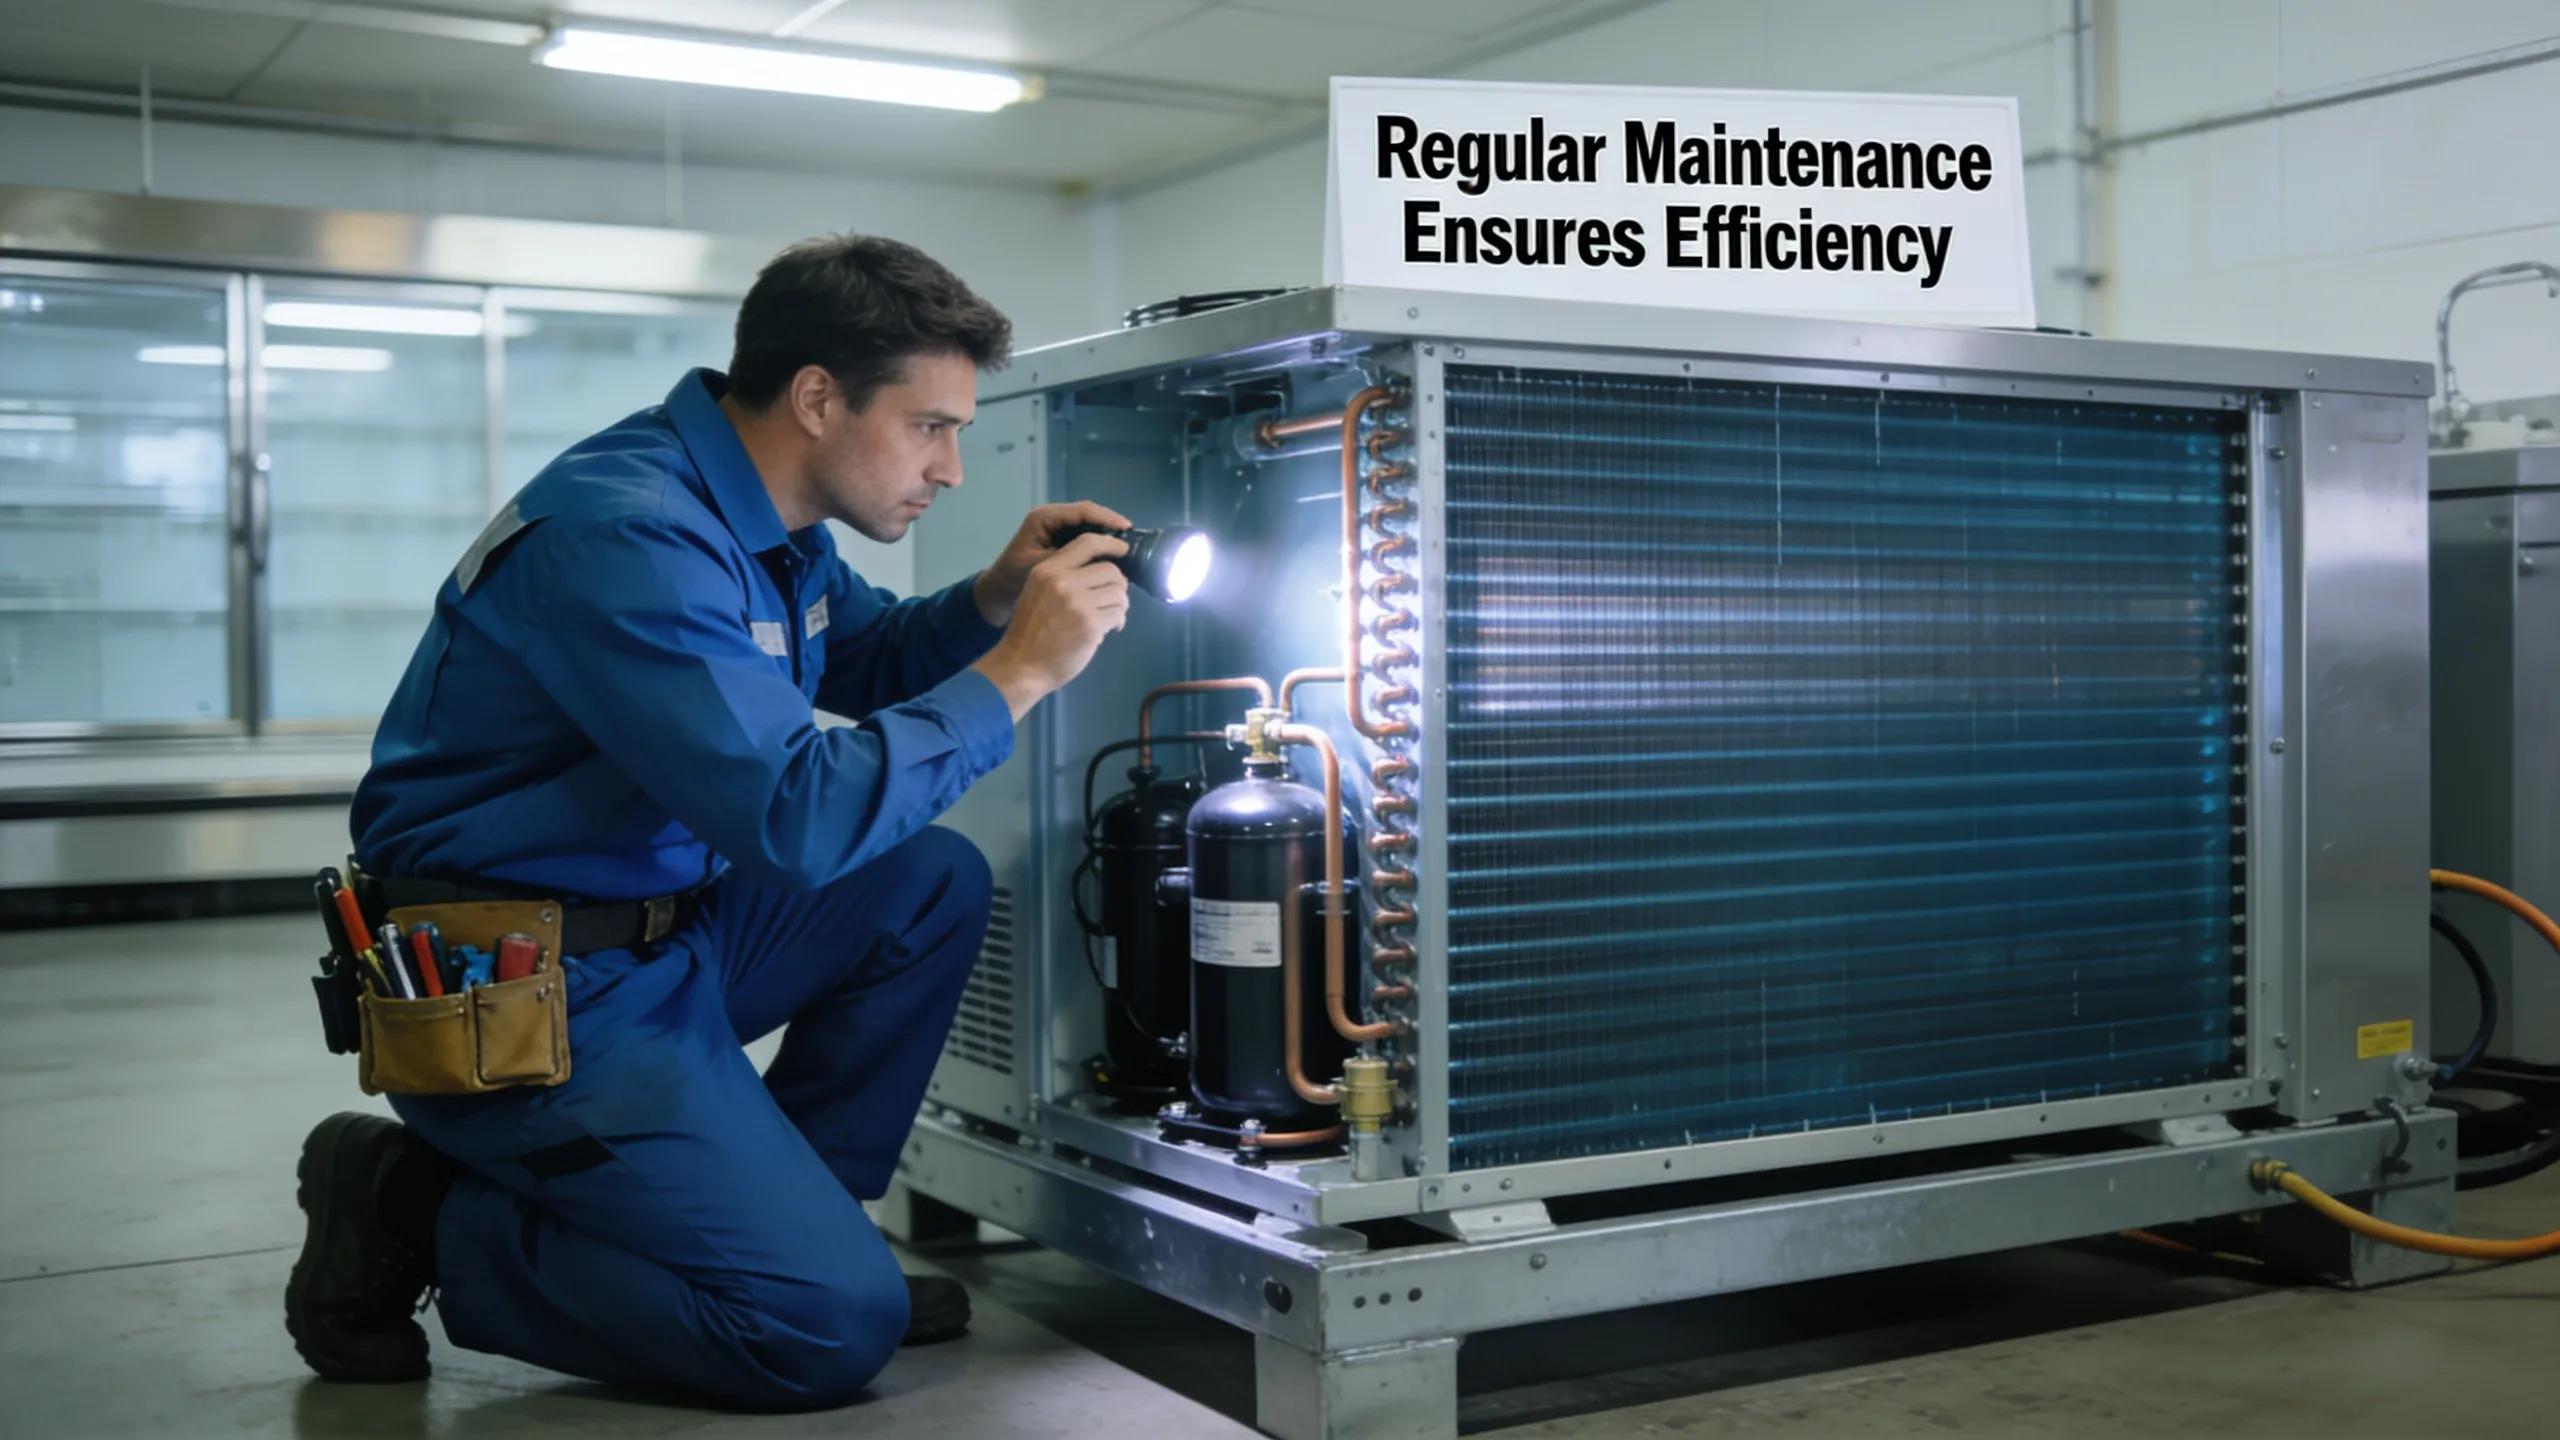
Regular maintenance extends equipment life, prevents emergencies, and keeps systems running efficiently.
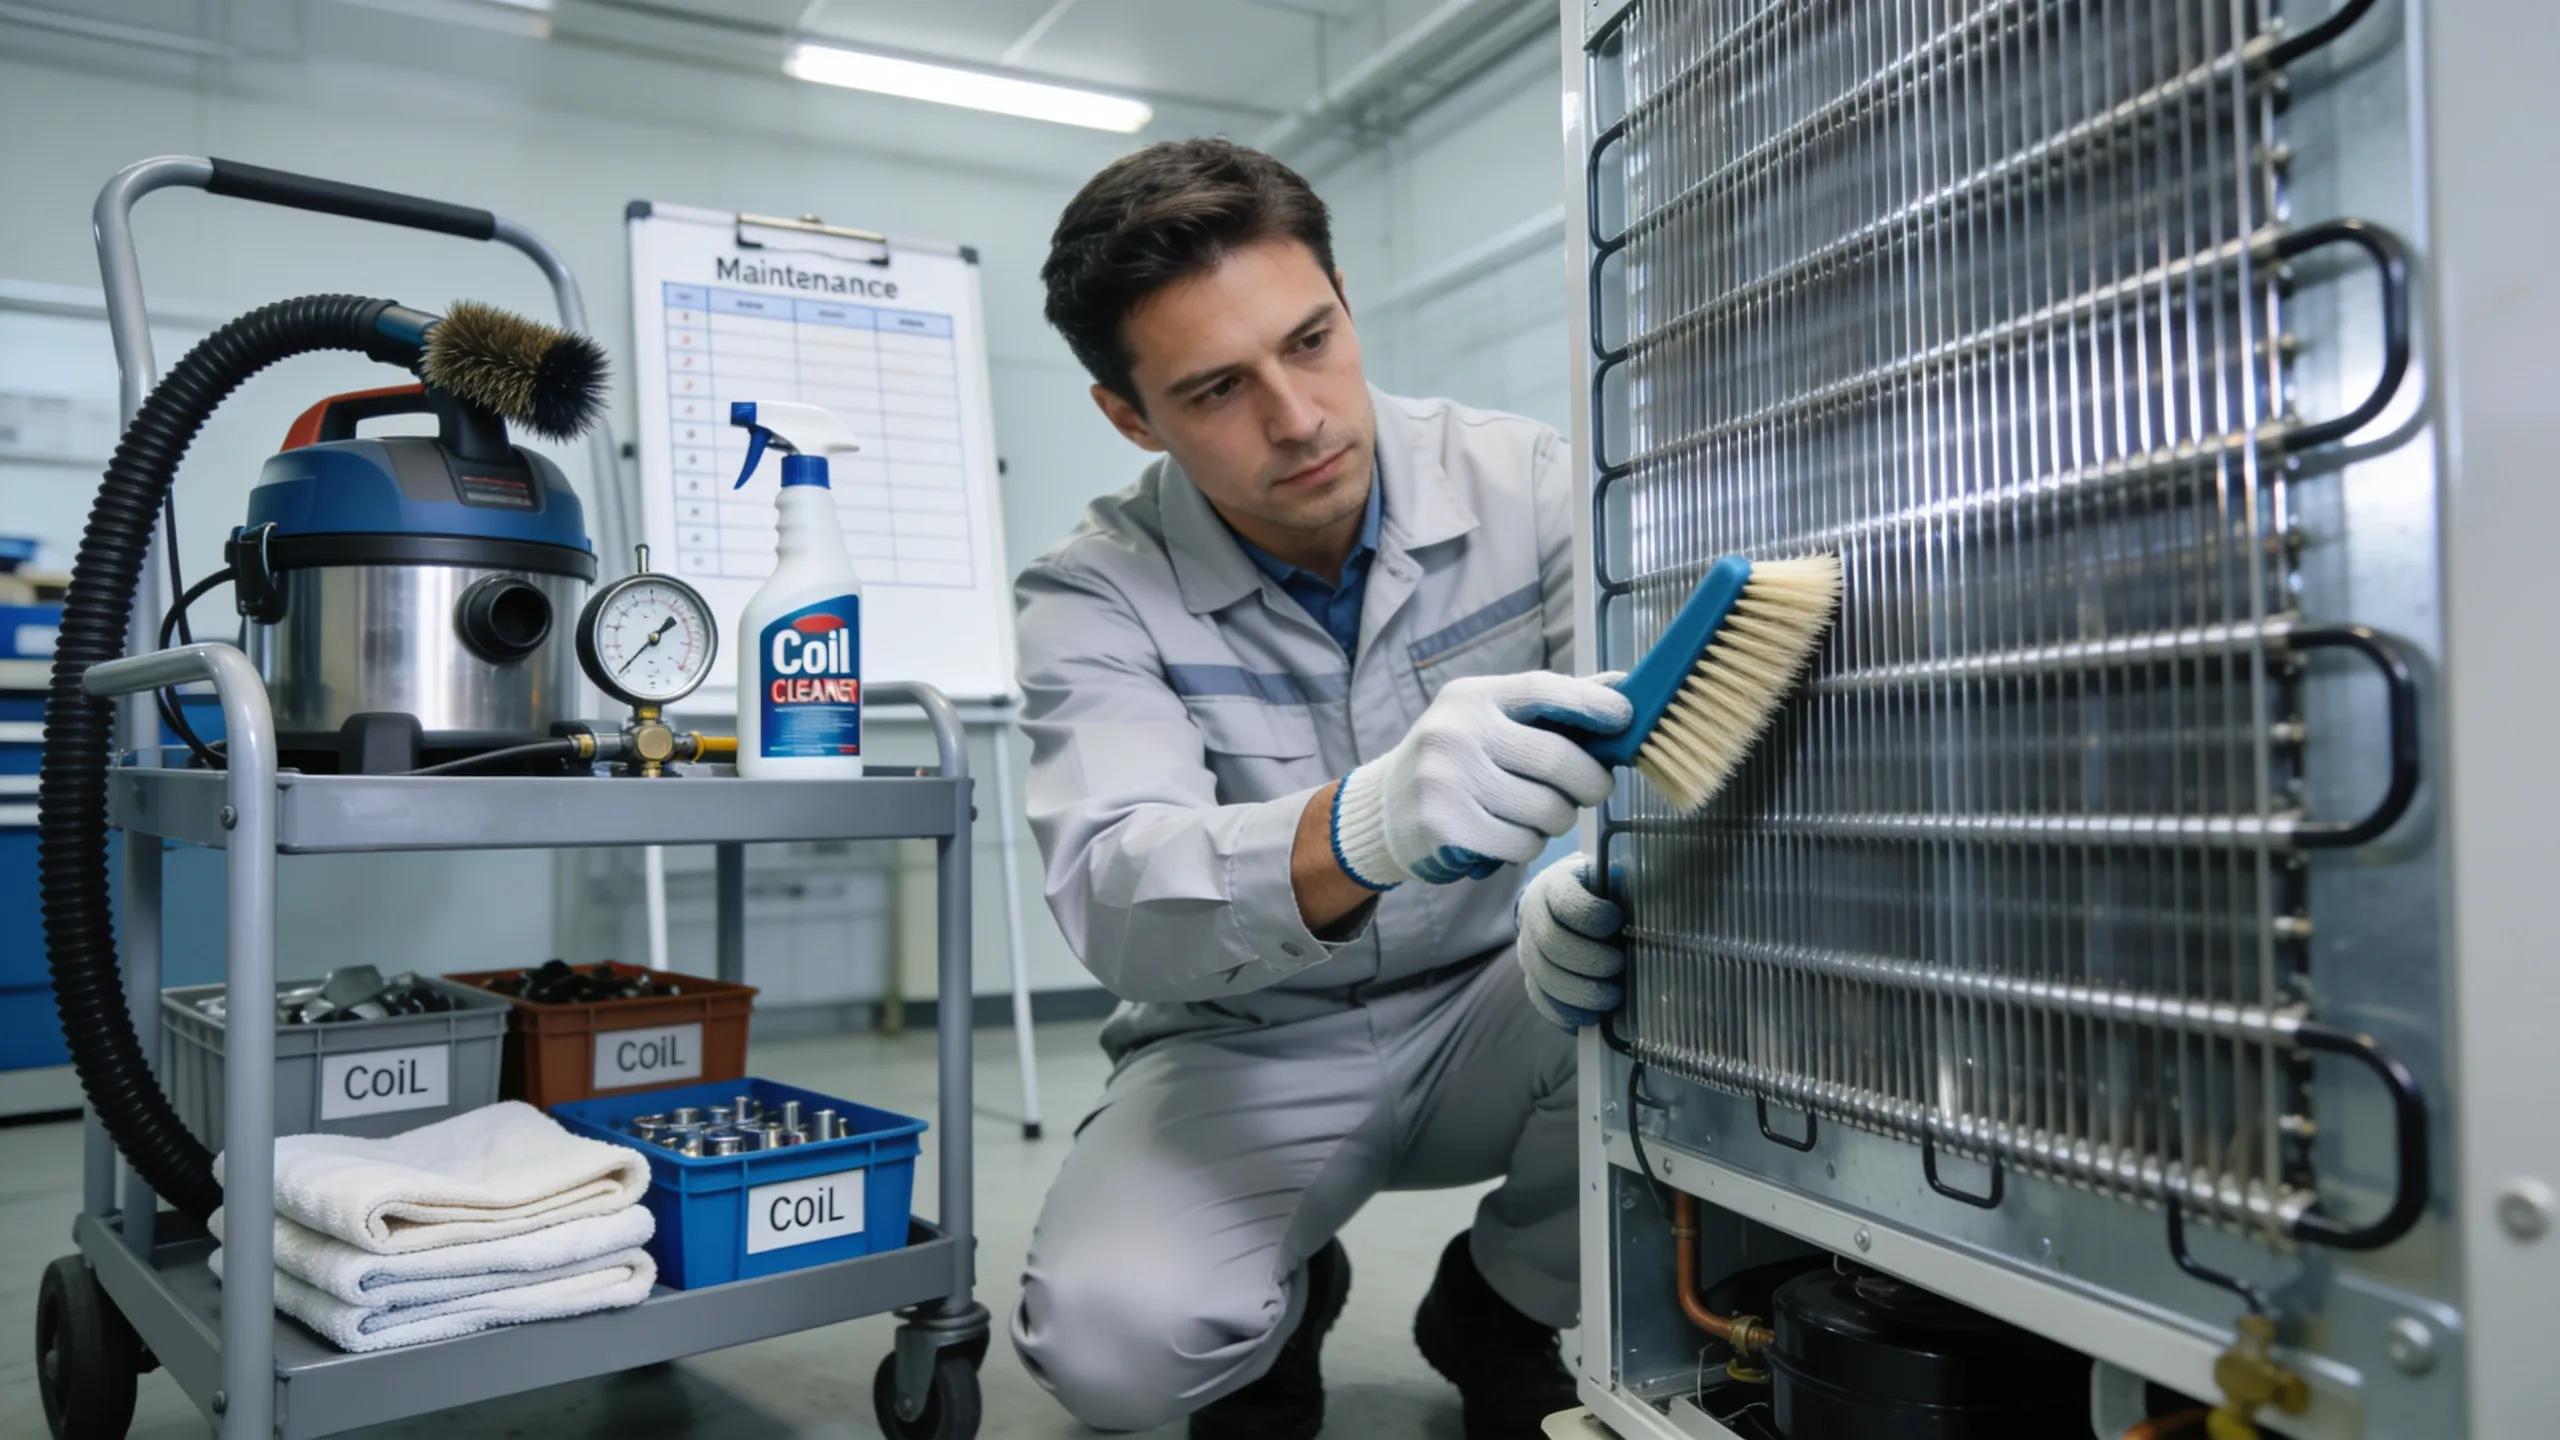
Can Proper Maintenance Delay the Need for Replacement?
Yes. A strict maintenance schedule can delay replacement by catching problems early and keeping components in good condition.
- Regular Inspections: Scheduled check-ups help catch potential issues early on, mitigating costly repairs.
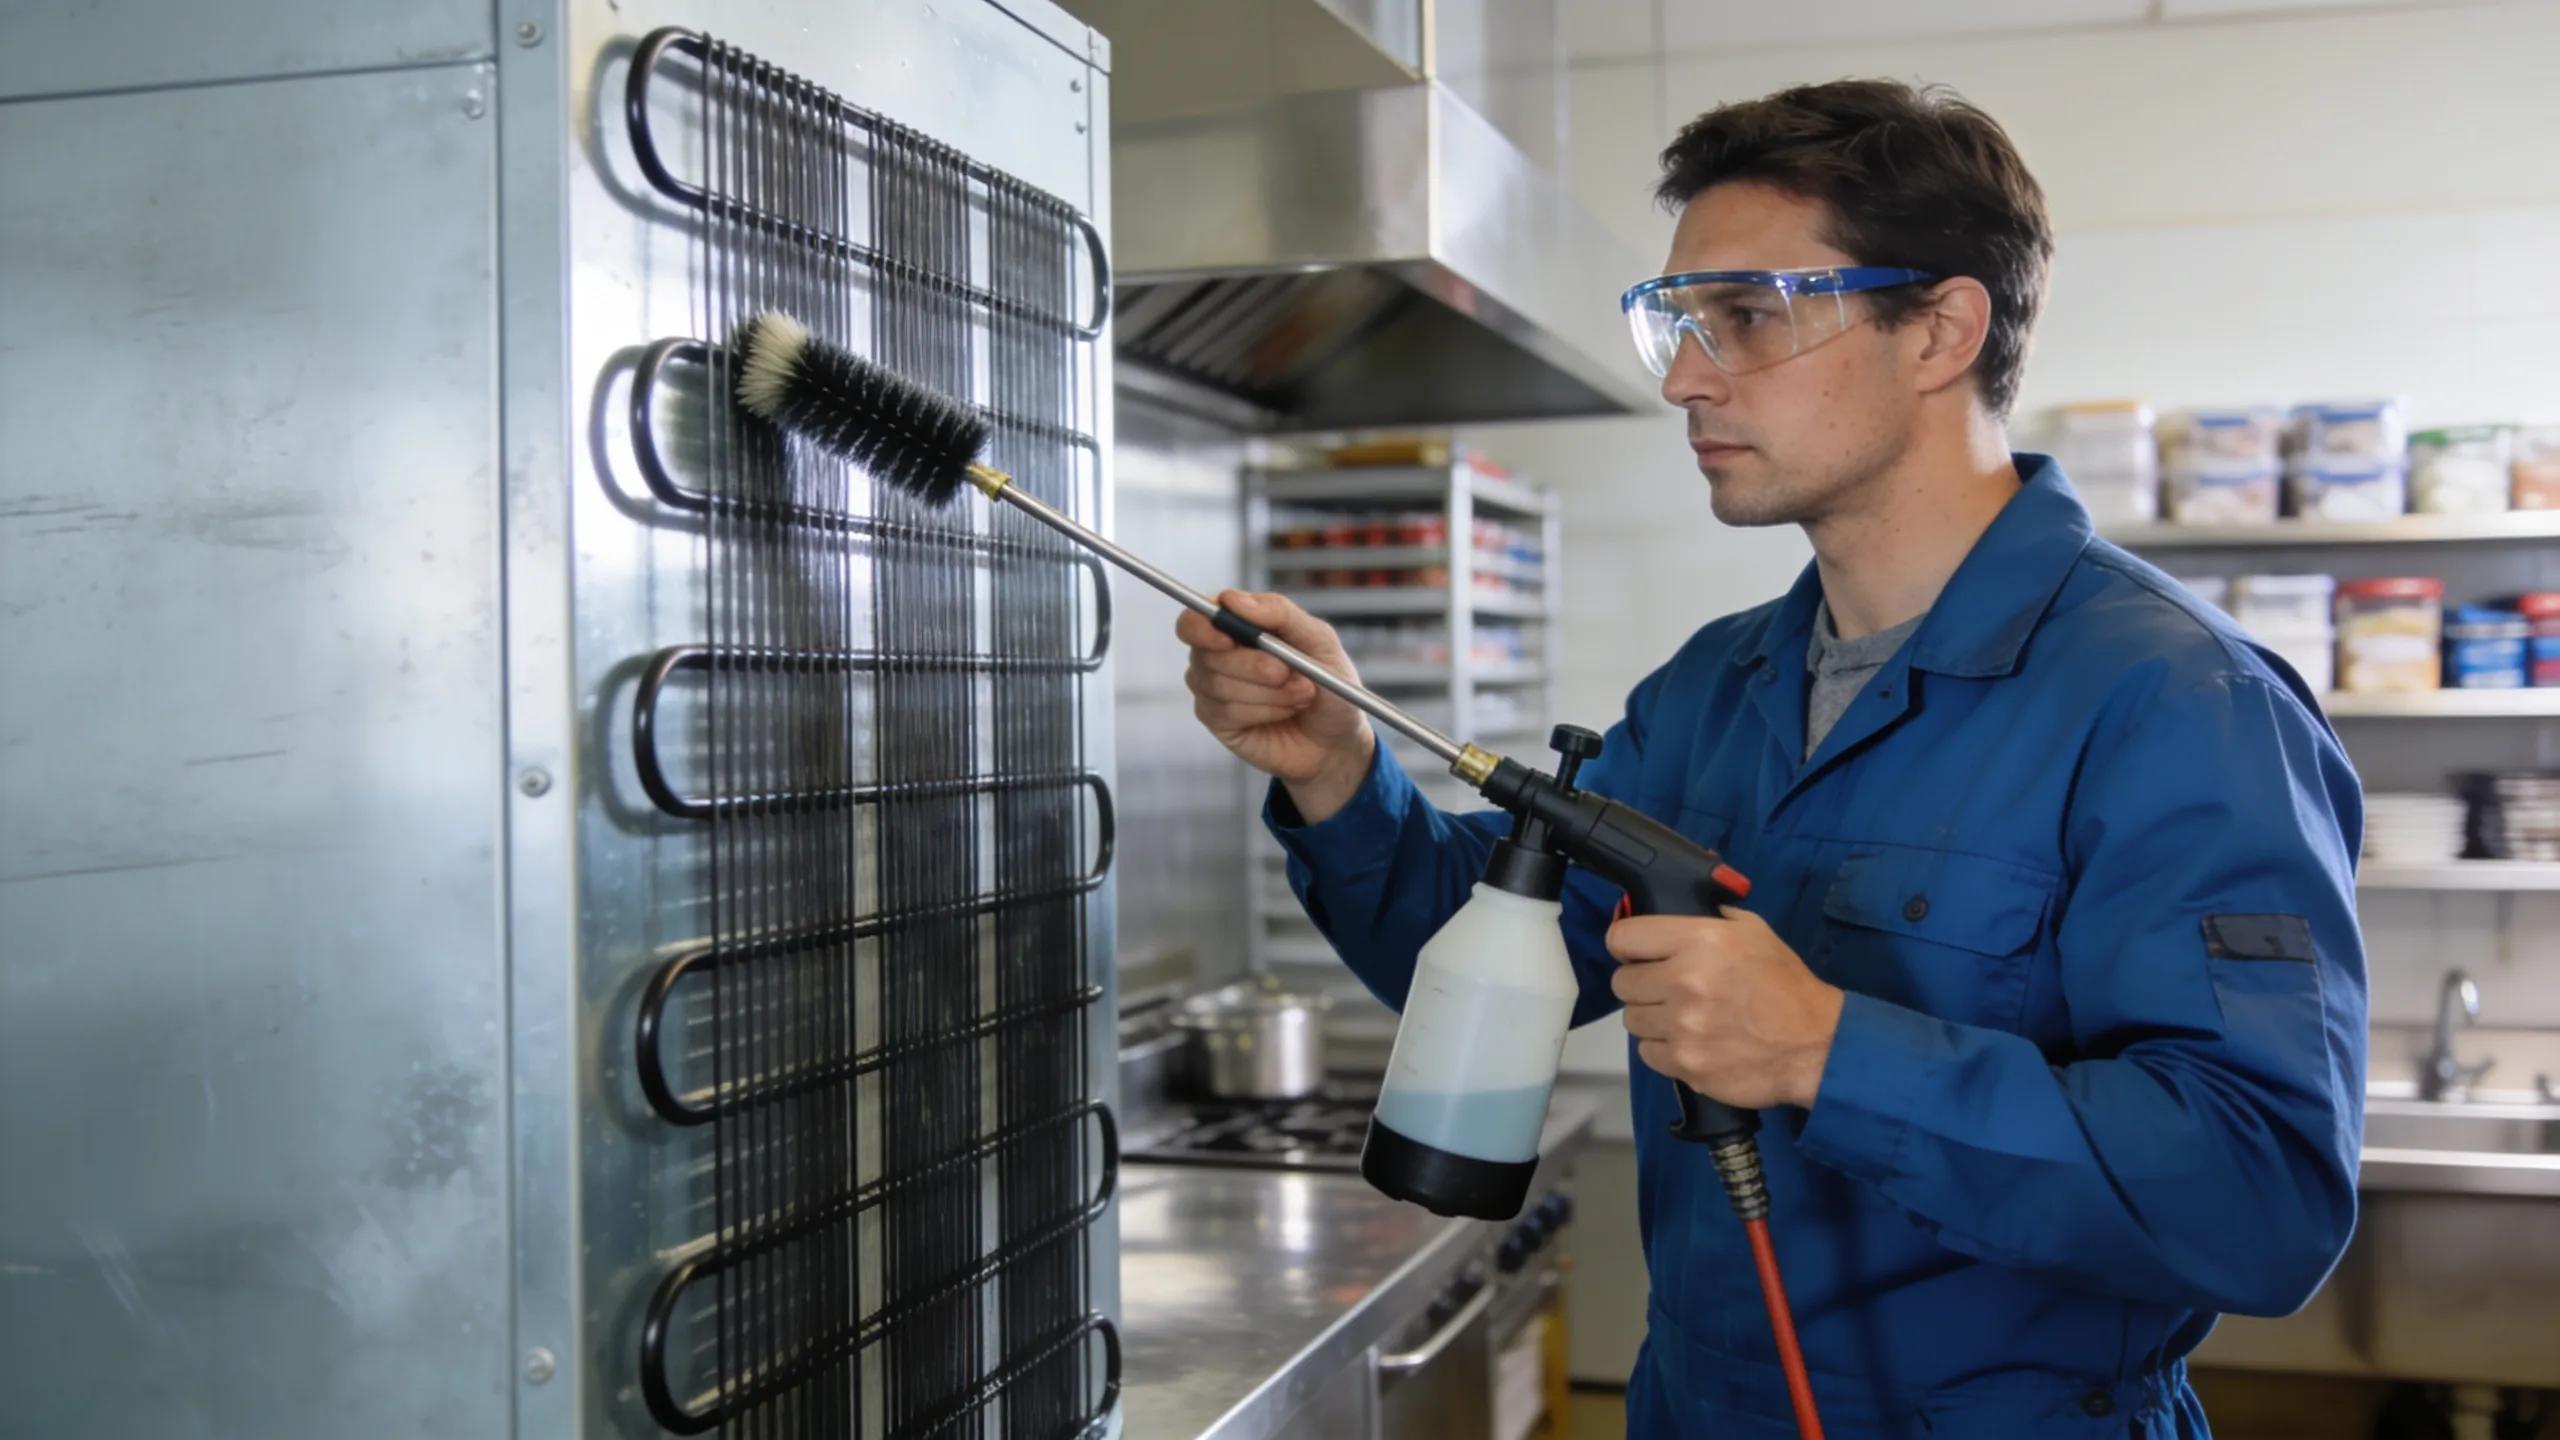
- Routine Cleaning: Keeping the coils and components clean optimizes performance and efficiency.
- Addressing Small Repairs Immediately: Fixing minor issues prevents them from escalating and requiring extensive repairs or replacements later.
With diligent maintenance, many businesses find their systems performing efficiently for decades.
How to Schedule Commercial Refrigeration Service and What to Expect
Scheduling service is simple and helps minimise downtime so you can restore functionality quickly.
How to Get a Free Quote and Schedule Online with Youngs Heating and Cooling
To schedule service with Youngs Heating and Cooling, complete their online form for a free quote. The details you provide speed the scheduling process, and you can normally expect a response within 24 hours. Youngs Heating and Cooling is known for a customer-focused approach and refrigeration expertise.
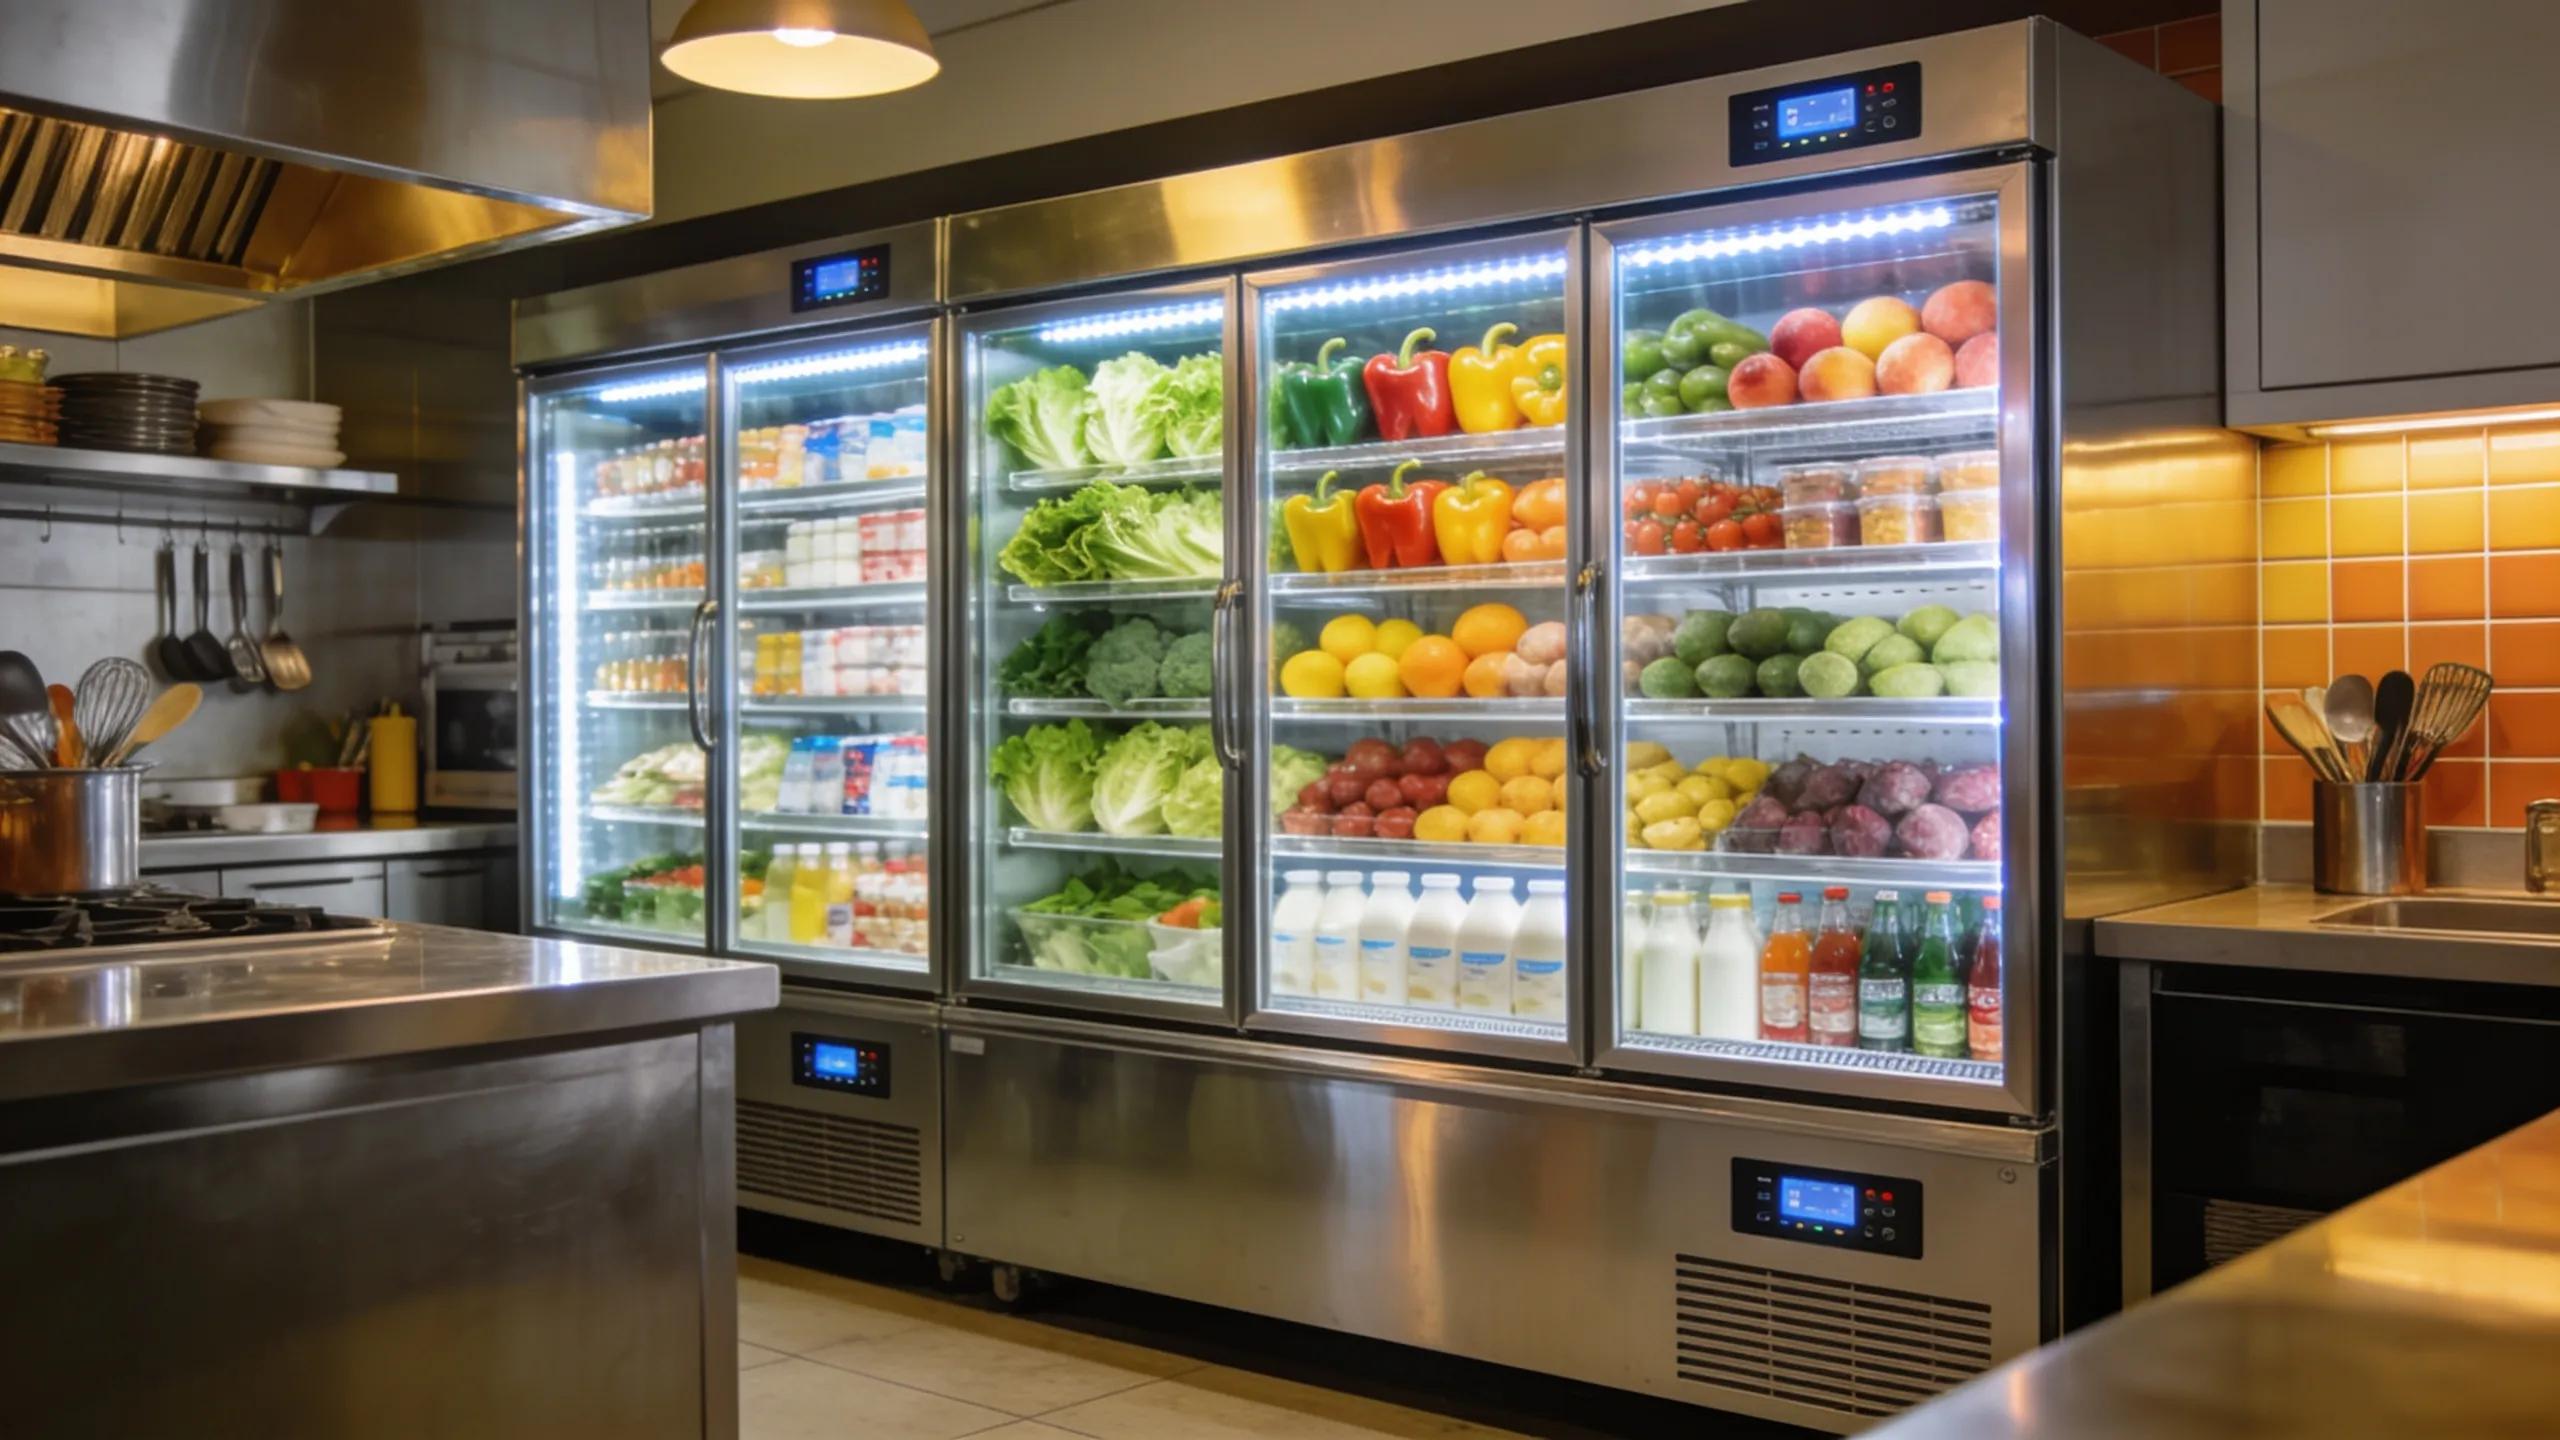
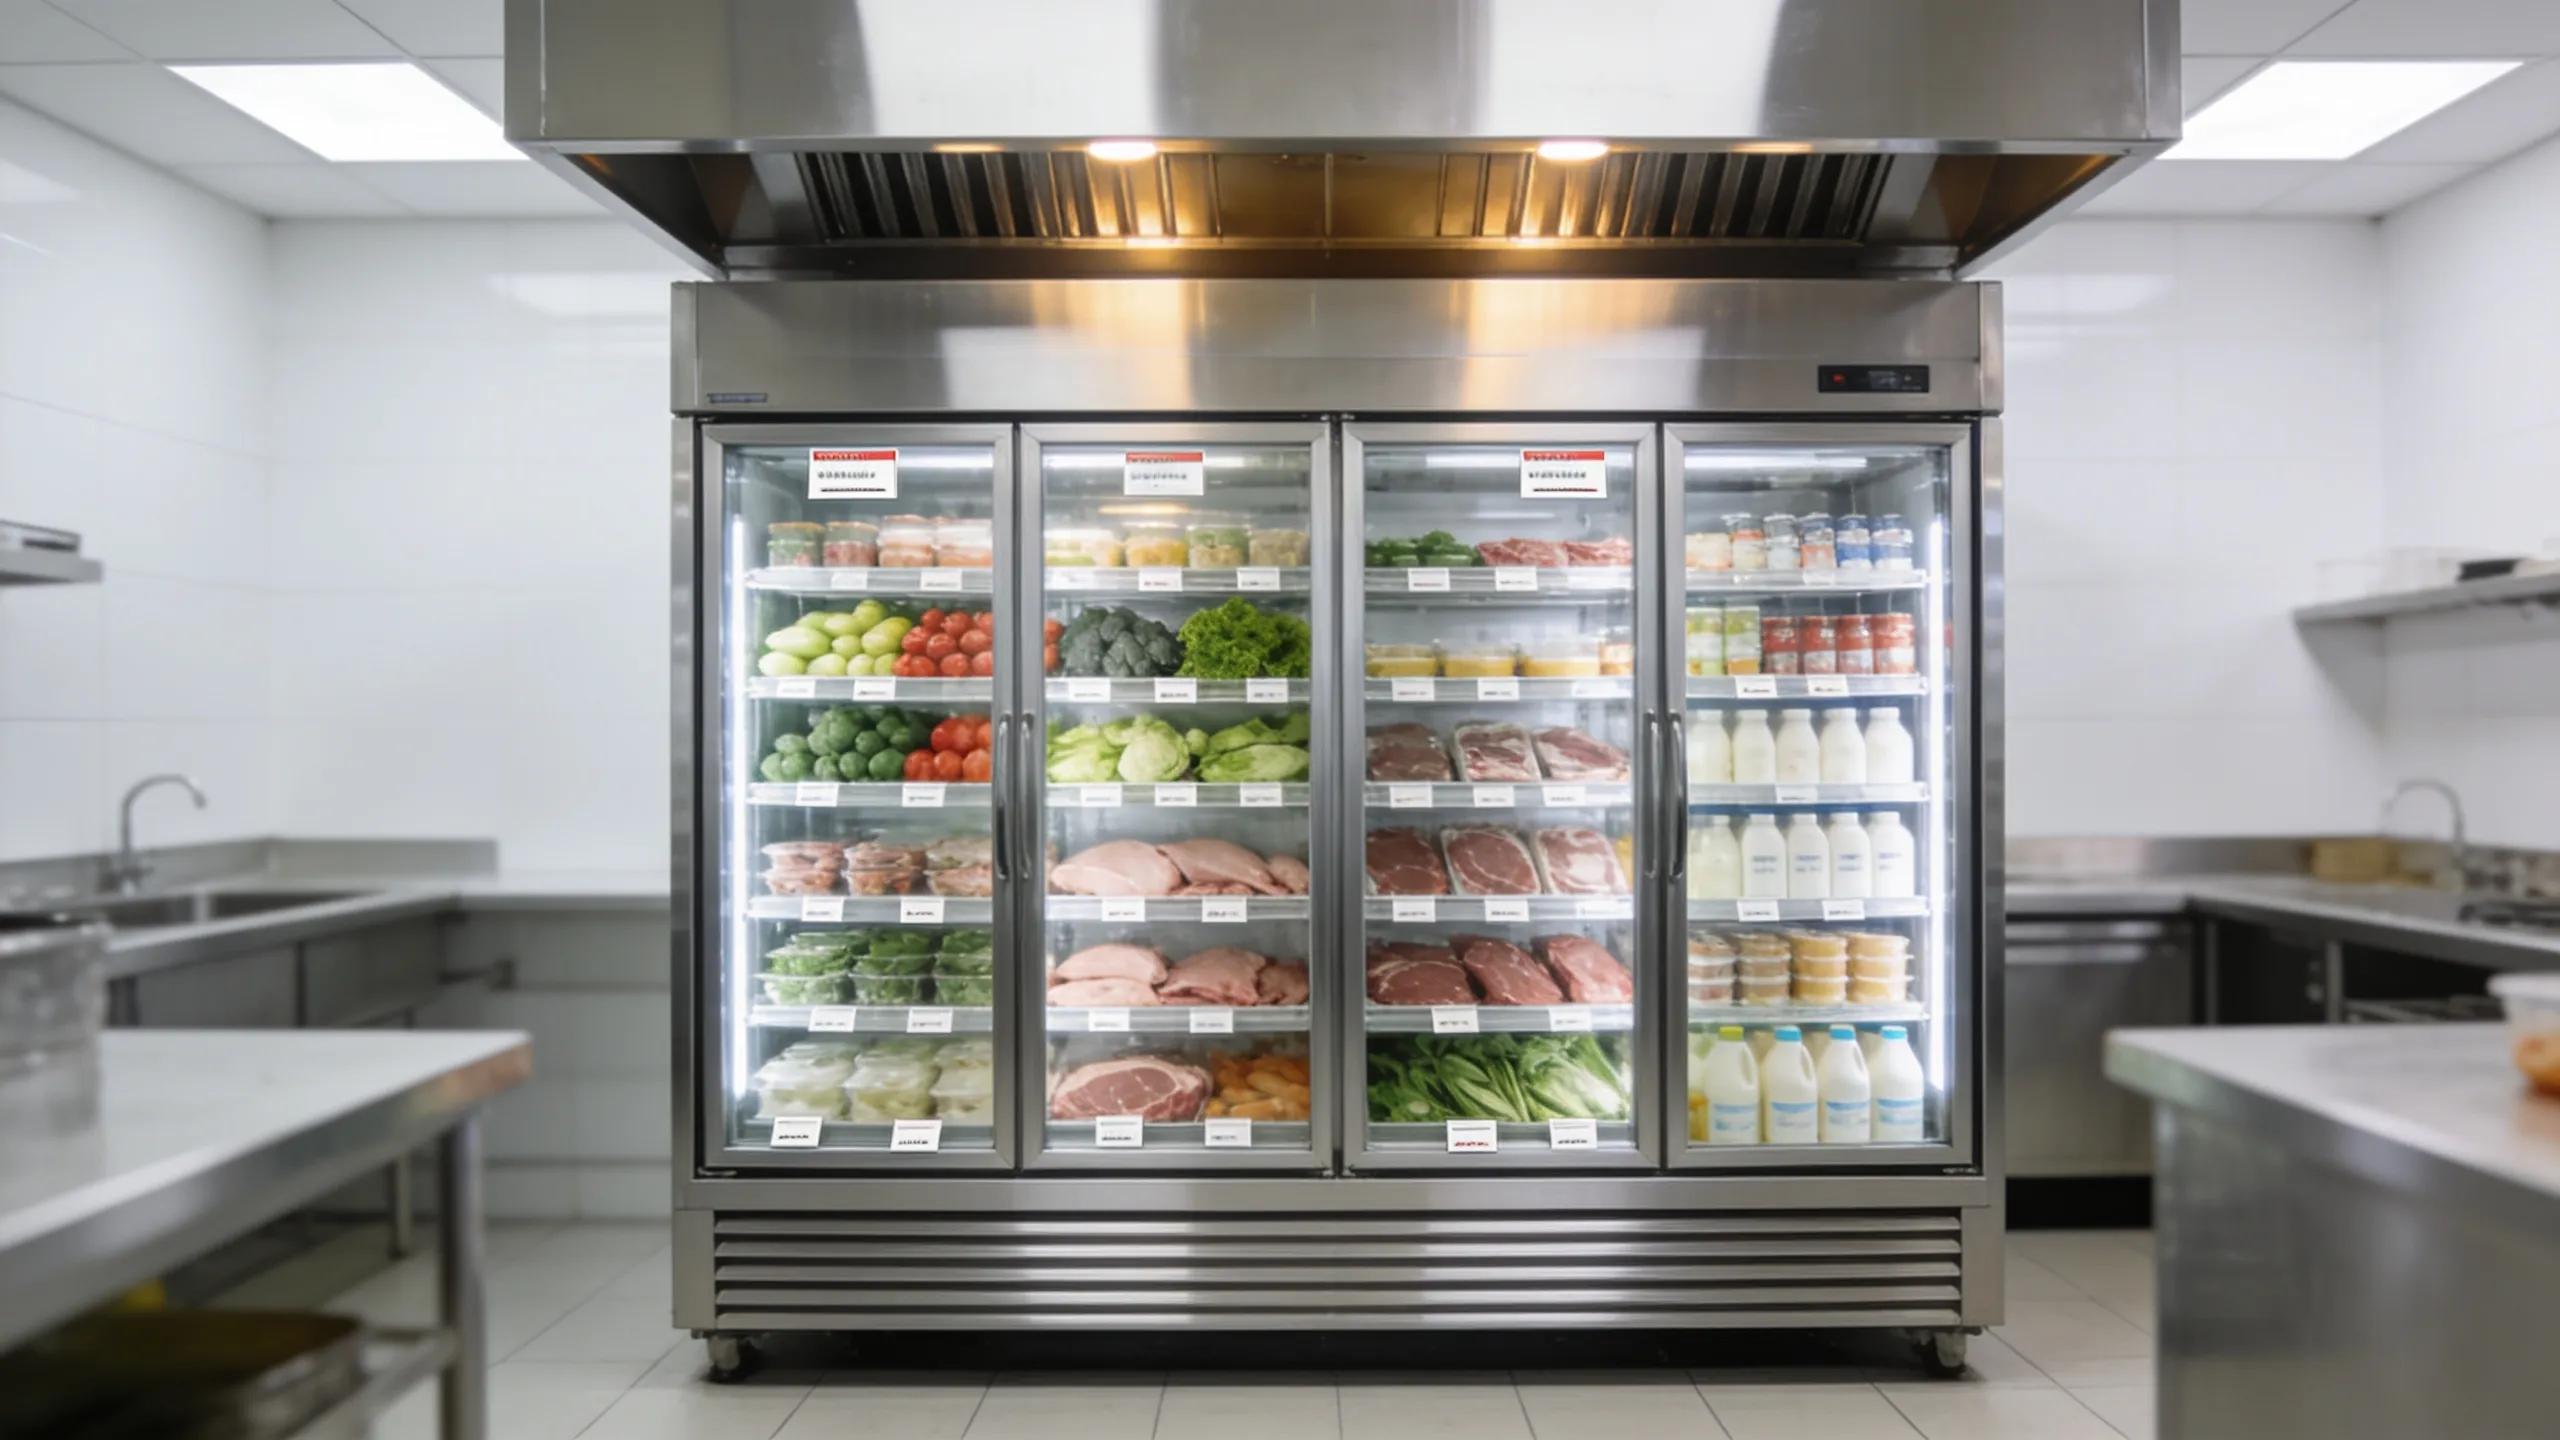
What Brands and Models Are Best for Longevity and Energy Efficiency?
When replacing a commercial refrigeration unit, choose brands and models built for longevity and efficiency. Traulsen, True, and Commercial Refrigeration are established options known for reliable, energy-efficient equipment.
How Do Warranty and Local Service Availability Affect Replacement Choices?
- Warranty Length and Coverage: Brands offering extensive warranties reflect confidence in their products and provide peace of mind.
- Local Service Options: Choosing a brand with readily available local support ensures prompt service when issues arise.
- User Experiences: Customer feedback can also guide potential purchases, emphasizing the importance of reliable after-sales support.
Weigh warranty terms, local support, and user feedback to make a balanced choice between cost and functionality.
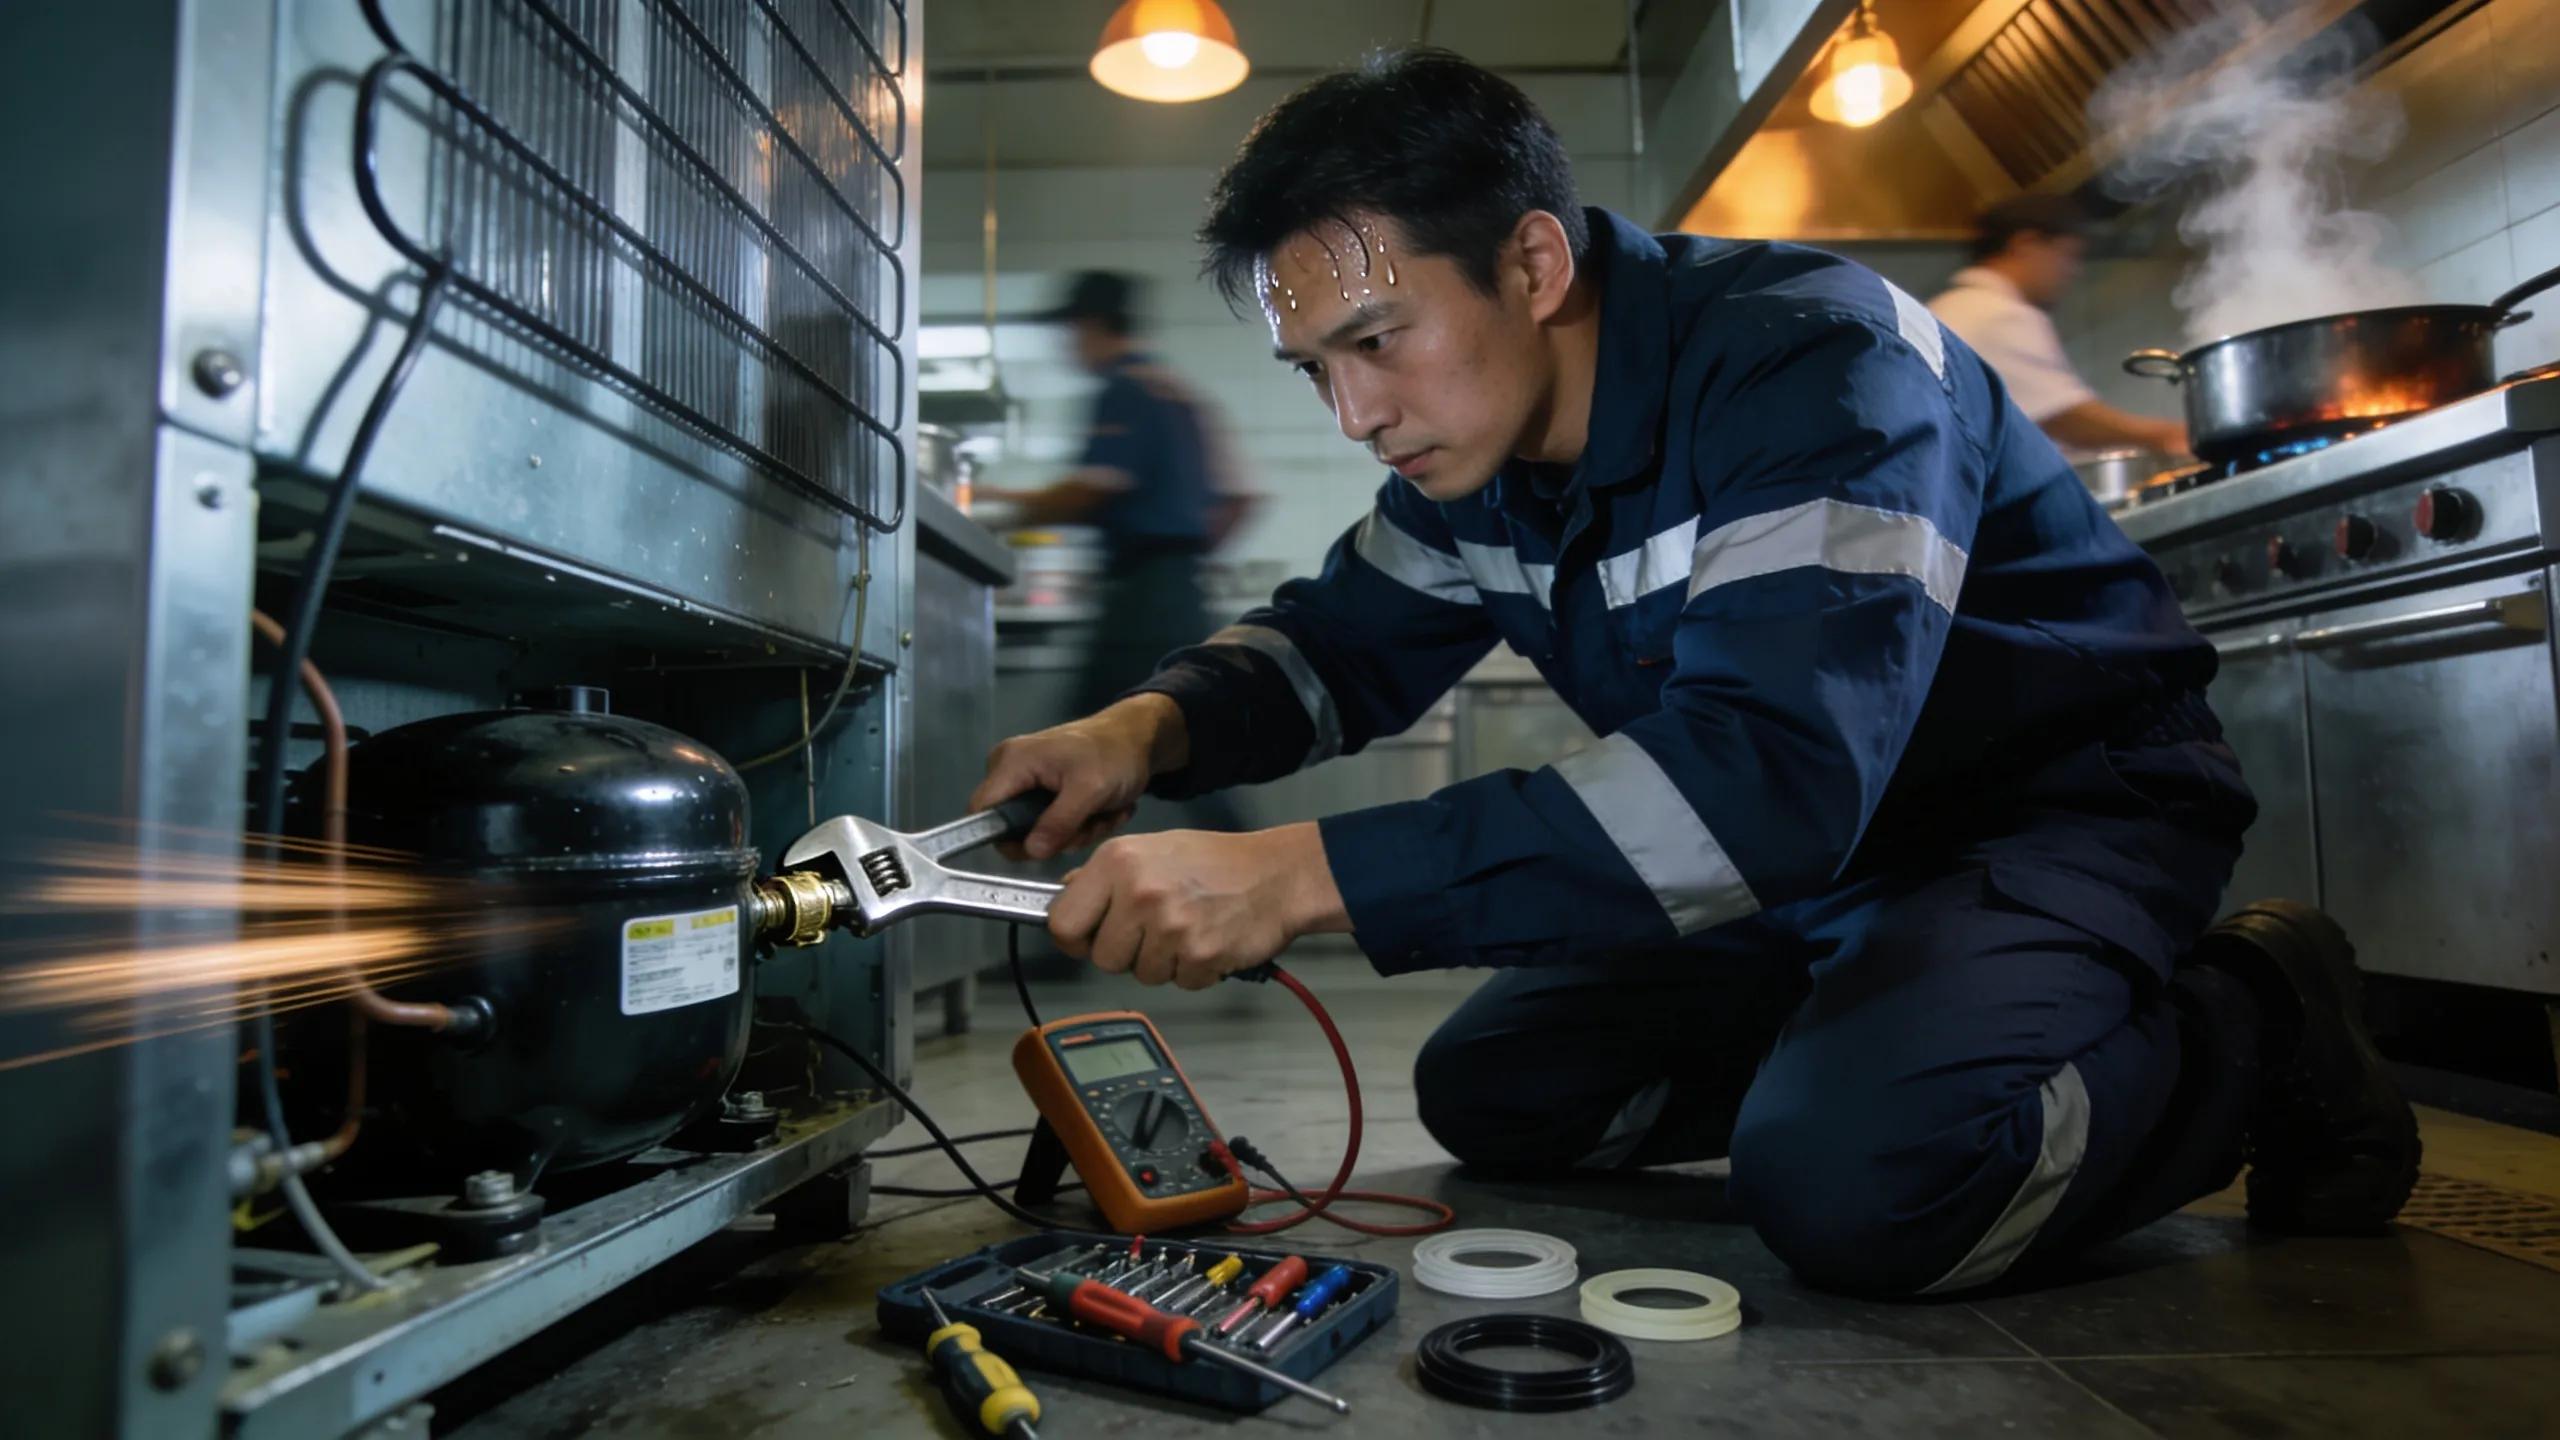
Can I Repair My Commercial Refrigerator Myself?
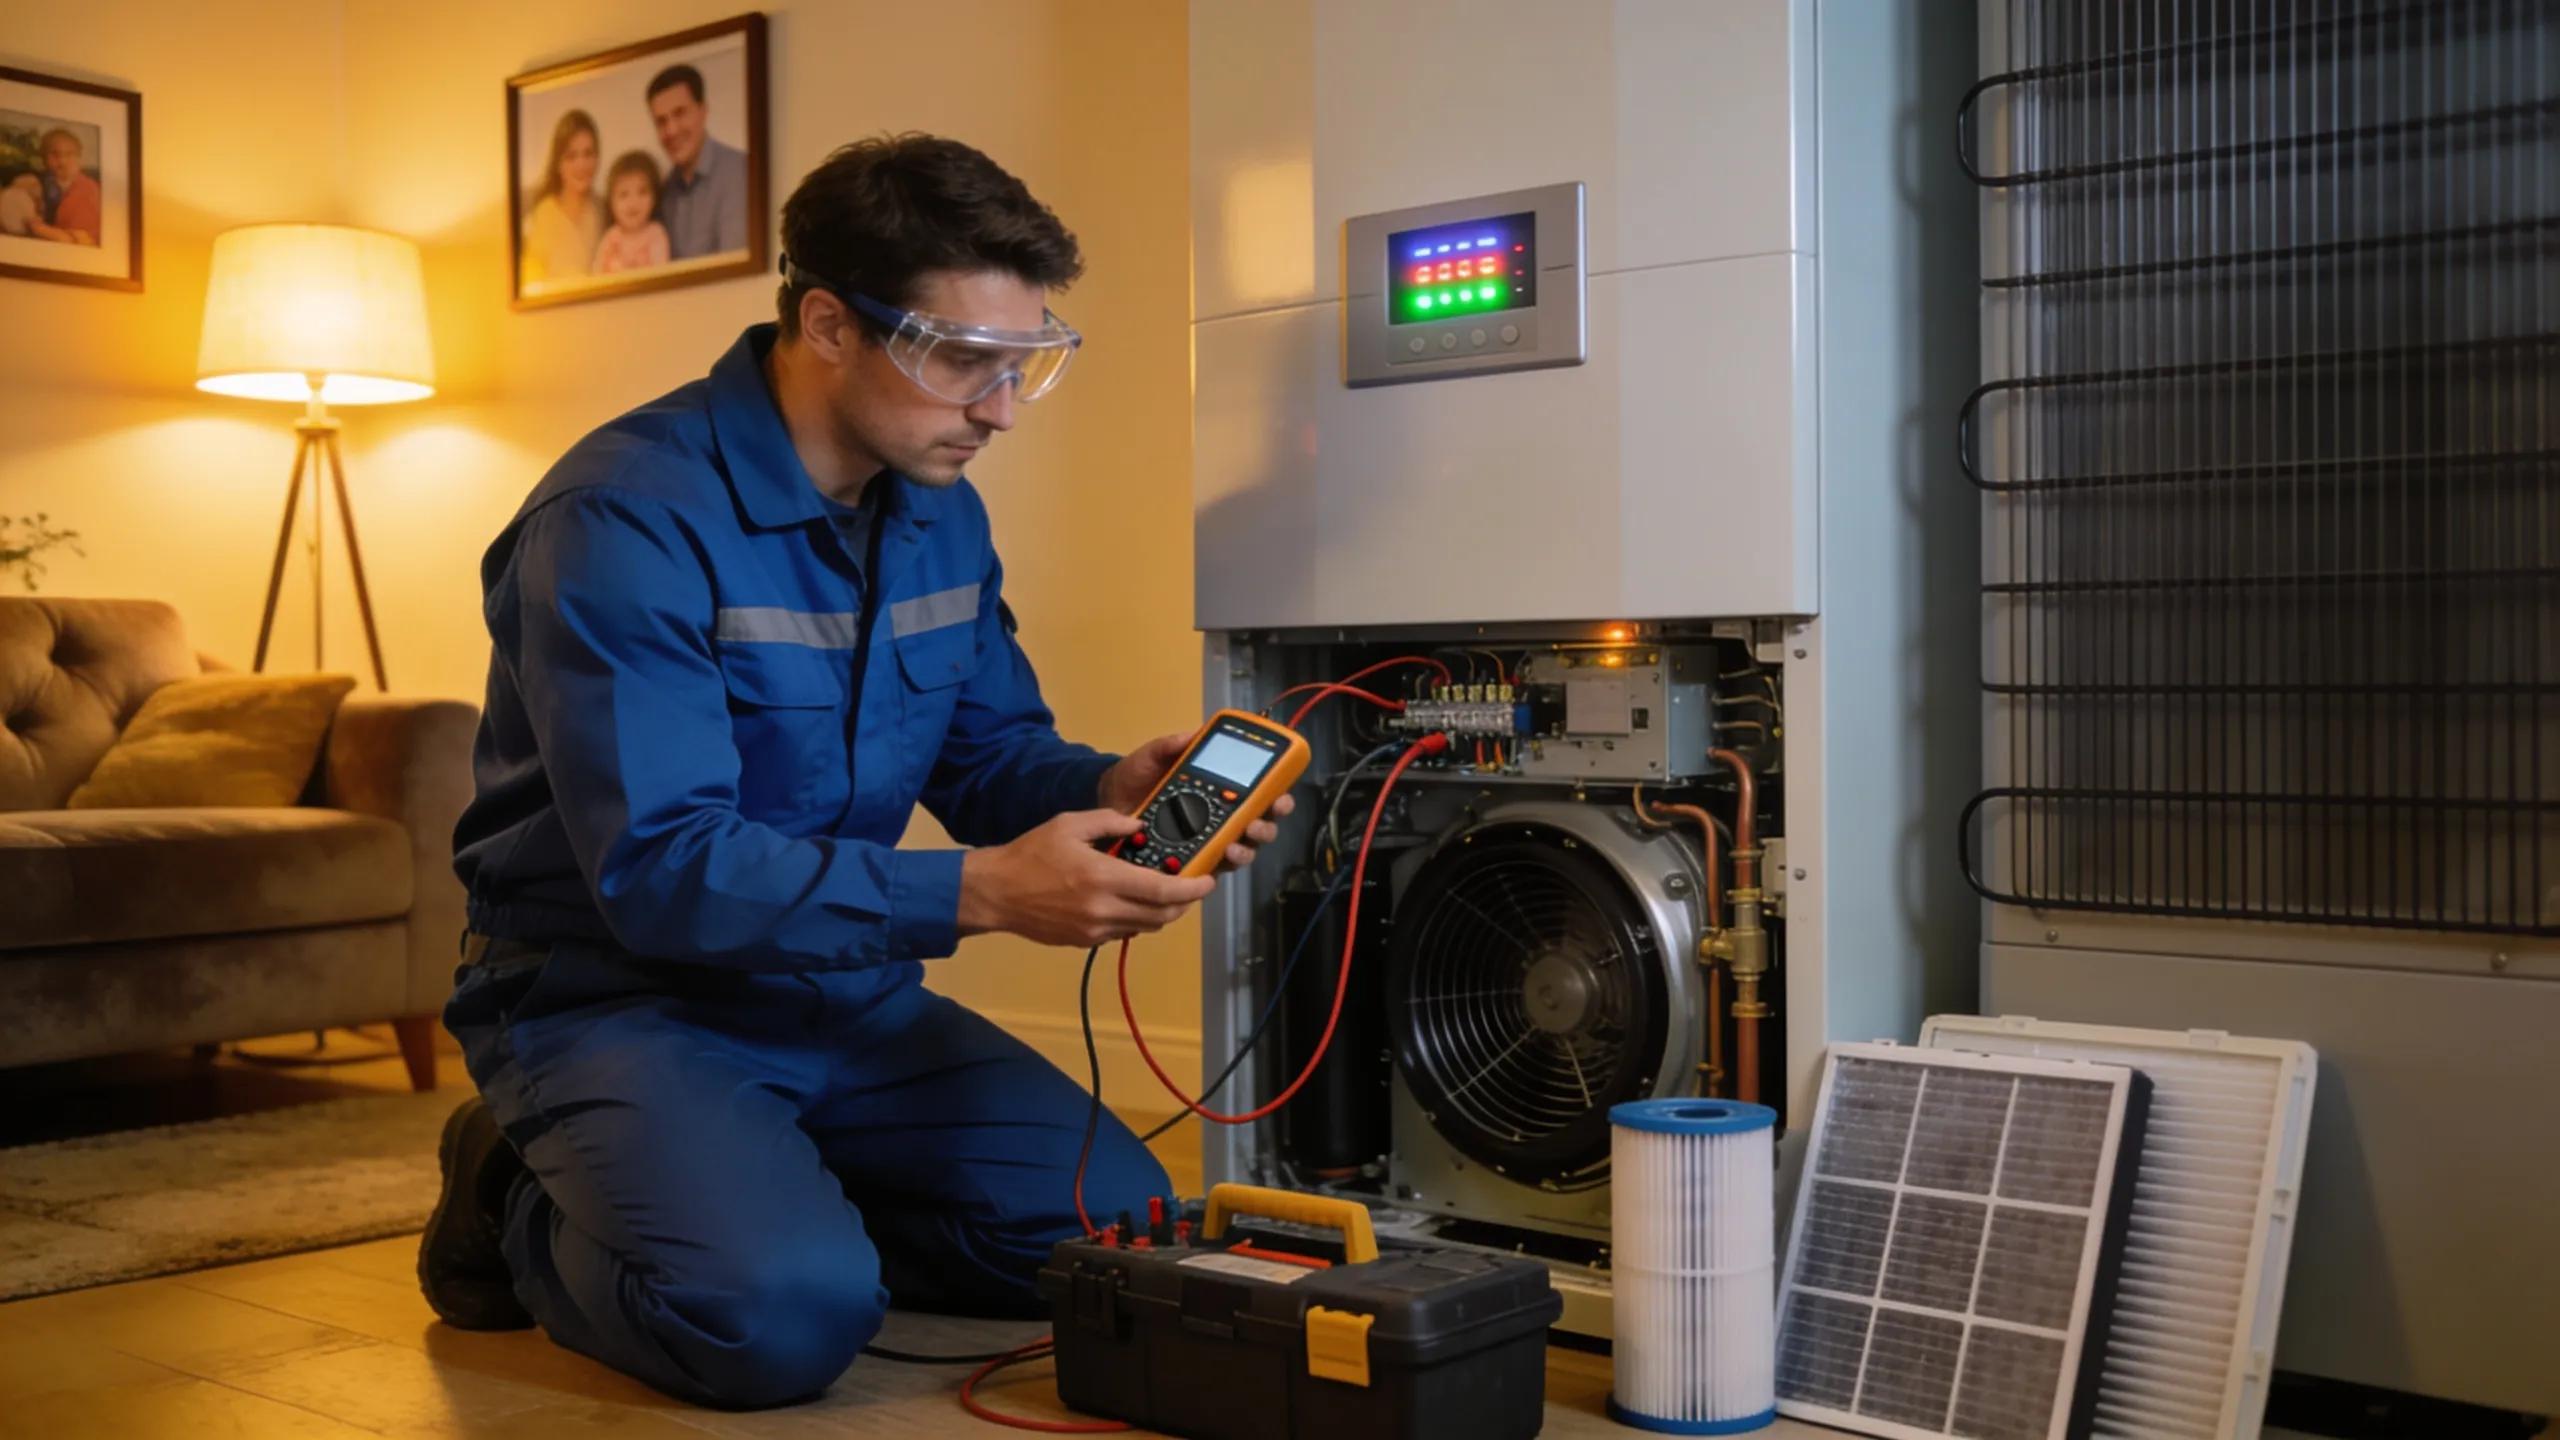
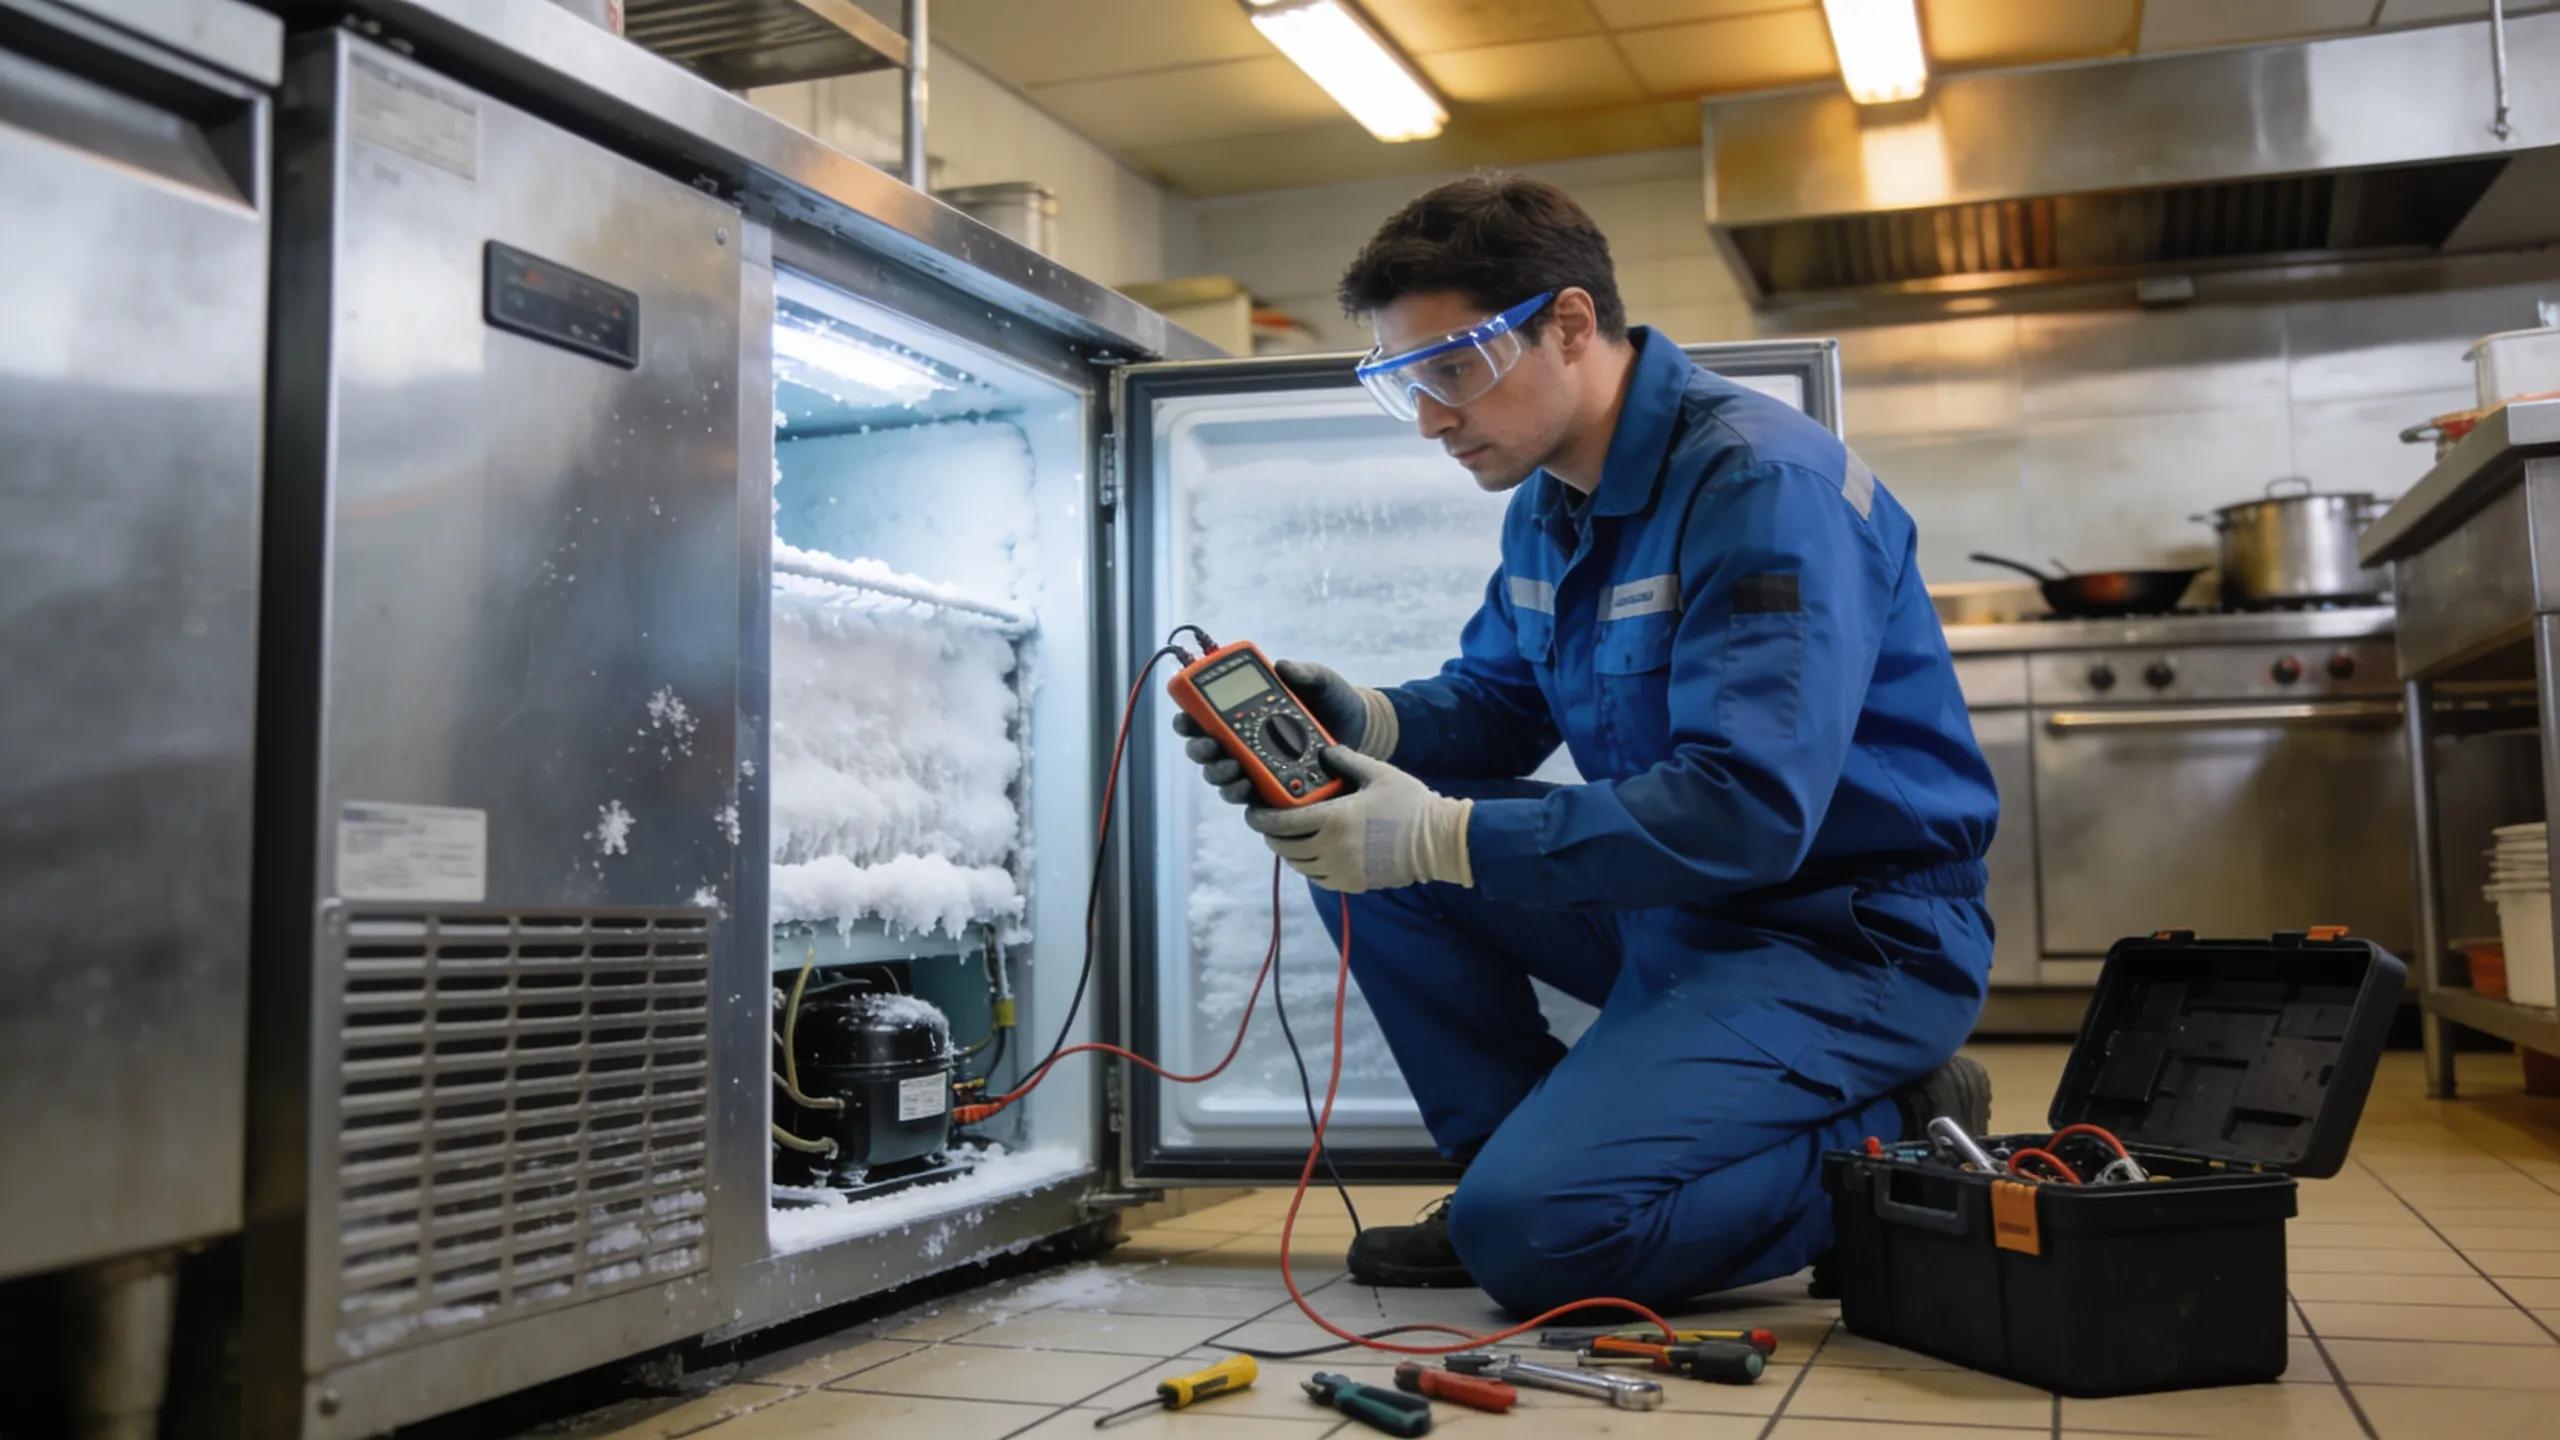
While some DIY work is possible, it’s best to consult a professional for complex issues. Trained technicians handle technical repairs safely, avoid further damage, and protect warranties and insurance coverage.
- Lack of Technical Knowledge: Complex systems require trained technicians for safe and effective repairs.
- Risk of Further Damage: Attempting to fix intricate issues without proper expertise can exacerbate the problem.
- Warranties and Insurance: DIY repairs may void manufacturer’s warranties or insurance policies, leading to greater financial risk.
In short, rely on certified service professionals for repairs and maintenance.
Frequently Asked Questions
What Factors Should Influence My Decision to Repair or Replace?
Decide based on unit age, repair frequency and energy efficiency. If a unit is older than 10 years and needs frequent repairs, replacement is often more economical. Newer models can cut operating costs thanks to improved efficiency. Add up future repair and energy expenses to guide your choice.
How Can I Improve the Energy Efficiency of My Refrigeration Unit?
Improve efficiency by ensuring door seals and insulation are sound. Clean coils regularly and check refrigerant levels. Consider energy-efficient replacements when appropriate, and use temperature monitoring to reduce unnecessary electricity use.
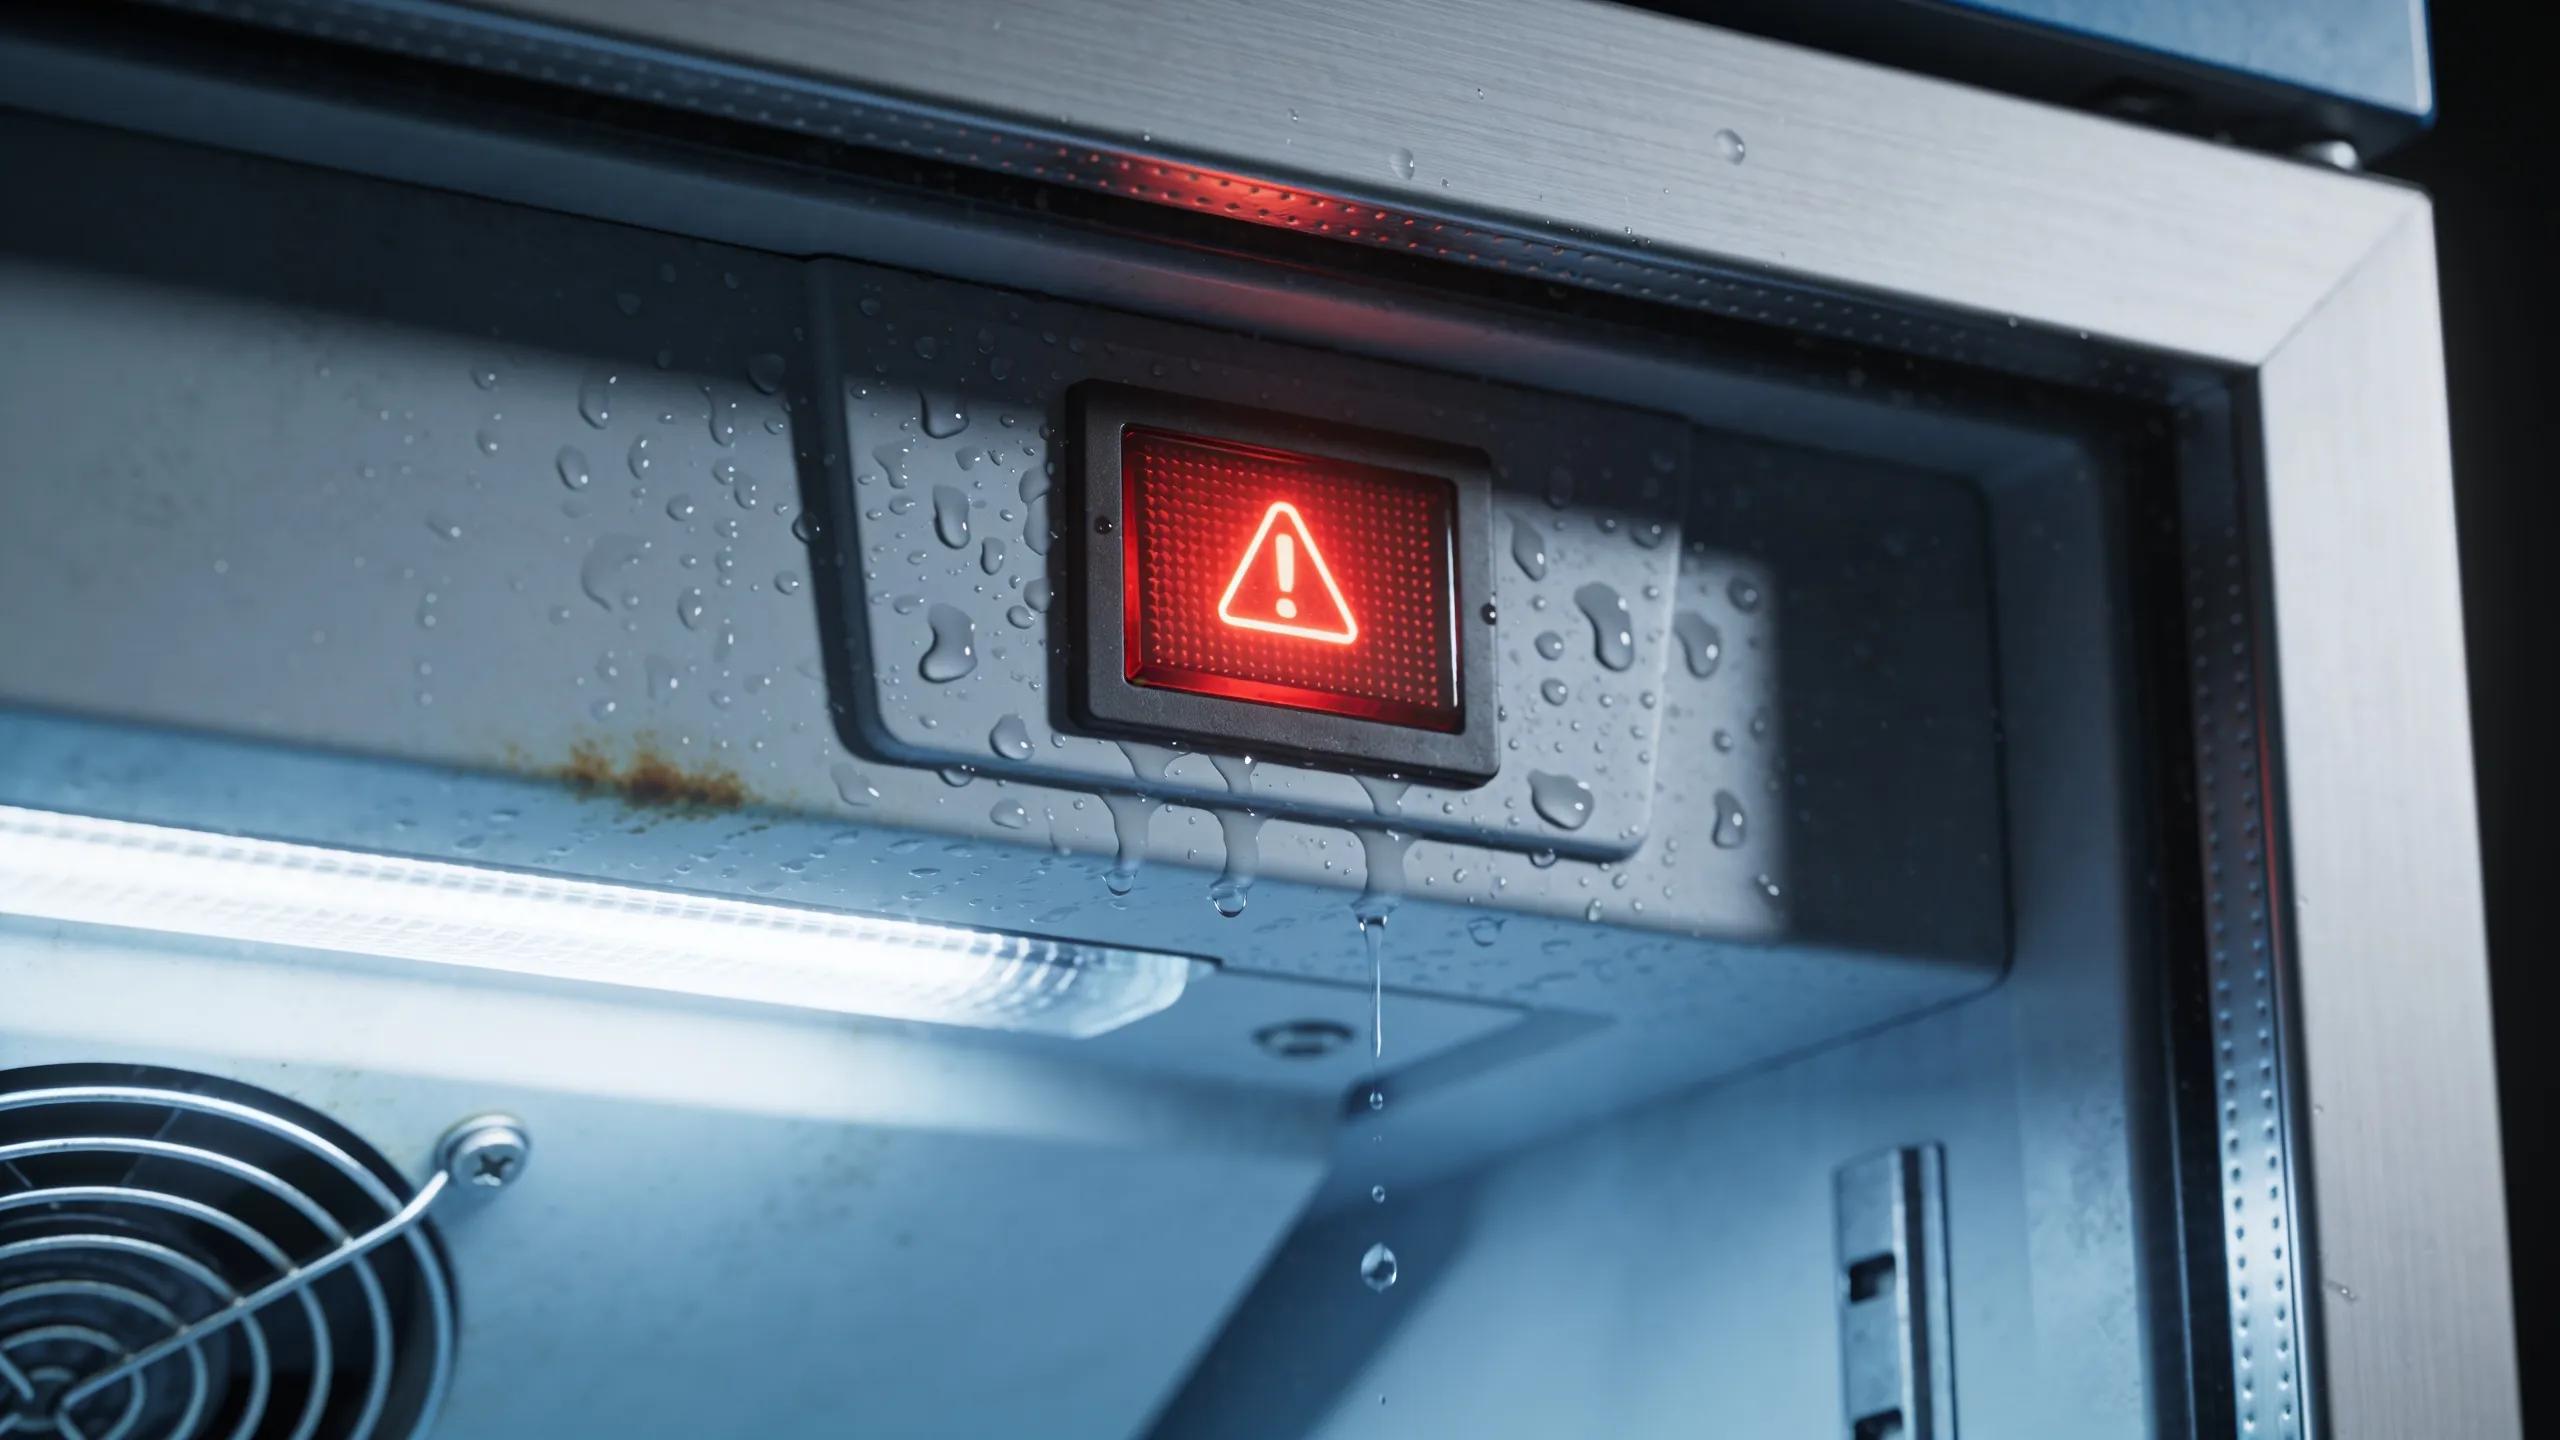
What Are the Risks of Ignoring Refrigeration Unit Issues?
Ignoring issues risks spoilage, higher repair bills and downtime. Minor faults can escalate into major failures that harm customer satisfaction and profits. Inefficient operation also drives up utility costs. Regular checks and prompt repairs reduce these risks.
What Maintenance Practices Extend the Life of Refrigeration Units?
Key maintenance practices include scheduled inspections, regular cleaning of coils and fans, and prompt repair of any faults. Professional check-ups catch hidden problems early and help prevent major breakdowns. These steps significantly extend system life.
How Can I Choose the Right Size Refrigeration Unit for My Needs?
Choose size by assessing storage needs and product types. Follow manufacturer capacity guidelines—oversized units waste energy and undersized units can’t maintain temperatures. Work with a refrigeration expert to match unit size to your operational demands.
Are There Any Seasonal Considerations for Refrigeration Maintenance?
Yes. Warmer months increase load—schedule pre-season checks and ensure good ventilation. In winter, watch for frost buildup and keep drain lines clear. Adjust maintenance frequency to match seasonal demands.
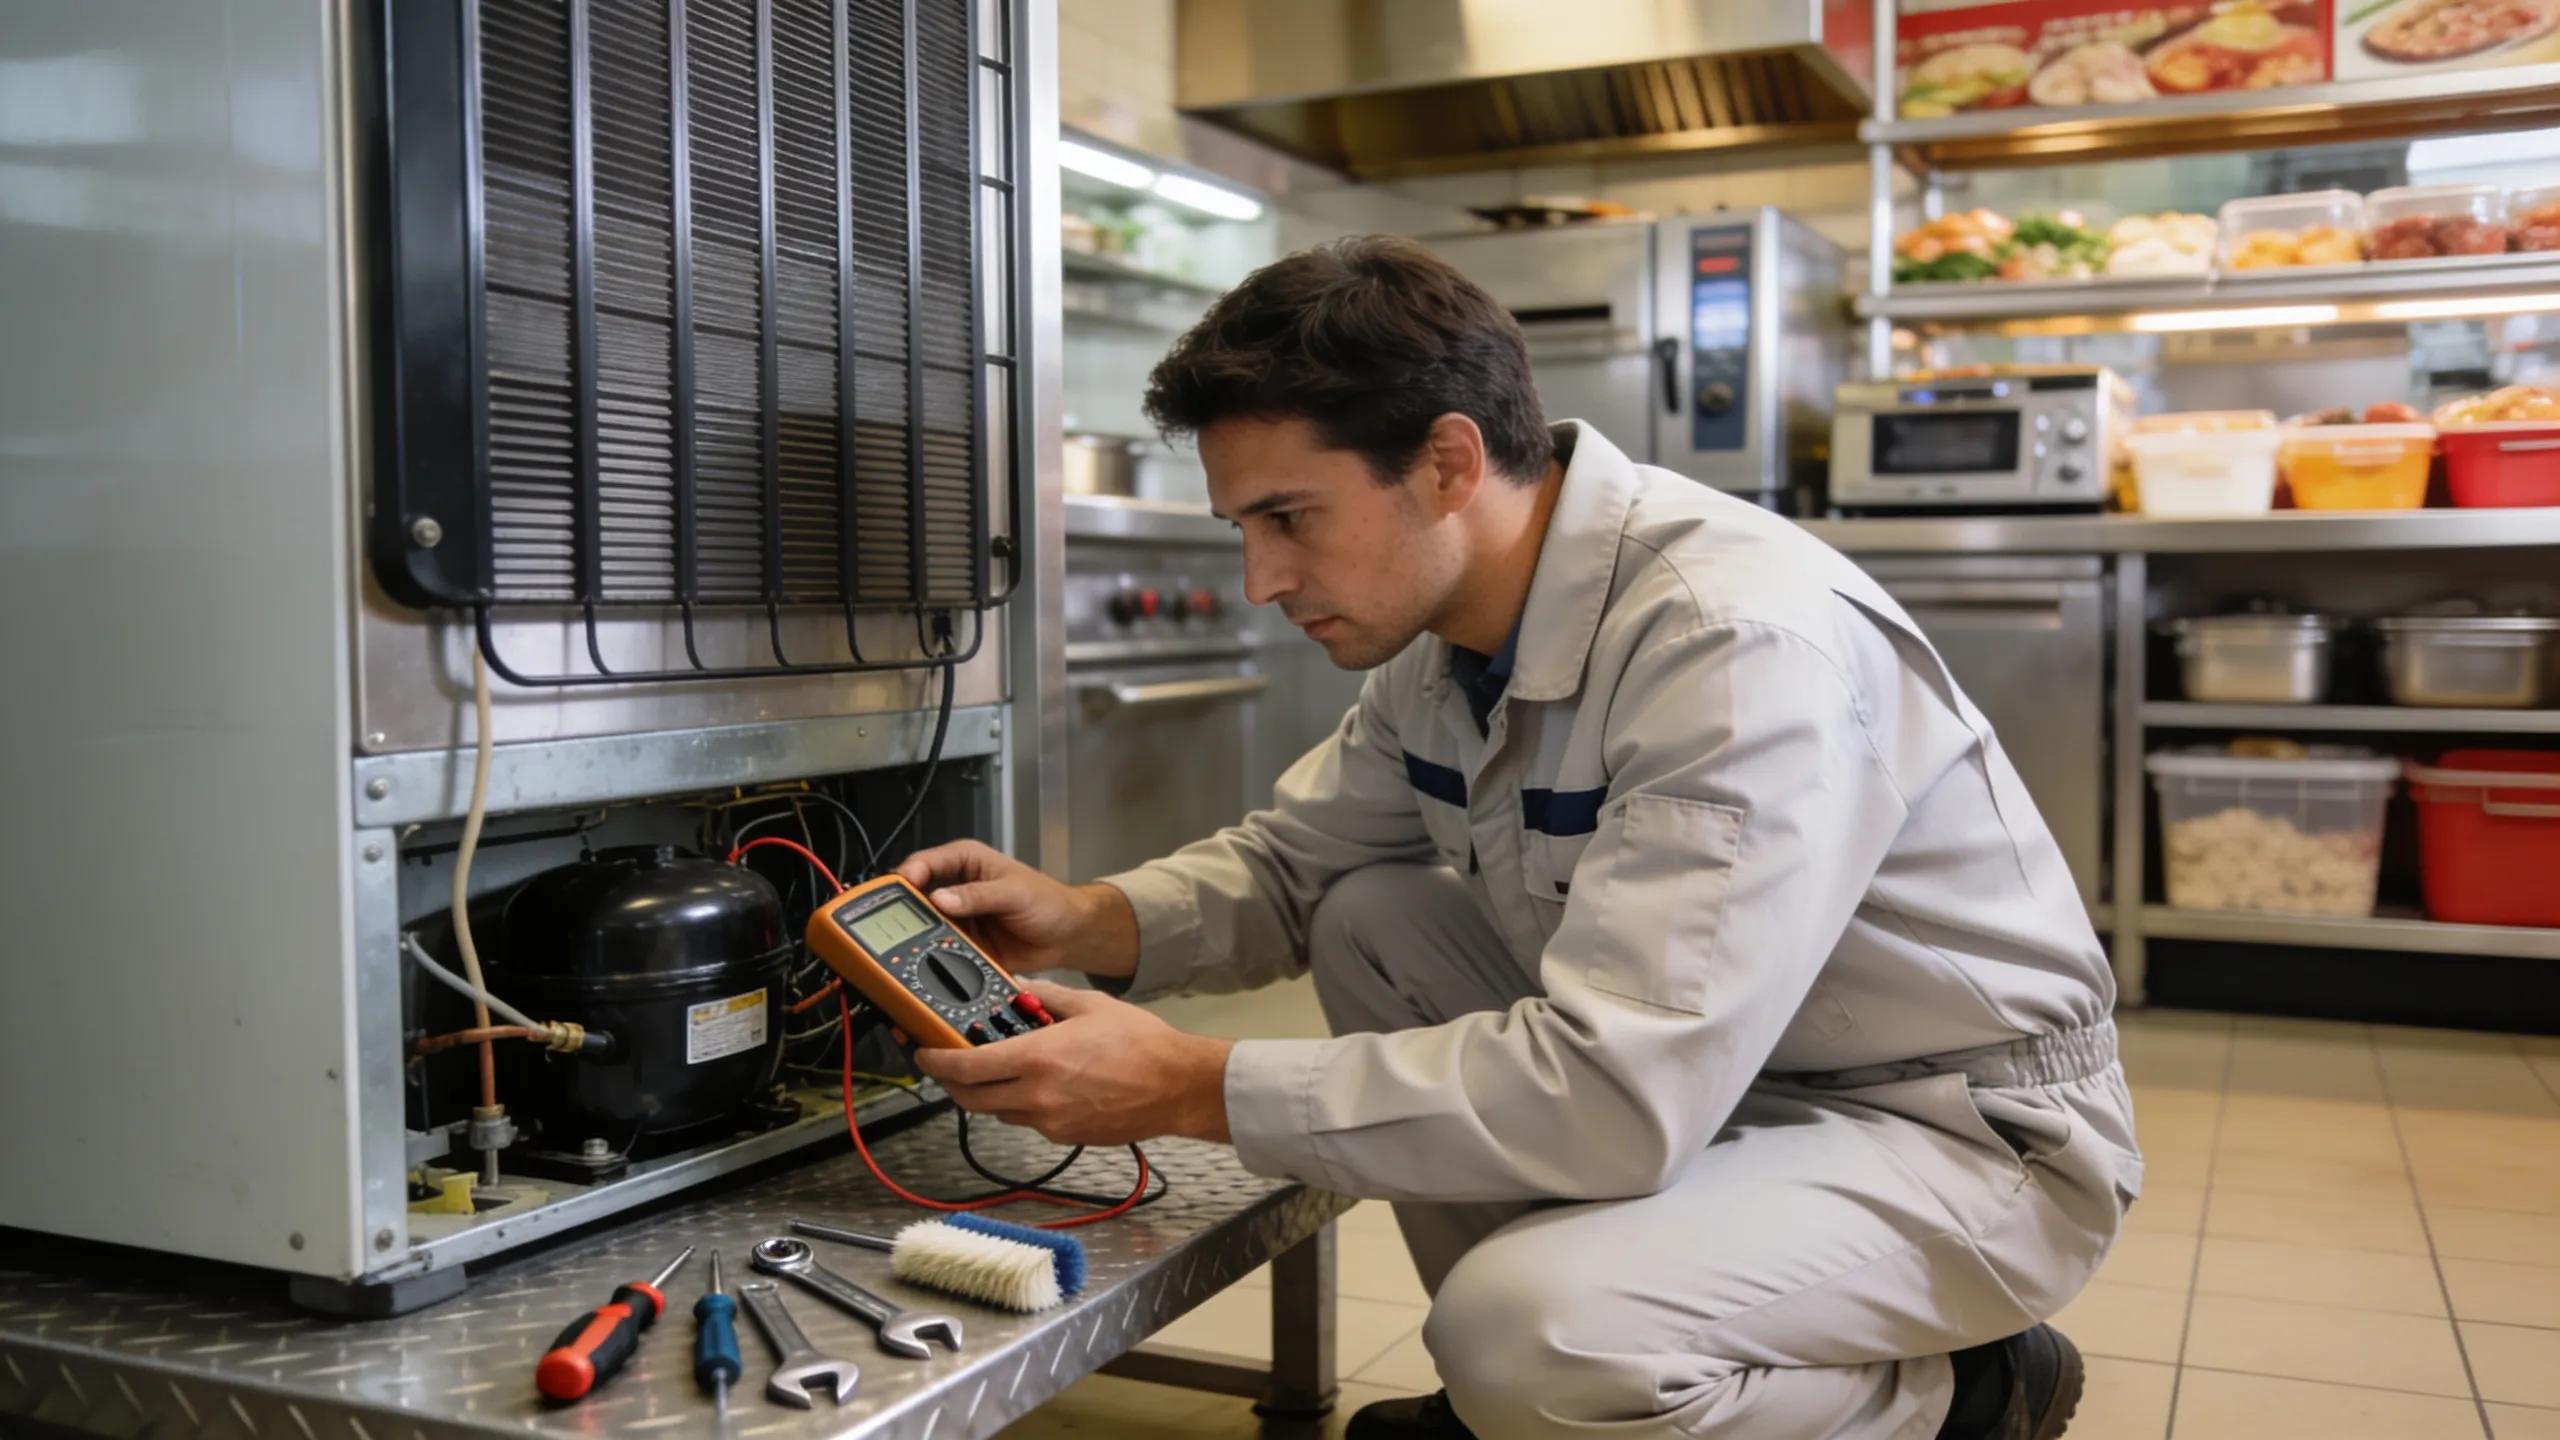
What Should I Expect During the Commercial Refrigeration Service Appointment?
Expect a thorough inspection and diagnostic assessment by a qualified technician. They will check performance metrics, inspect components, and clean coils as needed. After the assessment, the technician will explain findings and provide an estimate for any recommended work.
Conclusion
Repairing or replacing your commercial refrigeration unit keeps operations efficient and reduces potential losses. Spot warning signs early, weigh maintenance versus replacement costs, and prioritise regular servicing. Contact Youngs Heating and Cooling for expert support to optimise your system and schedule service when you’re ready.